Hi there Creators,
Happy New Year! (or at least New Years eve😍)
Today I'm showing off how to create another card design that I was sent for Christmas, I can see so many ways to use this throughout the whole year, and it's such an easy card to make (don't you just love that?!)
With this card I'm doing a bit of a sneak peek (not that far in advance now as it'll be available on 5th January) I'm using the Alphabet a la Mode Dies, such a great die set and I love that it has numbers as well as letters.
As you can see I made one each up for my kids for Christmas. Ben even commented that it was a great card and would be good for all year round (high praise!)
I've actually used the Storybook Gnomes Designer Papers in the background which amazingly are still available despite being reduced on the retiring list! (from $21 down to $12.60) check them out through the link they're available till 4th January, not long to go!
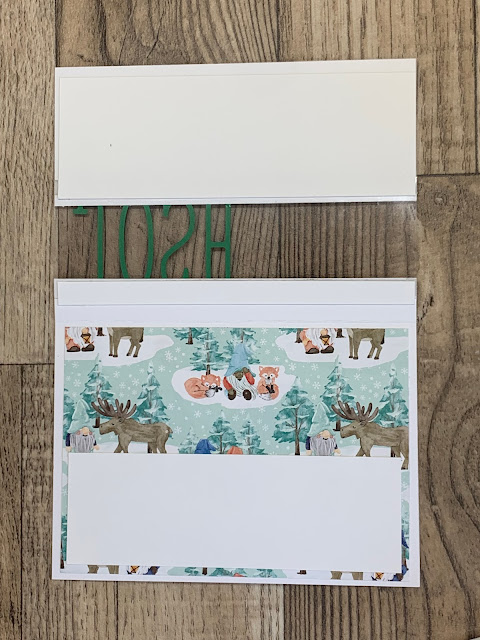
Here is the inside of Sam's card, I've added a layer of white over the back of the front of the card (ha that makes sense 🤣) but it covers the edges of the Window Sheet (and the not so attractive gluey bits that show through it)
Then the middle of Ben's card...
And lastly Josh's card.......
You can probably see from the photos how to create these cards, but just in case you missed it here's the video:
You can make these cards with any alphabet dies, just adjust the gap between the top and bottom of the dies to suit your card.
I hope this inspires you to create.
God Bless love
Heather xox

.JPG)
.JPG)
.JPG)


.JPG)

No comments:
Post a Comment