Showing posts with label Celebrating You stamps. Show all posts

Something Saturday - Watercolouring Part 2: Watercolour Lifting

 Hi there Creators,

Well today I've continued on with the watercoloured pieces I produced last Saturday and now I'm showing off "Watercolour Lifting"  I don't recall trying this before, but the basic jist of it is:

  1. Create a watercoloured background and let dry completely
  2. Stamp over top using versamark
  3. dust over with clear embossing powder & heat set it
  4. spray water over and blot off to remove some of the colour, until the clear embossed images stand out (the colour under the embossed image will remain "full strength")

And that's it in a nutshell, here are the 2 cards I created using the watercoloured backgrounds I created last week: 

This first one uses Natures Prints Stamps to create the collage of leaves in the background, then I've used the Celebrating You stamps for the sayings in both cards, then this one I also used the gorgeous Iridescent Pastel Pearls (very pretty!)

Watercolour Lifting, Stampin' Up!, Natures Prints Stamps
 

Then this is the one I made up in the video, and I finally found a use for the Loose Daisy Embellishments! I've used Eden's Garden Stamps for it, I'm not sure the big stamp was really the best to use as the DistInkTive Stamp surface doesn't really work hence it kind of has a big blob in the centre (and hence I put 3 daisies in there 🀣)  As I say in Class - there's always a way to correct things with a card!   and in this case a definite embellishment opportunity πŸ˜‰

Watercolour Lifting, Stampin' Up!, Edens Garden Stamps

In case you missed the video, here it is:


Let me know if you have a go at this, I'd love to see how yours turns out!

I hope this inspires you to create.

God Bless love

Heather

Something Saturday - What can you do with your Ink pads?

Hi there Creators

After using the small ink spots to create the triangular effect on this card from last week:

It got me thinking what else could I do with just my ink pads or spots, so, me being me, I played around and came up with these ideas (I'm sure there are many more.....)

My first card uses the big (main) inkpads to dip the edge onto the cardstock then keep turning till you get the star burst effect, I kind of felt like it was celebratory, hence the "so proud of you" saying from Celebrating You stamp set.

Stampin' Up!, Celebrating You

then I moved onto the mini ink pads (Ink Spots) which you can buy as a pre-inked pack of basic colours: Classic Stampin' Spots Assortment, or you can buy Un-inked stampin' spots which come as a pack of 5, and ink them yourself so you have a variety of colours (which is what I've done), it's a great way to get a heap of colours, plus if/when you do buy the main ink pad colours you'll then have the re-inkers already for them too (win win!)

Anyway this is my attempt with the small ink pads, I kind of felt like they were like fireworks with the small star-bursts hence the "happy new year" saying!

Stampin' Up!, Being CreateAble with Heather

After that I played around with swiping my mini ink pads, and as I love rainbows (Thankyou God for creating rainbows 😊)  I thought I would be lovely to swipe a rainbow!

This is the first one I made in the video, and I wanted the word to match the rainbow, so I've used the mini ink pads to do that too, then I have taken some of the Rhinestone basic Jewels and coloured them using Stampin Blends (alcohol markers) so the colour stays on them

Stampin' Up!, Celebrating You

 Then this is the second attempt in the video, which I decided would look great as a rainbow waterfall

ironically I realised after I'd put the card together that the rainbow words go in the other direction (ah well never said I was perfect 🀣)

 Stampin' Up!, Celebrating You

and the last card I made up using the swipe'ing again (you can also swipe in wavy lines)

Stampin' Up!, Celebrating You

If you missed the video, here it is:


I hope this inspires you to have a go with popping your ink pads directly onto paper too😊

God Bless love

Heather xox

Cards for December Classes

 Hi There Creators

Well we've finally got to December and ALL Christmas cards! 😍 

Just in case you're planning to order any of these, some of them will be on the retiring list on 1st December, and in some cases they'll be reduced, however you might have to get in quick to get them!

Classes are Wednesday 7th 10.30am in Laanecoorie, Thursday 8th 7pm in Laanecoorie and Saturday 10th 10.30am in Maryborough. $20 to create all the projects.  Let me know if you plan to come along.

Here is the offering for December:

First up is this duo of card with little pillowbox bag made using the Pretty Pillowbox dies I couldn't resist using the whole piece of metallic and shimmer specialty paper to create this duo (they're 6x6 sheets)  Along with the Celebrating You stamps, and the absolutely gorgeous Gold Shimmer RibbonClass cards for December, Stampin' Up!, Being CreateAble with Heather

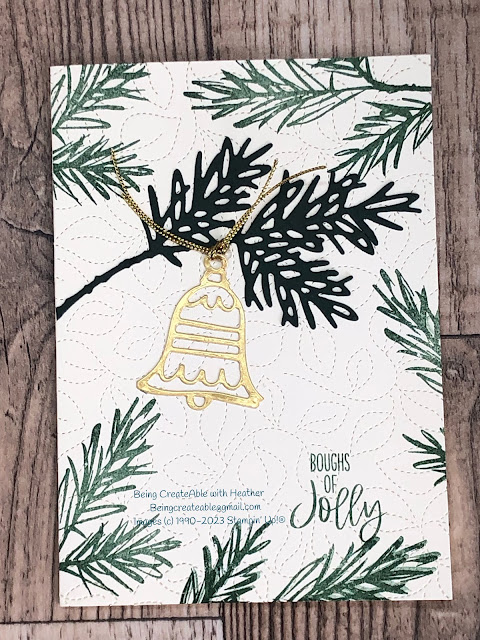
Next up is this fun card using the Spruced Up Outline Dies (this will be retiring come December, so look out for a great price on the individual components - ask me if you're not sure) and, a bit of a sneak peek from the next mini catalogue, with the Handdrawn Dots Stamps, saying comes from Inspired Thoughts, which is a great all rounder saying set.
Class cards for December, Stampin' Up!, Being CreateAble with Heather
Then I've used the Decorated with Happiness bundle, (this is also retiring come December, again check the individual prices, as it works out cheaper)  it just really appeals to me this set!, and also the Stitched Greenery Die in the background for a bit of added interest
Class cards for December, Stampin' Up!, Being CreateAble with Heather

Then  lastly I felt a need to go "Aussie" and figured a bit of wattle could be Christmassy too 😁 As the Aussie Christmas carol goes: Deck the Sheds with Bits of Wattle......

Here I've used the beautiful Texture Chic Memories & More Cards & Envelopes paired up with the Brightest Beauty Stamp set (again it will be on the retiring list at the beginning of DecπŸ˜”) and Decorated with Happiness stamp set (and some gold heat embossing - gotta have some bling.....)  I've finished off by stamping the saying directly onto the natural finish ribbon.

Class cards for December, Stampin' Up!, Being CreateAble with Heather

Well that's it, next month is January so we won't be having our usual classes due to holidays, however I do plan to do one of my Mega Classes on a Saturday mid to late Jan, once I have my hands on some of the new products I'll be working out what we're going to do.

Look forward to seeing you if you can make it to class, if not have a wonderful Christmas

God Bless love 

Heather xox

Something Saturday - 2 from 1 Stripes & Trees

  Hi there Creators Today I'm doing one cut with my Designer Paper and creating 2 different cards - gotta love it when you can get 2 for...