Posts

Showing posts from October, 2020

Something Saturday - Cascading Pleated Fold Card

Image
 Hi There Creators, I promised when I was showing off my swap cards from OnStage that I'd work out how to create a couple of cards I received. So, here we go, I have discovered they're called Cascading Pleated Fold Cards! (good start) Here are my 2 cards I made using this technique, I figured I could have a go at both landscape and portrait cards. 😍 The first one is made using the absolutely gorgeous Meandering Meadows Designer Series Paper . It took a bit of cutting to get it right as I wanted each scene in front to echo the scene behind, but I think I got it! Then the card I made up in the video ended up like this, I've used the Bright & Beautiful Designer Series Paper (which is happily continuing onto the next catalogue!), and the Ice Cream Swirl Bundle (again continuing on)   Although Sam (Mr 13 year old) did ask what flavour ice-cream is that meant to be?  I said Chocolate & Boysenberry (Hummm, Ok Mum....) 🤣 Anyway on to the measurements.... I worked out that

Celebration of Tags

Image
 Hi there Creators, I've been waiting ages, but finally this stamp set has arrived and it's every bit as cute as I expected it to be! So of course I had to play with it....... First up I stamped all the images using Black Stazon (they come in strips of 3 to match the dies) and cut them out with the big joined together die.  Then got to work creating cards with them, I ended up with 5 cards in the end, Oh and I've just realised I forgot to take photos of the insides, bother! This first one didn't get anything on the inside, I stamped the tag up, then debated what I could do to lessen the impact of the white card, and came up with the idea of inking the little label then stamping it a few times without reinking, and repeating till the card was covered sufficiently.  I'm quite pleased with the effect I got!   This second card is such a fun kid card, you might recognise it from my previous post on Global Design Project #264.  I've tied the ribbon at the end, then th

Global Design Project #264

Image
 Hi there Creators,  didn't get round to the Global Design Project challenge last week, so I'm back on the "wagon" again this week for #264, which is a "case the designer". I had the Celebration of Tags stamp set finally arrive and wanted to make up some cards with it, having bought the Trio of Tags dies some time ago it was nice to finally pair them up together, there is another post coming with the other cards too, but with my mind set on GDP ...... These stamps are so cute! I reckon when we can do birthday parties again, this one will be a great one for one of Sam's friends (my 9 year old youngest boy) I've added some dots using a dauber and ink (very quick, easy - and cheap! lol)  I had no idea the tiny little stamp was confetti, when I first looked at it (without my glasses lol) I just thought it was little splotches, so I was surprised when I saw confetti (thank goodness I stamped on scrap paper first! or the confetti could have been going up

Card Packs for November

Image
 Hi there Creators After creating the cards for this November, I showed Tom (husband) and he then separated them out and said he felt I should make them into 2 separate packs, basic and advanced, so I've taken his advice! and here they are: Basic Pack , create 4 cards, includes all card stock cut and scored for you, plus embellishments, any extra cut pieces, and written instructions.  $20 for the pack.  You will need a stamp set and ink, adhesives, and Wink of Stella Brush (if you don't have one - they are sooooo worth it, and only $11.50 - if you don't have one let me know and I can get it ordered for you. Advanced Pack: Create 3 fancy fold cards includes all card stock cut and scored for you, plus embellishments, any extra cut pieces, and written instructions.  $15 for the pack as an add on to the Basic Pack (so $35 for both) or $20 as a "stand alone" pack.  You will need a stamp set and ink, adhesives, and again a Wink of Stella Brush - if you don't

Curvy Dies

Image
 Hi there Creators, well available from 3rd November will be a new bundle called Curvy Celebrations, there's 2 stamp sets, 1 die set and a pack of Designer Series Papers for only $123.25 - start saving!! (you can buy some of the products separately) Anyway I had an idea and I'm quite pleased to say that the 1 idea produced 3 cards!! My thought was to run 2 pieces of patterned paper together through the Stampin' Cut & Emboss machine, and cut them both into quarters then piece the pieces back together to create a sort of patchwork effect. I've spritzed some of the Frost White Shimmer Paint onto the background and with this first one also painted the snowflake from So Many snowflake dies , with the frost white. (close up after the cards) how pretty is that intricate die cut? this next one I coloured in the dove from Detailed Dove dies , with a Wink of Stella clear brush, just love the shimmer you get!, and again spritzed the background with the Frost White shimmer p

#GDP262

Image
 Hi there Creators, This time the Global Design Project is a Card layout.  I decided to try and use up some of my scrap pieces on my project this time, and I'm quite pleased with how it turned out, it certainly wasn't what I had initially thought I'd create lol This is the layout: You can click on the picture to see what others have created too.   And here is what I created:  I've used the snowflake Splendor Designer Series Paper for the background, then one of the Forever Gold Laser Cut Specialty Paper wreaths (I've coloured the back and hence used it blue!) I've also used one of the snowflakes from So Many Snowflakes Dies , and who can resist the Blue Gems they are absolutely gorgeous!   I've shown you a close up of that gorgeous Blue Gem, and I've also used a bit of Wink of Stella on my snowflake, doesn't it make it glisten?! I hope this inspires you into creating too. God Bless love Heather xox

GDP #261

Image
 Hi there Creators, The Global Design Project #261 challenge this week is a colour challenge: (check out the link to see what others have done)   So I thought I'd join in again, and try out a card type I've seen someone else show off recently  I know it would have been on one of the Stampin' Up! facebook pages, I can't remember exactly what she used, but I liked the 3D'ness of it 😄 and I have no idea what the card is called possibly Diorama card would work?  anyway I set to work trying to work out how she'd done it (although I suspect if I could re-find hers she'd probably already done instructions lol)  I always seem to take the hard way..... So here is my "take" on it using these colours.  The inside is the impressive bit..... The outside not so impressive, but check out that gorgeous Gilded Autumn Specialty Designer Series Paper !  I've teamed it up with the Ornate Layers Dies , and the super soft ribbon from the Basket Weave & Metall

Christmas Decoration

Image
 Hi there Creators, I taught this decoration a couple of years ago, and one of my team asked me about it yesterday.  I though I'd done a video on it, but turns out I hadn't, so excellent opportunity to do a YouTube vid! Here is the decoration: It's so pretty and yet deceptively simple to make, I've used the 'Tis the Season Designer Series Paper , (DSP) which is currently 15% off this month (yay!) I picked out 6 different designs, and have alternated 2 in each layer.  To make the wreath itself you'll need  4 circles, I used the Layering Circles dies , 3 different sizes and you'll need 2 of the largest one 12 pieces of 3" square DSP (2 designs so, 6 of each) 12 pieces of 2.5" square DSP (2 designs so, 6 of each) 12 pieces of 2" square DSP (2 designs so, 6 of each) glue!  I recommend Tombow Adhesive (multipurpose liquid glue) You'll also want something to decorate the front of it with I used For Unto Us stamp set , and some matching ribbon,

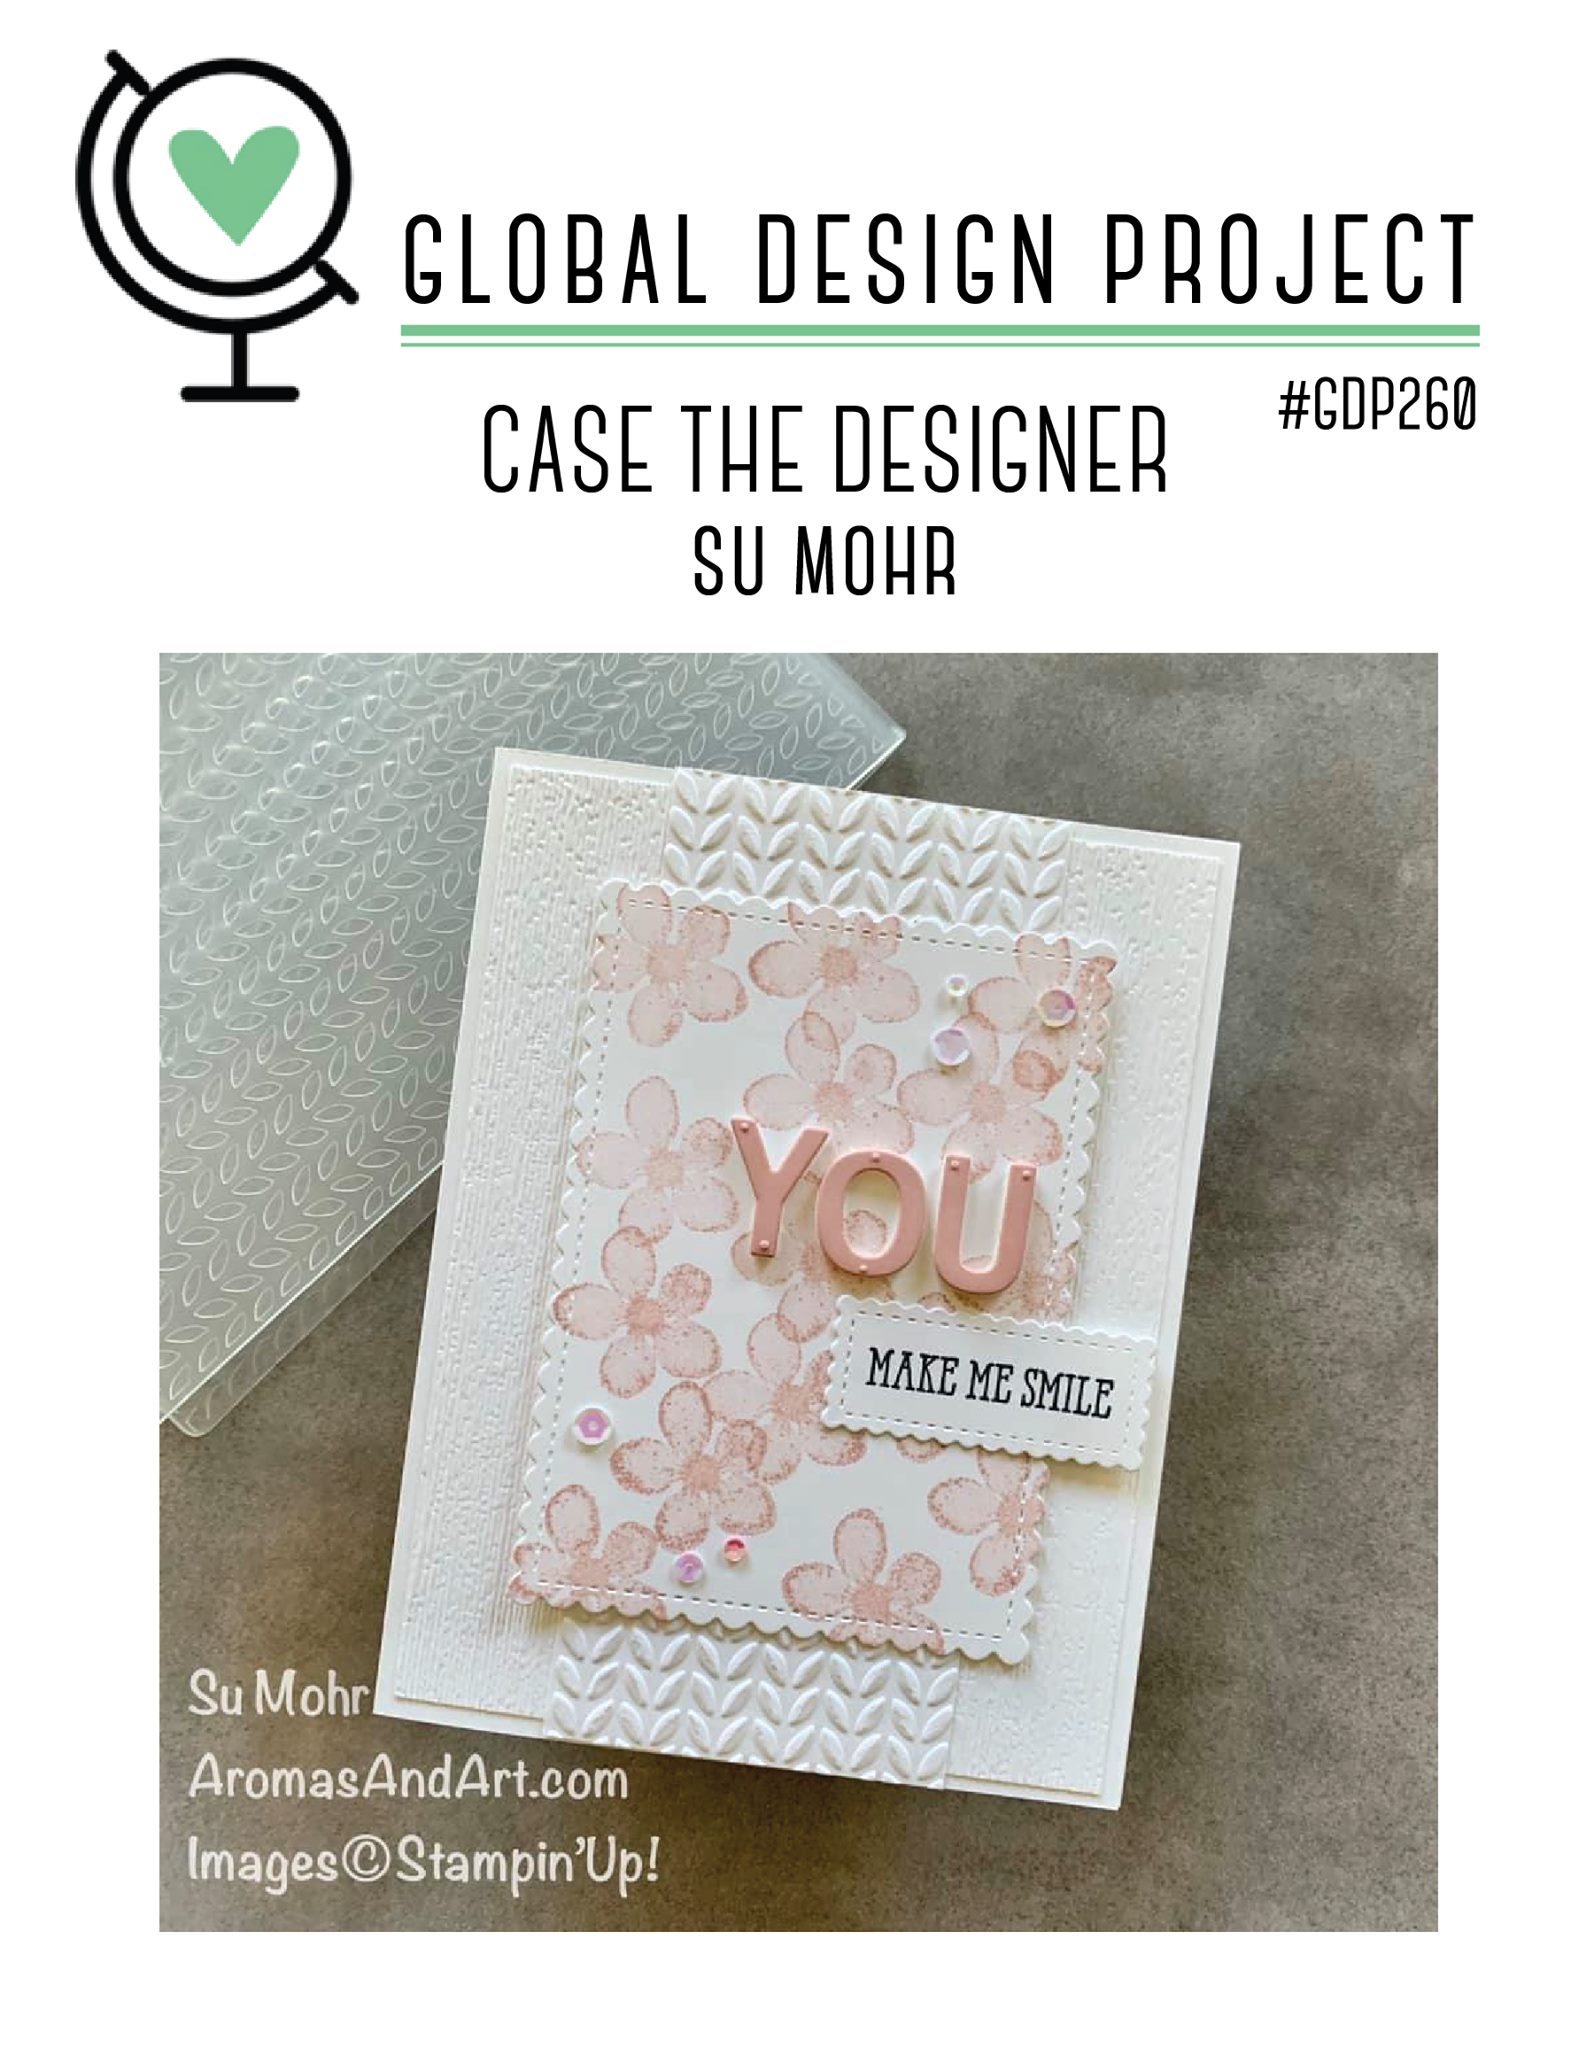
Global Design Project #GDP260

Image
 Hi there Creators, well I've been getting the emails from the GDP team, and I keep intending to join in again, so I figured it's at a zero number (260) I should re-start! Plus a new stamp set Gnome for the Holidays arrived that I've been waiting for! Here is the inspiration from GDP, the idea is to "CASE"= Copy and selectively edit So although my card looks nothing like Su's card, I noticed that she has used 2 embossing folders in the background, the middle one creating a sort of gap. So here is my entry, whilst I didn't use 2 embossing folders I did use one twice lol!  and my aim was to create the gap in between, with the rectangular middle piece and the saying I wanted the leaves from the Meadow Moments Embossing folder , to show through a bit, so that the rectangle wasn't so "harsh" on the card and covering over so much of the pretty border, therefore I chose to use vellum to stamp on.  I used Stazon Black to stamp, then coloured in with