Posts

Showing posts with the label tabs for everything

Something Saturday - Brightest Birthday Kit

Image
  Hi there Creators Today we're checking out one of the new kits, I have to say WOW!, maybe it's the holographic blingy bits (ooooo bling....🤣)  if you're a regular reader of my blog or watch my YouTube or Facebook channels then you'll know I can't resist bling.  Anyway check out the kit here: Brightest Birthday Kit And here are the cards it makes.... oh and their matching (also blingy) envelopes. Then you'll notice on the first card with the balloons it has a box that has the holographic outline, which is actually a sticker, so in the video I show you how to get the sticker off and onto a separate piece of card without having to pick it off and re-piece it yourself. And this is the card I made with it:  I probably should have used the same Azure Afternoon colour, but I had this piece of Shy Shamrock hanging around my desk, so chose to use that instead, and seeing as the star stamp hadn't been used I figured I should put it into action.  Its not a bad littl...

Tag Card for March instructions

Image
Hi Creators, if you have ordered from me this month you'll receive a tag on your bag, I've included the extras to make this card, so thought I'd drop in quickly and explain how to pop it together! first up here is the tag, it's small but cute!  I've used the Tabs for Everything stamp set, which has this cool line stamp perfect size to cut out with the 1" circle punch , I've backed it with the 1 1/8" scallop circle punch , using the Champagne foil sheets , then it's hung using the rose metallic thread . So then onto the card itself!  take your piece of Designer Series 3x6" paper, and fold over around 1cm at one end of it, attach it down to your card (and attach the flap down)  then attach down the die cut Tropical Thinlit piece.  Then take your tag, add adhesive to the back of it and loop the thread around till your happy with the way it looks and attach this to your card too, Voila you're all done! I hope you enjoy making up your...

Tag Card for December

Image
Hi Everyone, If you happen to order from me this month, this is the card you will receive to make up using your bag tag. 
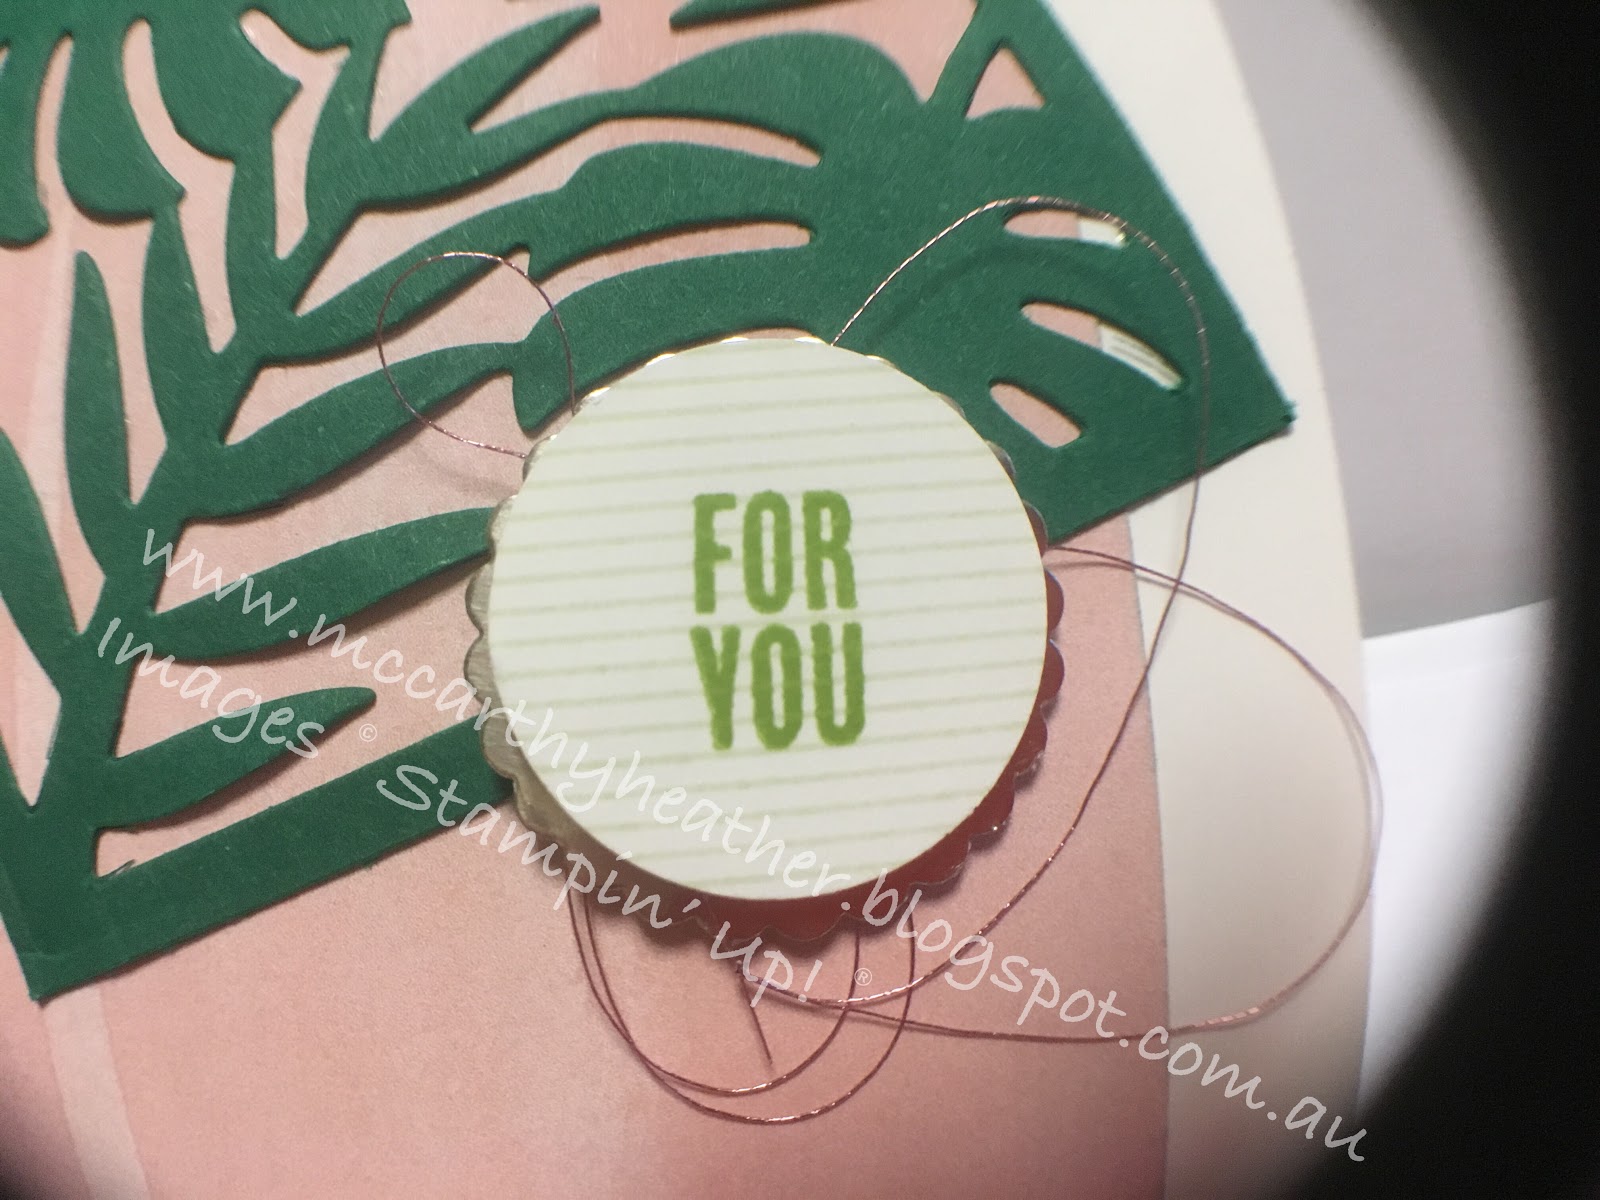
Thought I'd better give a little explanation of "how to put it together". But first what's in it? The tag is kind of small! it uses the cute Tabs for Everything Stamp set , plus the 3/4" circle punch , the 1"circle punch and the new (next month) 1 1/8" scallop circle punch. Then the card itself uses a couple of new (next month) dies from a suite called Petal Passion, and also some new lovely silver bakers twine. To put your card together, first attach the green leaves (I used Tombow Multipurpose Adhesive ) also add the white flowers and leaves die cuts to 2 corners.  Take the twine, and wrap it round 3 fingers, then twist it in the middle, and attach it to the back of your tag (I used Tear & Tape Adhesive to do this), then I've added a dimensional to make it stand out a bit and attached to the card. And Voila! your...