Posts

Showing posts with the label technique card.

Something Saturday - Hooray for Honeycomb Kit

Image
 Hi there Creators, Today I thought we'd take a look at one of the new Kits that Stampin' Up! has brought out, it's really fun!, the name "honeycomb" kind of gives it away🤣 There are 9 cards to create, and it's a nice simple kit, would make an excellent gift for anyone who is thinking of starting off with card-making, there's no stamping involved - it's all "stick it together" and everything is included to do this.  At $32 it works out to $3.56 per card (which let's face it is pretty cheap for a card these days!) So here are the cards you can make (3 of each): Don't you just love the matching envelopes? The front of each card has clear embossed shiny bits on it (most obvious on the rainbow card at the top! with my photography) And there you have it, I haven't had the chance to play around and see what else I can create with this kit yet, so if you get it and do play around, let me know what you do! If you missed the video here it

Something Saturday - Black Ice

Image
Hi there Creators, Today I'm showing off this Black Ice technique, all you need is silver foil cardstock, stazon black ink and a stamp set. The basics of it is: stamp carefully onto the silver foil with Stazon Black ink (the stamp will tend to want to move slightly when you stamp on foil), allow to dry then drag the stazon ink pad across the foil card.   You end up with a sort of aged looking Sepia/Black & white image, I think it's really cool - let me know what you think 😃 Here is the card I made up before the video, I thought the Heron Habitat stamp set would look good with this technique, reminds me of old Chinese pictures, I ended up using the Heron Habitat bundle (dies and stamps) as I do love the gorgeous tags in it, and thought the long wave type die would look good on the side   Then this piece of foil is the one I actually stamp up in the video, and this is how I made the card with it, there are actually 3 different foils in the Silver Foil Specialty Pack, there&

Something Saturday - Joseph's Coat

Image
Hi Creators,  A friend mentioned recently seeing someone doing this technique and suggested I did it as a video, it's one of my favourite techniques although I haven't done it for ages, and I hadn't done it since we had Blending Brushes, Oh my goodness it's a game changer - so much easier! It's called Josephs coat for relatively obvious reasons - that you get a beautiful multi-coloured pattern. Anyway on to the photos, here is the one I created in the video, I'm quite impressed with how it turned out, as I really couldn't see where I'd stamped so I was kind of guessing 🤣  I forgot to use my embossing buddy hence the lighter areas where the embossing powder stuck to the cardstock, all in all though I'm happy with it. And my finished card, I decided to minimise the bits that the excess embossing powder stuck to by popping some vellum over the top, it allows the pattern to show through, and I've heat embossed the saying with white powder.  Oh, the

Something Saturday - Night Sky Pastels

Image
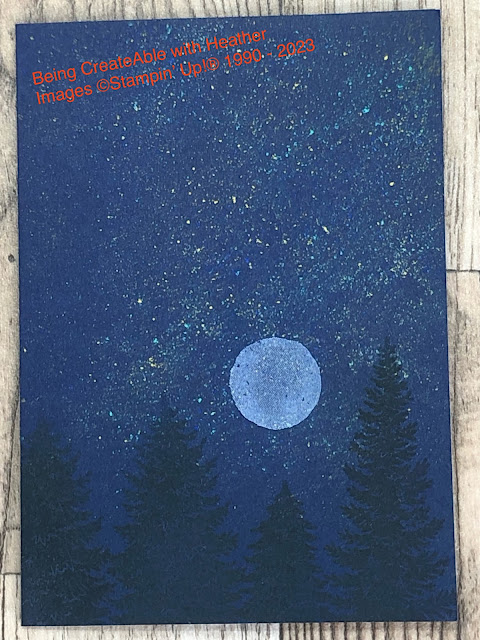
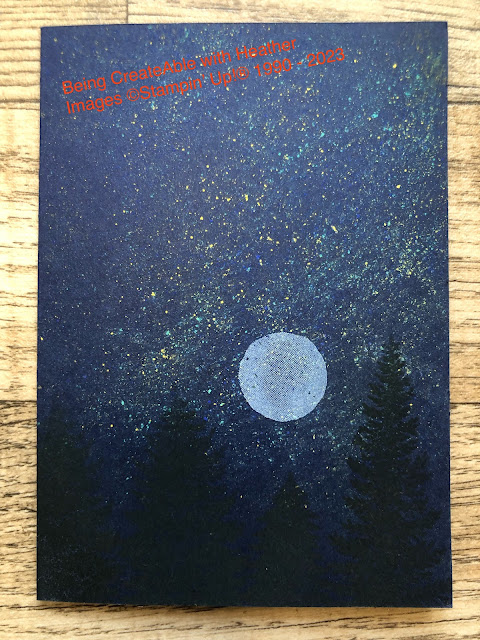
  Hi there Creators, Continuing on our Pastels journey, I have "night sky" pastels to show you this week, I was amazed at how well the pastels show up on dark cardstock. Here are the cards I made up.... this first one I made up with a black background, and really wanted it to be looking out of a window (this is when I wish I had Window Flower Box dies )  however I used the exceedingly useful Stitched Rectangle dies instead😃, as I wanted it to look like the inside of a shed I've "hung" a few tools off the window sill (courtesy of the Home & Garden bundle ) and used the Brick & Mortar 3D embossing folder for the wall. then this is the card I made up in the video (couple of photos as I couldn't make up my mind which was better 🤣), Here is the link to the products I used in this one: What Heather Used So, down to the nitty gritty, how do you do this? Take a dark coloured cardstock (I used Night of Navy in the video), then lightly grate pastels onto