Hi There Creators,
Today I'm showing off a card I received from a friend, who happens to also be, one of my talented down-line. I loved the card so much I asked if I could use it for a video, which she kindly consented.
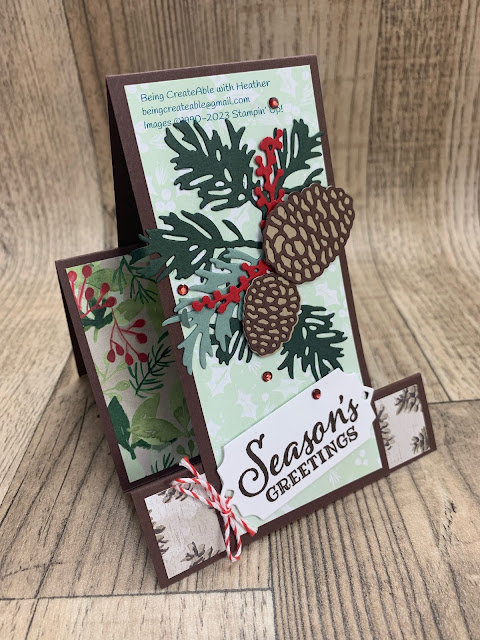
Here's the card Lee-Allan sent me:
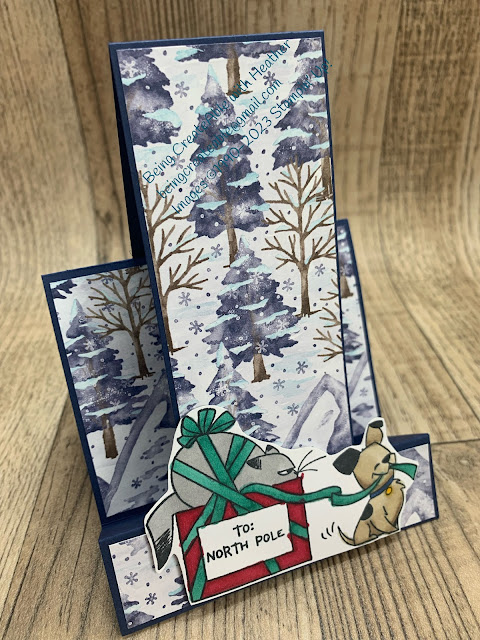
And here's my first attempt at the same design - I was feeling like I hadn't used this cute North Pole Mischief Stamp set enough before it's retired at the end of the month (at the time of writing it's still available to purchase, but as with all retiring products - stock levels can rapidly disappear, so if you see anything you're keen on, check out the links on here to see if they're still available and get them ordered!
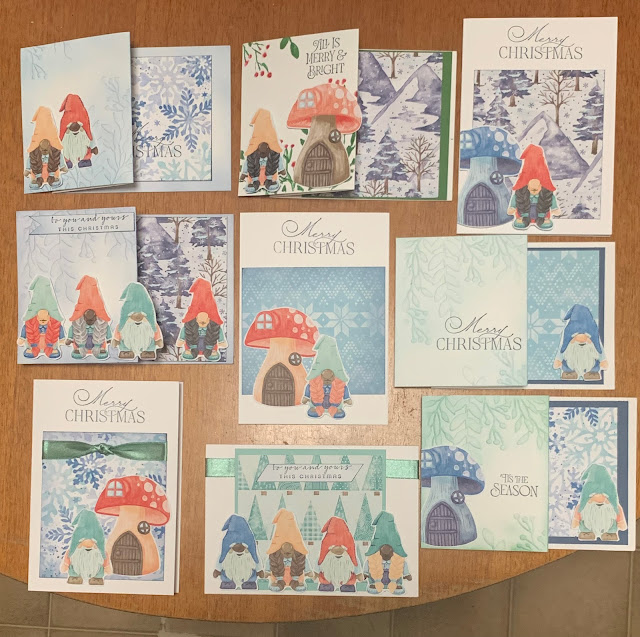
I also used the Storybook Gnomes Designer Paper which is fabulous and (at time of writing) still available (and discounted)
On a bit of a side-note I actually made these cards the other night with the Story book Gnomes Designer Paper (the only stamps were for sayings) the Gnomes and the toadstool houses cut out from the paper and some of the other paper used for background - really simple to pop together and I just love how cute and effective they are.
And on to the last card in this "Interesting Card Design" post:
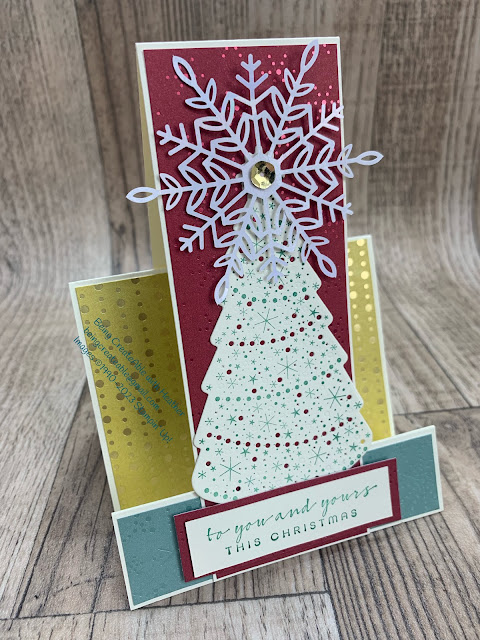
This is the one I make up in the video using the gorgeous (but I think overlooked) Festive foils specialty card (retiring and reduced), and the sadly retiring Christmas Lights Bundle (best to buy this as the bundle, as the individual items haven't been reduced, so you still get 10% off with the bundle price) Oh and I used the (also retiring and reduced) Wonderful Snowflakes (ooo so pretty - iridescent)
Anyway on to the measurements I used:
Take your piece of A4 card and cut in 1/2 length ways at 10.5cm
Take one of these halves and cut again length ways at 5.25cm, (you'll end up with 2 lengths of 5.25cm x 29.7cm) fold one of these in 1/2 width ways at 14.8cm
Take the 10.5cm x 29.7cm piece and cut off 7.4cm from one end, then score at 3cm and 6cm, concertina'ing these to create the front step of your card, then fold the remainder in 1/2 to create the wider back step. (it would be at almost 14cm the last fold but it's easier just to do it by hand and bone scorer)
Decorate up the fronts of the 10.5cm piece of card and the 5.25cm strip
Then attach them together, here's the video if you want to see how: (you can fast forward to the exciting bits 🤣
I hope this has inspired you to create, do share what you make if you have a go, I'd love to see.
God Bless love
Heather xox


.JPG)

No comments:
Post a Comment