
Hi There Creators,
I had a request to do an Embossing folders video, so that's what this weeks video is all about. They can be a little confusing as they come in small, medium and large, Standard and 3D. And how do you know how to get them through your machine so they actually work?
Stampin' Up! has 2 Stampin' Cut & Emboss Machines, the mini and the standard. The Standard one is a similar size to the Bigshot (I find it has a tad more room for the plate, the Bigshot used to shave bits off my plates if I didn't have them lined up exactly, I haven't noticed that with the Cut & Emboss machine)
Anyway, as you'll see from this picture our embossing folders come in a thin (small) size, which would emboss around 2/3 of your card front, a Medium size, which completely embosses your A6 card front and also a "large" which is 6" x6" sized (handy if you want the pattern on an angle!) An important tip is to make sure the fold of the embossing folder is facing your machine when it goes through so it can't get out of sync and break the spine.

the 3D folders are a lot thicker than the standard folders, and so they can't go through your machine with the same plates. If you have one of the Stampin' Up! machines they make it easy, as it says on the plates what you need! if you don't however, what you can do is experiment, most machines have a base plate, so start with that and keep layering up till the folders work, sometimes you'll need to add a "shim" or two, this is just a piece of A5 cardstock, all it does is boost up the plates a fraction, which might be all you need!, you just pop it on top of your base plate, and add the other layers on top.
I promised in the video that I'd show you what I made with the embossed pieces, so here goes:
this first one using the fabulous Seashells 3D embossing folder, 3D means that the embossing is at varying depths, sometimes 'de-bossed' too. I've done a special technique on the back of it, called "smooching" it creates a really cool watercolour effect (I'll tell you more after I've shown you the cards).


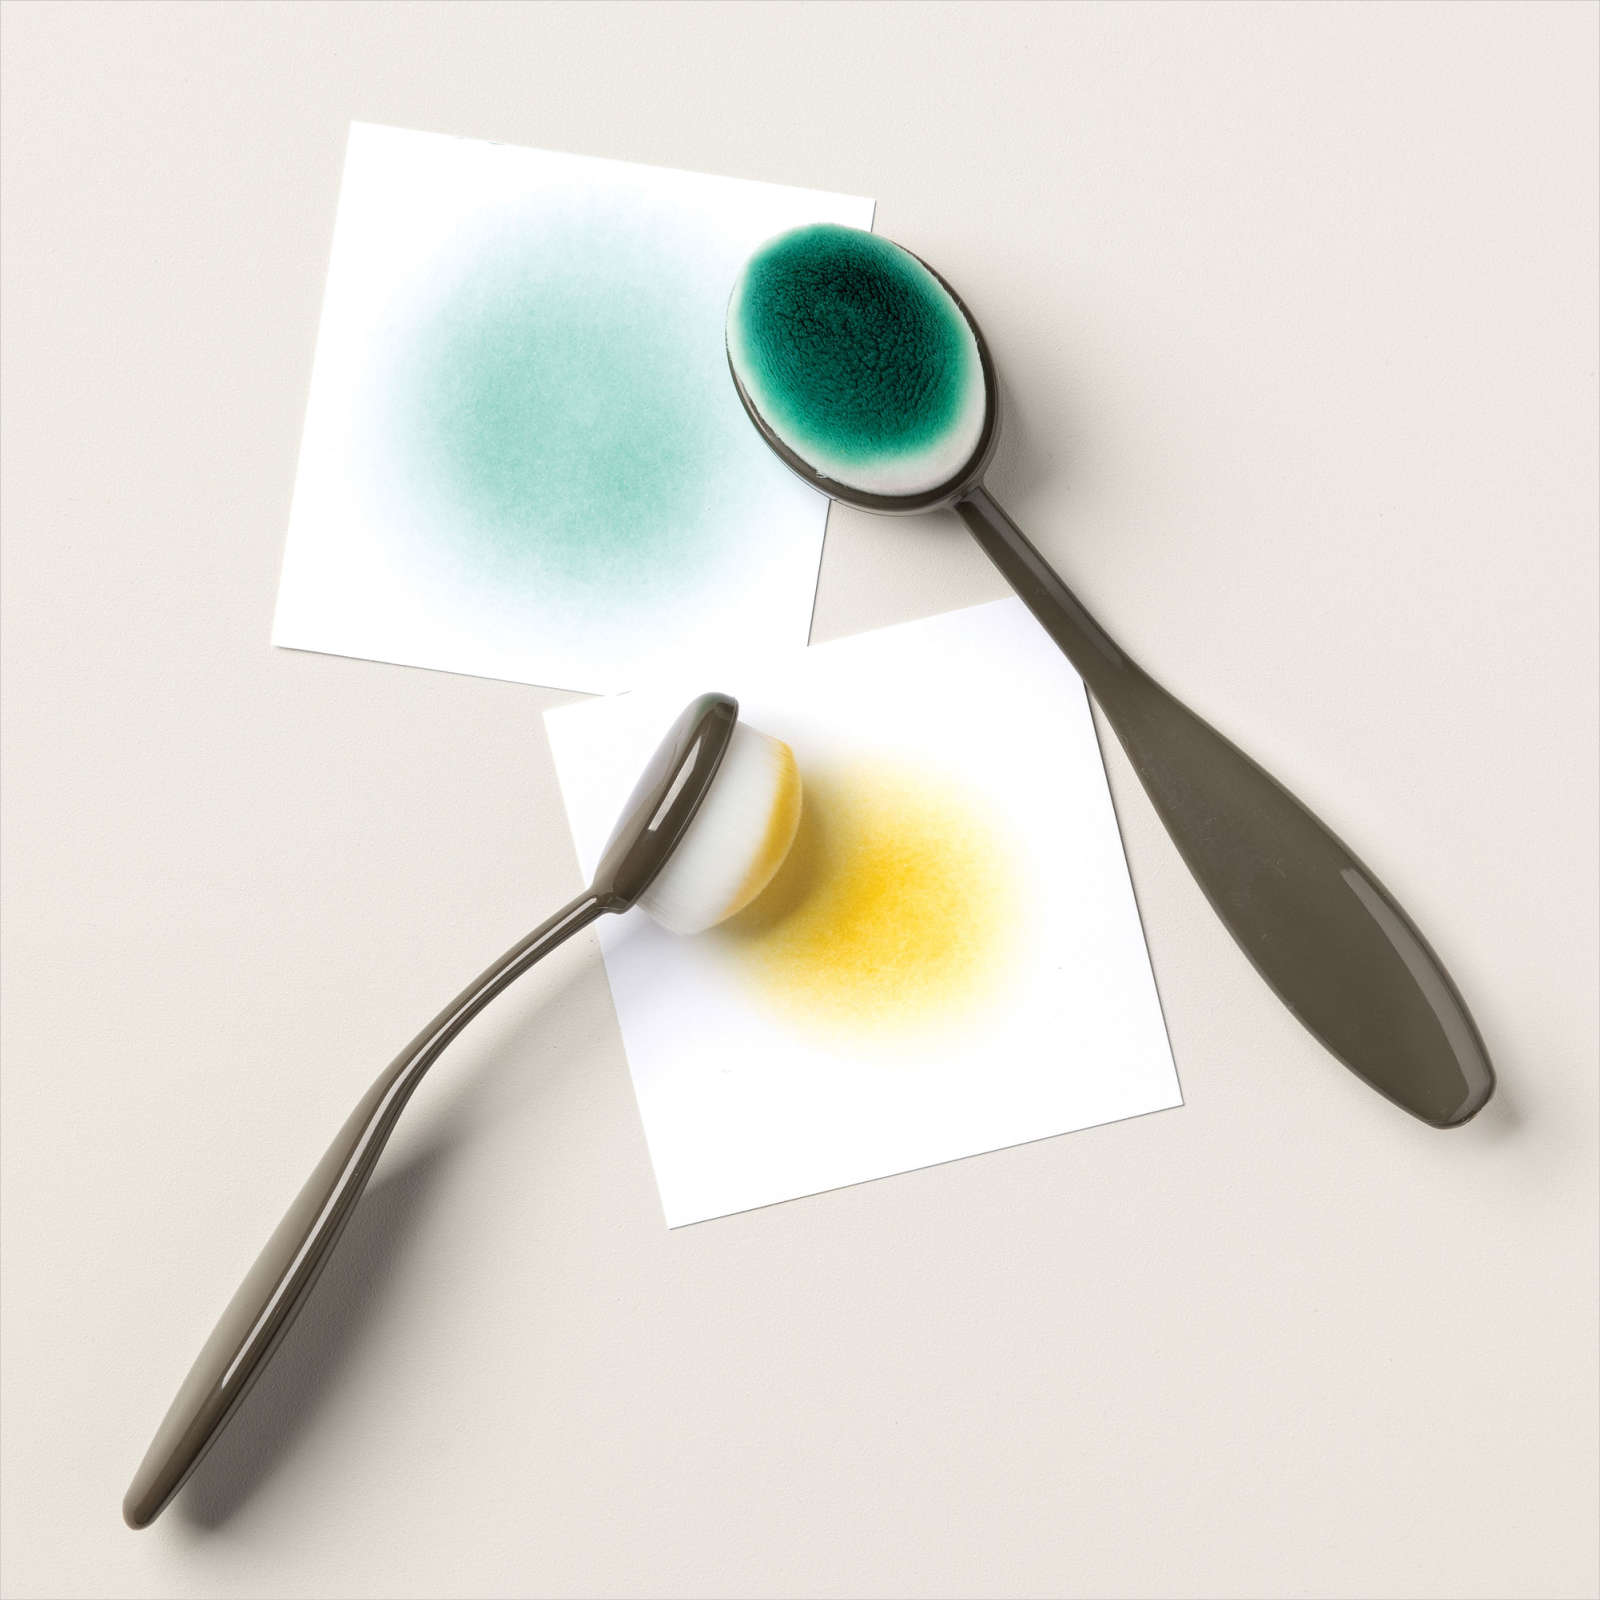
I mentioned the "smooching" technique to create a watercolour background, here's how you do it:
Take a large clear block, add some drops of re-inkers (I used Pool party and Soft Sea foam initially), then spray it with water till it liquefies all over the block and all the re-inker is spread around. You'll then need some Shimmery White cardstock, and you press it onto the watery/inky block., keep doing it till you have covered the area you want to. You can then let it dry naturally (or if you're impatient like me, get your heat tool out!) I then went back over mine and did it again with Pear Pizzazz re-inker.
This is how mine turned out:

isn't it so cool? I reckon I'm going to be making a heap of these backgrounds (and they'll all be different, how exciting!)😁
If you haven't seen the video and would like to here is a link to it:
I hope these cards inspire you to create!
God Bless love
Heather xox


.JPG)
.JPG)
