Hi there Creators
A friend of mine, when I asked her if there was anything she'd like to see on my videos commented that vellum would be good (how it turns white when pressure is added to it)
For those of you who have done Pergamano work you'll know all about this, and Pergamano is all about vellum and the stunning effects you can get with it although it is somewhat painstaking! (it's been quite a few years since I did Pergamano work), however I happy to say there is a much quicker and simpler way to get some really cool effects with vellum 😃
First up, I had (before the video) made up this card, as you can see I've used the Wintry 3D embossing folder to create the snowflakes using vellum, I've actually used the Iridescent rhinestones for the 'bling' but coloured them with the dark Night of Navy Stampin' Blend (bear in mind the Stampin' blends are alcohol based so don't rub off if you use them to colour embellishments or ribbon). Also if you're going to stamp on Vellum, you'll need to either use Stazon Ink, as waterbased inks will rub off, or stamp with Versamark and heat emboss with whatever colour suits your work.
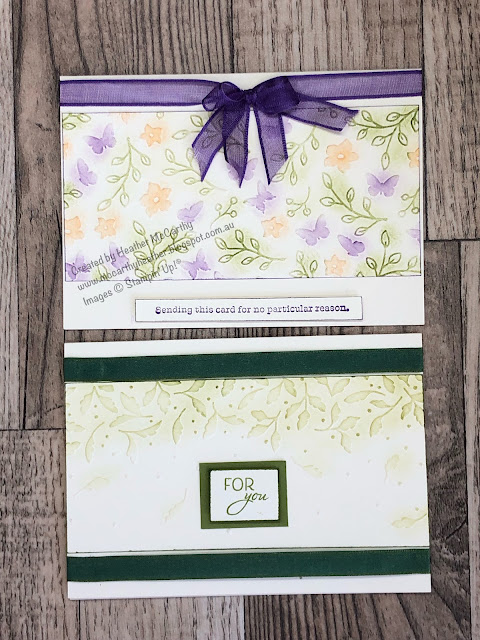
I wanted to try out my new Gingham embossing folder next , and as I only wanted the pattern 1/2 way up the vellum I've put the Vellum all the way into the folder then the folder into my Stampin' Cut & Emboss machine sideways, so that I could run the folder only 1/2 way into the machine before backing it out again, If you put the vellum only partially into the folder (so the vellum sticks out at one end) and run it all the way through you end up with a line where the folder stops, and I didn't want that, I wanted it to kind of fade into the vellum rather than stopping abruptly. Then I figured the Round and Square brads kind of went nicely with the design and also the Classic Matte Dots (I'm going with this being a 'bloke'y' card!)
Then lastly I've used my Simply scored Scoring Tool, the great thing about the Stampin' Up! one is that it's actually 12x12 so you can fit your whole scrap book papers into it (admittedly it does take up a fair bit of space) Anyway I cut the vellum to 4" x 5 1/2" so I could score it into 1/2" blocks.
I find some of the designer paper a bit too dark, so I thought this would be a good way to lighten it up but still see it, I added a saying from Good Feeling Stamps, and used some of the cute little Loose flower flourishes that I usually forget about! the leaves are cut using the Bough punch, you don't have to use the whole punch I just cut a couple of leaves off the end. Oh and I added some of the iridescent pearl basic jewels in the centre of the flourishes, although they have sticky backs I did fill up the centre of the flowers with a bit of tombow first to make sure they definitely stuck well (seems to have worked 😉)
If you missed the video here it is:
I hope this inspires you to have a play with your vellum and see what you can create!
God Bless love
Heather xox

.JPG)
.JPG)
.JPG)


.JPG)
