Posts

Showing posts with the label 3D creations

Something Saturday - Click Clack Concertina Card

Image
 Hi there Creators Well I was sitting last night wondering what to do for my Something Saturday, and playing around with a bit of paper, ended up designing this card, I've made similar cards before like the cascade cards, this is probably a bit more basic, but I'm happy with it and it's way simpler to create, but still packs a cool Woah factor🤣  I've used Sentimental Christmas Designer Series Paper which is on the last chance list. I decided it needed a sentiment so picked out this one from Sweetest Star Stamp set (last chance list again), because it has 6 words (1 for each panel!😃) and these Adhesive backed Snowflake Assortment are also on the last chance list and happen to be reduced to 1/2 price (woo hoo!) Ok, onto measurements.... You'll need a sheet of A4 for the base card, score it at 9.9cm either end, then cut in 1/2 at 10.5cm, fold so each piece is concertina'd into 1/3rd's then each folded piece needs a cut that goes 1/2 way up the card (in the...

Something Saturday - Cool Christmas Bauble

Image
 Hi there Creators,  So in the run up to Christmas I thought I should show you this bauble I came across the other day in YouTube "Elena's Craft Studio - How to make a Christmas ball from toilet roll".  I'm upping the ante and going with Designer Paper, rather than toilet roll🤣 Anyway photos are always way more exciting than me waffling on (and they do say a picture says a thousand words)  Oh wow 2000 words already done!🤣 The first one I made with retired cardstock, just to try it out, I'm pretty sure in her video she used 13cm x 1cm strips, but I didn't see the harm in using 14.8cm x 1cm (as then it's 1/2 A4 length)  however turns out you need more strips if you make it larger!  ha, who knew?  anyway I still like the look and you get 8 petals instead of 6, so the one I show in the video I made up using the Bright & Beautiful Designer Series Paper , I scaled it down to the 13cm long, and end up with 6 petal shapes. I love the different designs on...

Something Saturday - Paper Florist Dies

Image
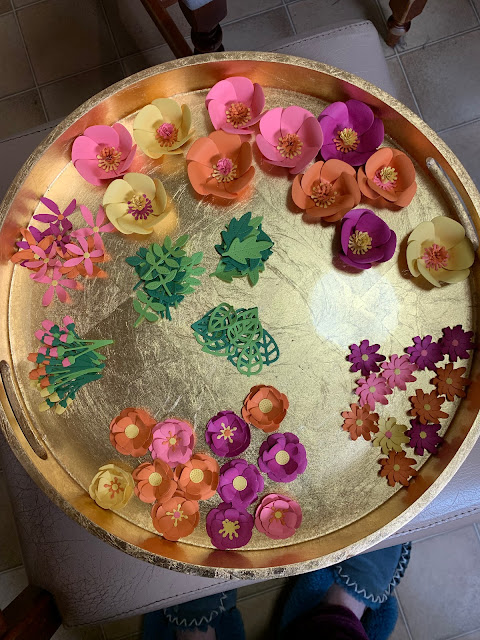
 Hi There Creators Today we're checking out the really Cool "Paper Florist Dies"   these are stand alone dies, which create absolutely fabulous flowers, you can make arrangements out of them.. attach them to paper bags.... create displays with them, pretty much wherever you can use artificial flowers you could use these!  During July you can earn Bonus Days Coupons Spend $90 and get a $9 coupon (this is cumulative), whilst these dies are $65 you could add the embellishments I've used below and get over the line (or add a bit of ribbon, paper... you name it!) I have used them on the bags I've made for my Mega class which actually is happening today! (didn't click when I made the video that it would be on the same day!)  I've used some of the Brights cardstock to create my flowers and here they are.... First up a heap of the ones I created before the video for the bags then the embellishment on the bags themselves I've also added some of the Brushed Bras...

Something Saturday - Designer Paper Boxes

Image
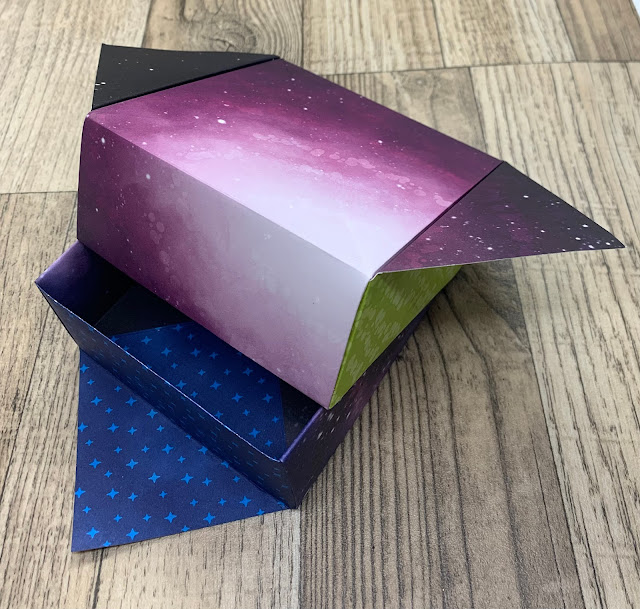
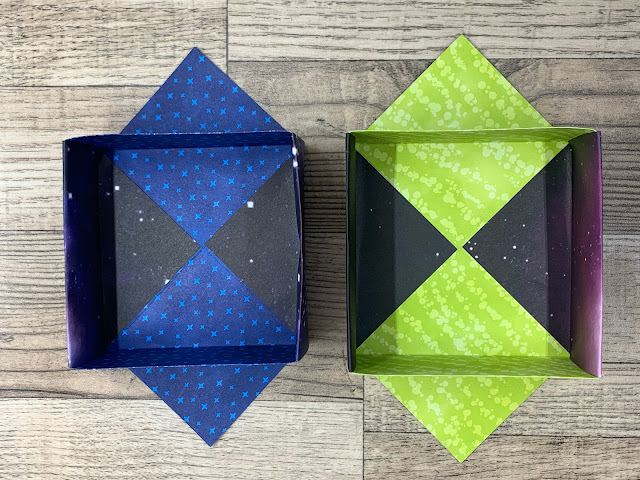
 Hi There Creators well today we're doing a spot of folding - Go the Origami boxes!  I used to make an origami box like this (with origami, it doesn't require glue) I wondered how I could make it so it displayed both sides of the Designer Paper, and now I've worked it out (kind of by accident!, and mine requires glue!) 🤣 Currently until the end of June there is a Designer Paper sale on - woo hoo hopefully you'll find the papers here:  Patterned Papers   The one I'm using today is called Stargazing it's quite gorgeous (as are most of the Stampin' Up! Papers)! Anyway here are the photos then I'll attempt to explain how to make them, ummmm! Ok here goes, you will need a square of Designer Paper (that is patterned on both sides) Fold the square in 1/2 so you have a rectangle, then open and fold in 1/2 the other way and open it up again (you'll now have a + in the square) now fold the corners in to the centre Then turn the whole thing over and fold the s...

Something Saturday - Card in a Box

Image
 Hi there Creators Well I made a card in a box a couple of years ago and since then it's been going to craft shows with me and people have commented on it and asked if I had a tutorial, so I thought maybe it's high time I did one! I also didn't entirely like the design I did the first time, so this gave me time to refine it a bit here's my original one: I decided I wasn't keen on the fact that it completely opens up and takes up a fair bit of space, so here's the one I made in the video: As you can see I've left the back 2 pieces joined, so it creates a kind of wall, I thought it would look kind of cool if you could see a bit of a reflection of the back of the cake, using the gold foil.  Plus I absolutely adore this stamp set: Artistically Inked stamp set , along with some of the Gilded Leafing (kind of satisfies my gold craving 🤣)  I always find using Tombow (Multi purpose Liquid Glue) and Tear & Tape Adhesive works well to add the gilded leafing to....

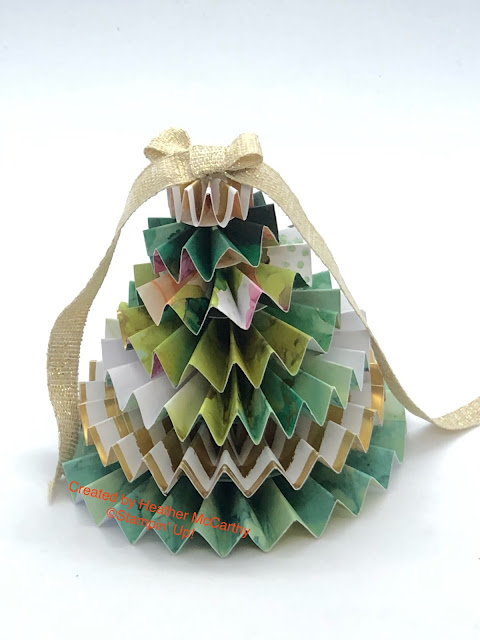
Rosette Tree Christmas in June Craft Alive Bendigo

Image
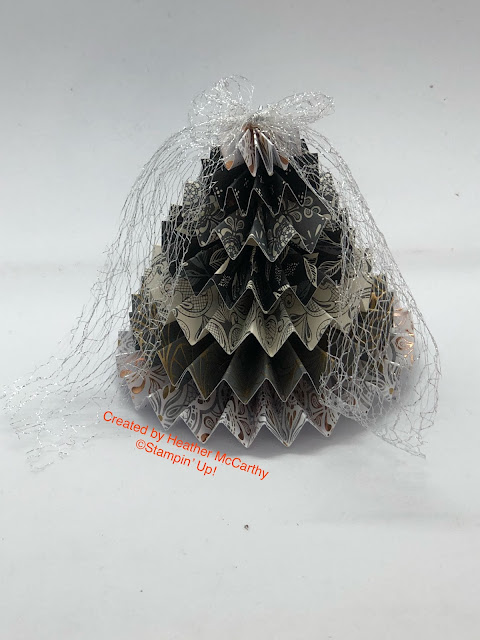
 Hi there Creators, I have done a Facebook video on this cute Rosette Christmas Tree and promised to share the measurements in a blog post, so here we are.... first up the tree!  I will aim to add the video to my YouTube channel too! It's a really sturdy little tree when you put it together with hot glue. You will need ideally 12 x 12" Designer Series Paper, the first one I made uses the beautiful Expressions in Ink Specialty Designer Series Paper, and the second one I've used the Simply Elegant Specialty Designer Series Paper the suites that go with both of these are just gorgeous! You'll need to cut each of the following: 12" x 1/2" 12" x 3/4" 12" x 1" 18" x 1 1/4" 18" x 1 1/2" 24" x 1 3/4" 24" x 2" I recommend for the last 2 that are 24" you cut double the width of the 12x12 card stock, then score it and then cut it in 1/2 (just saves an extra step).  Each piece you need to score and concer...

Tidings of Christmas (battery operated) Tea Light

Image
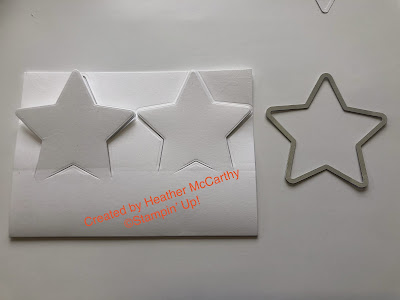
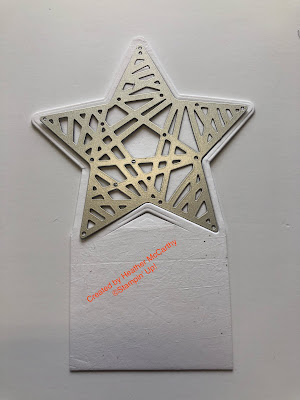
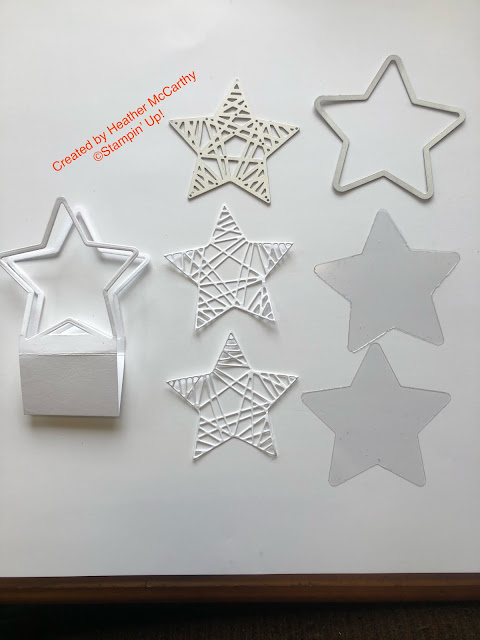
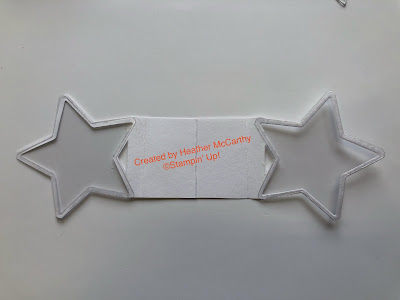
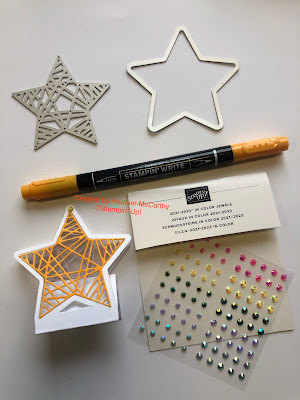
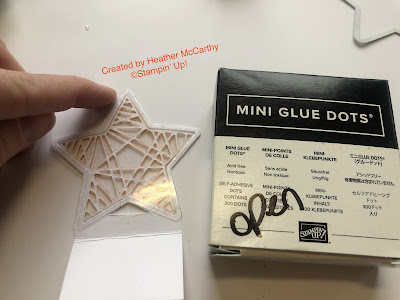
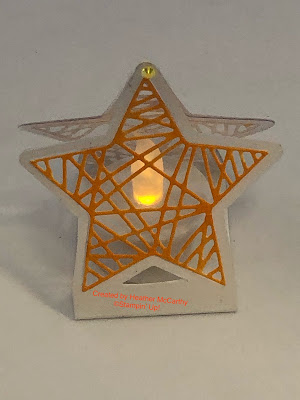
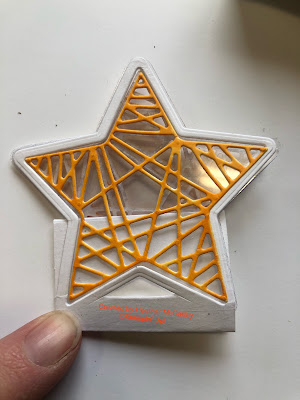
 Hi there Creators,  Welcome if you're viewing my blog for the 1st time, or the 100th! Craft Alive Bendigo was meant to happen Thursday 10th June through to Sunday 13th, however COVID has once again got in the way, so we're having a "Pop-Up Online Event" instead, just a case of those of us who would have been exhibitors, adding a little extra to our online presence.  I am hoping to have a Facebook live each day (Thurs/Fri/Sat)  Saturday will be my usual Something Saturday at 10am Anyway on to, what am I showing you in this blog post?  I was planning on doing a Christmas in June/July theme, and my choice of products for this is the lovely Tidings of Christmas Suite (do click on it to check it out)  This Suite has beautiful papers, ribbon, stamps and dies!  And I thought the stars would make beautiful tealight holders, what do you think? I decided to do a photograph instruction thingo for you, so here goes.... You will need: A standard card (I use the T...

Roll Up Box

Image
 Hi there Creators Well this morning I did my Facebook live video on a little roll up box, it's so cute!  I said I'd share the measurements etc with you on a blog post, so here it is....... but first some photos to whet your appetite 😊   Now for the measurements...... Take your A4 piece of card I used the Stampin' Up! Basic White Thick Card , as it's nice and strong, and score lengthwise at 4.95cm (just a fraction before the 5cm mark)  I actually made a quick mark on my Paper Cutter as just about all the measurements are this)  move it along and score it at the next 4.95cm (ie 9.9cm), move it along again and cut it off at the next 4.95cm mark (ie 14.85cm). Turn the card stock and score 4.95cm, move along and repeat (should be 9.9cm) then I recommend you turn the card stock around and repeat from the other side don't do what I did in the video! - let me make the mistakes for you lol Next cut the "flaps"  check out the rough diagram below;  Once this is...