Hi There Creators,
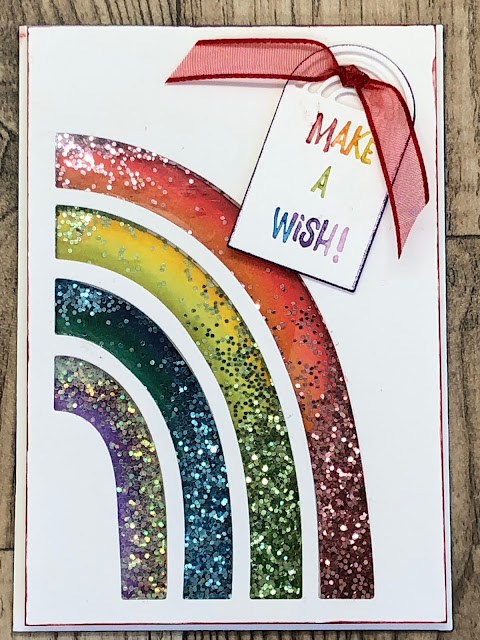
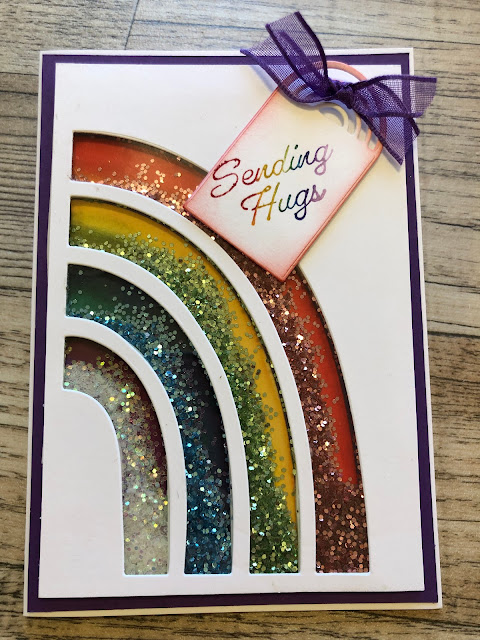
If you watched the video you'll know I'm so chuffed with this card! The glitter shakes freely, and I think it's amazing 😍 Sadly the glitter is a throwback from several years ago, but everything else is still current Brilliant Rainbow Dies/ Stampin' Blends (various)/ Party Puffins (for the saying)/ with Stampin' Write Markers (to colour the stamp), and the most useful bits the Foam Adhesive Strips and Window Sheeting
Ok, well I guess you want to see what all the fuss is about.....
I did put an overlay on the video at one part to say that I've worked out another way of adding the glitter, and I'd add it to this post, so here goes....
- First up cut the big rainbow out of white cardstock (I used 10cm x 14.5cm)
- colour the cut pieces (I used my Stampin' Blends - alcohol markers to get a even graded look)
- lay (don't stick) the die cut white piece over your base card and slot in the coloured pieces, gluing them in place
- then remove the die cut white piece.
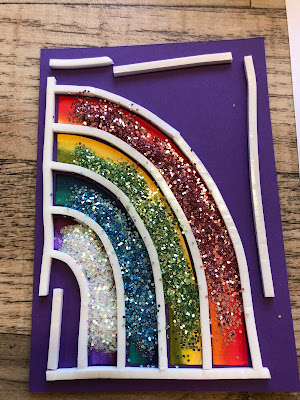
- Using foam Adhesive strips, apply them between and around each of the coloured rainbow that you've attached to your base card
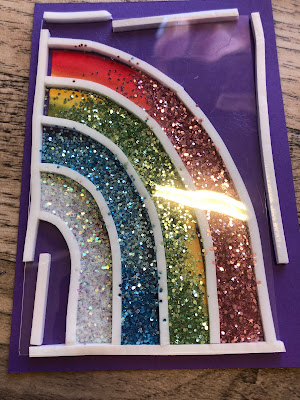
- Pop the glitter in position, peel off the top sheets of the foam adhesive strips, then pop the acetate "lid" on, rub it down firmly
- if you need to stamp on the white overlay piece do so before attaching over the top, then shake to your hearts content😃
Got a couple of photos for you too:
In case you missed the video, here it is....
I hope this inspires you to have a go at a shaker card too
God Bless love
Heather xox

.jpg)


.JPG)
