HI There Creators,
Today I felt like using my new Soft Pastels (which haven't had much of a work out yet despite owning them for a couple of months now)
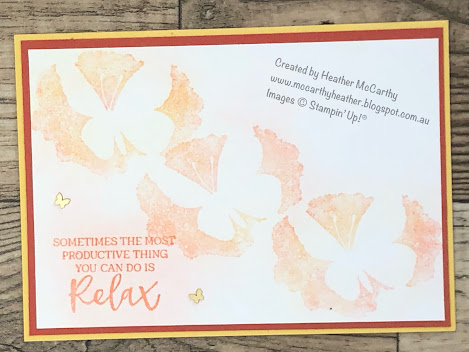
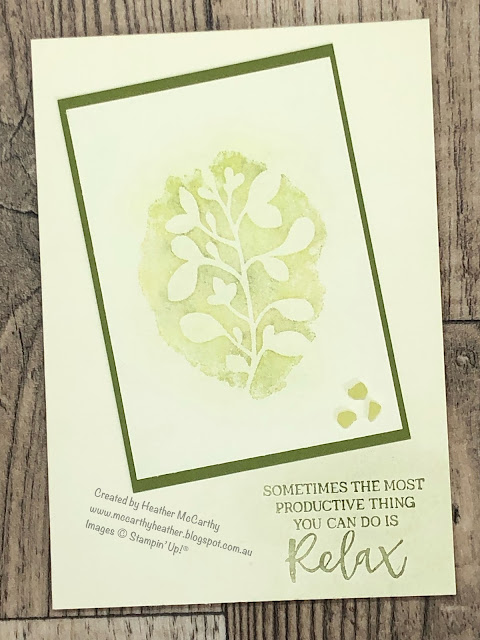
We got given this "Amazing Silhouettes" stamp set at a recent conference and initially I wondered what the heck I would do with it 🤣 but I always used to love this technique and I figured it would work well with this set (I'm happy to say I think it does!)
On to the photos then a description for you.....
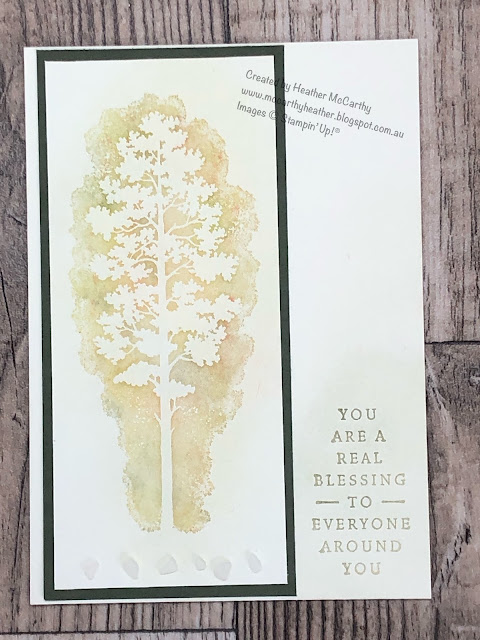
The technique is called Popping Pastels, as you can see it creates a beautiful light delicate image.
You'll need Versamark (and versamark refill if your pad is a bit dry - best if it's a bit juicy), Pastels, and cotton wool balls (and obviously a stamp set🤣)
What you do is ink up your stamp with versamark, stamp it (you won't be able to see it) Then puff pastels onto it - I scribble my pastels onto a scrap bit of paper first to get "dust", and pick up the dust from that. As you puff the pastel dust onto it, it clings to the versamark and your image magically appears (so cool!) you can add more than one colour to build up the colour you have on it, on this last tree I used about 4 colours. The versamark will "set" the pastels in place for you.
To see what I used click here: What Heather Used
and to see the video, here it is.....
I hope this inspires you to create! (don't forget if you're in Australia, you can purchase through me, just click one of the links)
God Bless love
Heather xox


.JPG)

No comments:
Post a Comment