Thankyou for joining me today, I have been a Stampin' Up! Demonstrator, since 2008. My blog will show you how to make cards and projects using Stampin' Up!'s fabulous products. And occasionally random extra stuff (that's the way I roll 🤣) Please do sign up to receive my emails, so you get my latest info.
For my Something Saturday this week, I'm showing off Stampin' Up!'s blender pens (to view them click the link), they're really cool! they have no colour at all, but you can pick up colour and then colour in your stamped images with them!
These are the cards I made after the video with the bits I made in the video☺
There are different ways to pick up the colour with the blender pens. I show 5 in the video
The first I show, is to stamp in the colour you want to use, and use the blender pen to "pull" the colour from the edges into the image, the mouse in this card uses this technique.
the second technique is on the pencil which is coloured using blender pen to pick up colour from the pastels, literally just wiping the blender pen across the pastel and colouring with it.
Both of these techniques give quite a nice soft look.
Next is picking up colour by squeezing my ink pad (while it's still closed) this gives you ink on the inside of the lid, and you can pick up the colour from this pool of ink , which is how I coloured in this card. If you want the colour lighter, spread the ink around a little on the lid, and use that to colour in which is what I did with the main part of the cheese, for the holes I used the more concentrated colour
Another way is to use Stampin' Write Markers to colour on a clear block, then pick up the colour with your blender pen, which is how I coloured in this next mouse:
And the last (and my personal favourite) is to colour your image roughly with watercolour pencils, then use the blender pens to smooth out the colour, I did use this in the balloon above, but I love being able to combine colours, and blend them together with the blender pen, so I showed this one too in the video: A little warning with the Blender Pens, Don't overwork the paper, as it will ball the paper, rather like using a felt tip pen repeatedly on paper, it will make the paper too wet and ball it up.
The Blender pens are 3 in a pack for only $21 so I think a bit of a bargain! The stamp sets I've used: the mouse one is called "Mischievous Mice", and will be available to host's only, in the new mini catalogue, from 4th January to 30th June. You would need to either host a party with a minimum total order of $250, or place a $250 order, and pick it out in your host goodies.
However the good news is that the first 2 months of the year also have Sale-a-Bration in them, so for every $90 you spend you get to pick a Sale-a-Bration item, there's stamp sets and designer papers - Bonus!!
The last set with the sunflower is from the stamp set Celebrate Sunflowers (click the link to view it) and don't forget your accessories...!
I hope this inspires you to create too (and you get to create a bit over the Christmas time)
Well today I'm showing how to make a really simple cascade card, once you've got the dimensions worked out you can make it in any size.
I couldn't remember the name of this to begin with and waterfall card, accordion card both came to mind, but after a spot of googling, it's actually called a Cascade card!
Here is the finished article (which will be off to my friends who are getting married this afternoon, so they shouldn't be able to see this post!)
As you can see I ended up having to create an envelope too for the card, as it was just too big for a standard envelope (plus this dresses the outside up nicely!)😉 How gorgeous is this Edens Garden Paper? and the meadow dies I think go nicely with it. I couldn't resist using some of my favourite Garden Gems too (sad to think at the end of the year the Eden's garden paper and gems will retire 😢) So if you want some get them now!!
See this link for the products I used in this card: What Heather Used
Whatever size card stock you choose, here's how you do it.....
score it into 3 equal pieces so it concertina's up, then you'll determine how high you want the first tier of your card to be, say you want it to start the slope at 1", you mark a 1" on each side (see the photo) then you cut the diagonal between the 2 marks.
Now you should have 2 equal (hopefully) pieces 😃 Line these up on top of each other, make sure the bases are together, even if the top isn't. Then work out the middle (both ways) of each individual section, then put a pin mark in so it goes through both pieces of card. You'll then want to cut lines up and down, (opposite for each piece of card) see the picture below:
these should then slide into each other to create your card :) Like so....
It's really not complicated! have a go, I'd love to see what you make.
I saw these really pretty baubles on pinterest, and thought I'd give it a go, she cut all hers by hand, Yikes!!
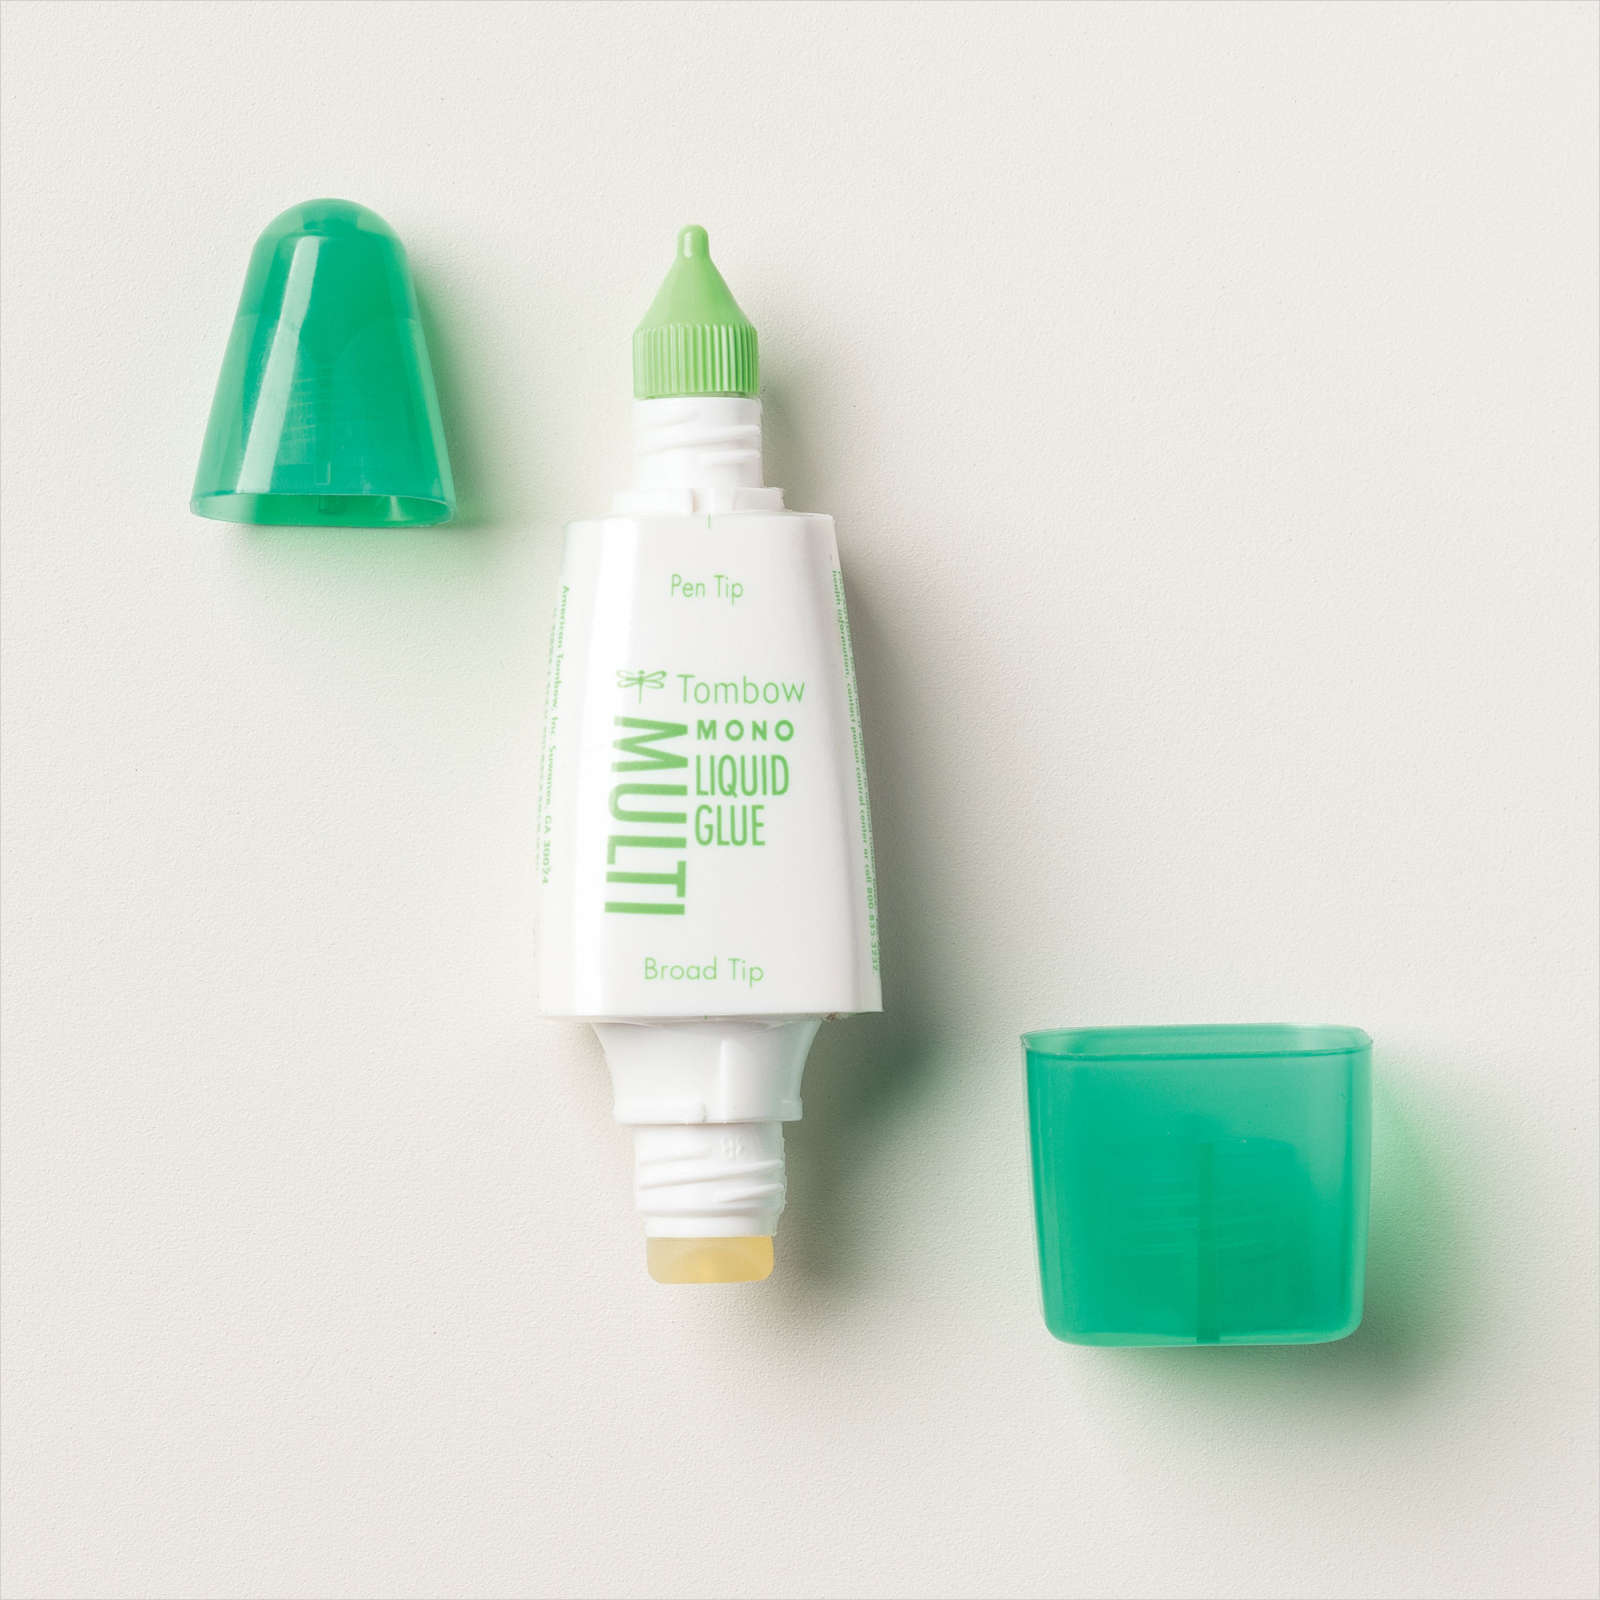
I took the easy way out and used punches lol. I picked out the Label me Lovely Punch, and the other things you'll need are ribbon and an adhesive that will draw a fine line - I used Multipurpose Liquid Glue (Tombow to most)
They are remarkably simple to make, punch yourself 20 of your chosen punch shape.
Then fold them in 1/2 then draw a fine line of glue across the inside middle of each individual one, do this to all 20.
then draw a fine line of glue at each end, so you can stack them together, and they stick together top and bottom.
Once you have the stack of 20, and the glue is dry, check it out, slowly pull the 2 end pieces round to meet each other, you can add some ribbon, before you attach the 2 sides together (again by a line at the top and the bottom)
Check out the video I made if that doesn't make sense😊
I hope this inspires you to have a go and make your own baubles
Well this isn't exactly my "Something Saturday" as it will be aired a little sooner thanks to Craft Alive Bendigo. So if you're joining me for the first time from Craft Alive or GICS, Welcome!, and welcome back anyone who's been here before, I'm so thrilled you choose to see my blog posts and videos 😊
In my video this week I have gone through the Eden's Garden Collection of products and the Suite Sensation I currently have on offer (if you want to see the info about that, click here: Eden's Garden Suite Sensation Blog Post.
Today's post is about the card I make in the video using the cotton paper, I'll admit that I wasn't 100% sure how to use it to begin with, so I googled and pinterest'd it and found a video by Wow Nola Creations, using the paper as a special textured background so I had a go, and changed it slightly, and voila:
Funnily enough the shabby chic thing doesn't usually do much for me, but I think that's how this turned out, and I'm quite happy with it
So, how did I make it?
First off I cut a piece the light cotton paper (it comes in 2 colours Soft Succulent and Evening Evergreen) I measured it out to be 6" by around 10.5cm. then I cut a piece of coordinating cardstock approx 1cm shorter on each side (I had Mint Macaron.)
I stamped on the cotton paper (on the non-shiny side) to give it an interesting background (I used the co-ordinating Eden's Garden Stamps) then scrunched it up, flattened it out a bit and stuck the mint mac card to the shiny side. The cotton paper was deliberately larger than the cardstock so that the edges could be slightly ragged looking., I've then added a line of the darker cotton paper (shiny side up)
Now to make the flowers, I've taken a peice of the light cotton paper 6" x 1" and cut diagonally, so you end up with 2 long triangles. I then coloured them by daubing on Poppy Parade. I then added a line of tear & tape adhesive to the bottom of each and rolled them up to form the 2 flowers.
wow I didn't realise I hadn't done a blog post on this yet! (had it in my emails for a while - oops!)
Eden's Garden is a gorgeous new Collection, sadly the papers and gems are only hanging around for a couple of months till 3rd Jan (or while stocks last) 😢, then the stamp set and dies will carry over into the upcoming catalogue.
My New Suite Sensation! Using the new Eden's Garden
This Kit I have created is available to you for $40, which includes:
1/4 pack of Ever Eden Specialty Designer Series Paper (you will have left overs)
A 1/2 pack of the Garden Gems (again you'll have left overs)
the ribbons and various papers, all cut & scored/ die cut etc for you to get creating.
Envelopes for all the cards
full written instructions to create all 6 cards (3 of which are fancy folds) plus video instruction links if I feel it needs them.
you can pop the money directly into my Commonwealth bank
account: 063828 10092273 with your name as a reference (no surcharge)
and send me a message to let me know (don't forget to let me know your address!)
If you are part of my team or purchasing the Eden's Garden Collection through me: (160849 $144), or just the bundle (Stamps & Dies)
I will forward the instructions to your email for free, or you can
choose to have the pack too for only $35, use this payment link (there
is a surcharge): Eden's Garden Suite Sensation (I've purchased the collection or bundle) or pop the money into my account with your name as reference (no surcharge)
For those who order the Full Collection from me, I'll also be sending
you an email with instructions for more cards to create.
Please have your orders with me by Tuesday 7th December, I will get everything ordered and aim to have it out in the mail by 23rd December (if not before)
I had a request to do an Embossing folders video, so that's what this weeks video is all about. They can be a little confusing as they come in small, medium and large, Standard and 3D. And how do you know how to get them through your machine so they actually work?
Stampin' Up! has 2 Stampin' Cut & Emboss Machines, the mini and the standard. The Standard one is a similar size to the Bigshot (I find it has a tad more room for the plate, the Bigshot used to shave bits off my plates if I didn't have them lined up exactly, I haven't noticed that with the Cut & Emboss machine)
Anyway, as you'll see from this picture our embossing folders come in a thin (small) size, which would emboss around 2/3 of your card front, a Medium size, which completely embosses your A6 card front and also a "large" which is 6" x6" sized (handy if you want the pattern on an angle!) An important tip is to make sure the fold of the embossing folder is facing your machine when it goes through so it can't get out of sync and break the spine.
the 3D folders are a lot thicker than the standard folders, and so they can't go through your machine with the same plates. If you have one of the Stampin' Up! machines they make it easy, as it says on the plates what you need! if you don't however, what you can do is experiment, most machines have a base plate, so start with that and keep layering up till the folders work, sometimes you'll need to add a "shim" or two, this is just a piece of A5 cardstock, all it does is boost up the plates a fraction, which might be all you need!, you just pop it on top of your base plate, and add the other layers on top.
I promised in the video that I'd show you what I made with the embossed pieces, so here goes:
this first one using the fabulous Seashells 3D embossing folder, 3D means that the embossing is at varying depths, sometimes 'de-bossed' too. I've done a special technique on the back of it, called "smooching" it creates a really cool watercolour effect (I'll tell you more after I've shown you the cards).
these 2 cards use the Wintry 3D embossing folders, all I've done is essentially added a bit of ribbon and a saying! and buffed over the embossing with an inked dauber.
Then these last 2 folders are called Meadow Moments, they are standard embossing folders which means that all the embossing is pretty much the same depth, again I've just added ribbon, a saying, and buffed over the embossing with an inked dauber.
I mentioned the "smooching" technique to create a watercolour background, here's how you do it:
Take a large clear block, add some drops of re-inkers (I used Pool party and Soft Sea foam initially), then spray it with water till it liquefies all over the block and all the re-inker is spread around. You'll then need some Shimmery White cardstock, and you press it onto the watery/inky block., keep doing it till you have covered the area you want to. You can then let it dry naturally (or if you're impatient like me, get your heat tool out!) I then went back over mine and did it again with Pear Pizzazz re-inker.
This is how mine turned out:
isn't it so cool? I reckon I'm going to be making a heap of these backgrounds (and they'll all be different, how exciting!)😁
If you haven't seen the video and would like to here is a link to it:
Well this Something Saturday I've mixed up my embossing powders - literally!
I thought it would be interesting as they come in packs of 3 now to see what black and white would look like mixed up and embossed etc.
Therefore here are my findings.....
first up the embossing powders straight up -
Top Row: Gold, Silver, Copper,
Bottom Row: Black, Clear & White (yes the clear isn't obvious, but bear with me!)
So then I took a bit of 2 different colours from the sets of 3 and mixed them up in separate containers, and these were the results: I've put the 2 original colours either side of the mixed colour
Gold and Silver mix
Silver & Copper Mix
Black & White Mix
Gold & Copper Mix (I really liked this one!)
Now I asked you to bear with me on the clear, and here is what I did with it (actually I did 2 things....)
Firstly I took the clear embossed on white cardstock, and added colour to the background using Blending Brushes; where the embossing is stays white (so pretty)
Then as I was doing this I thought how cool it would look with a different colour under the embossing, so I've used Pool Party cardstock, clear embossed onto it then added colour over the top (love it!) by the way how pretty is this heart from Henna Hearts stamp set?
I made them both up into cards using the lovely "Sending Hugs" saying from the new Eden's Garden Stamp set
In my Something Saturday video today I'm showing how to create a card that has a window type opening in it, if you plan to create your own advent calendars this would be one easy way to do it with the right dies 😀
So here are the cards I made using the Bright Baubles Bundle:
Firstly the lines on the outer card are simply made by dropping the ink pad repeatedly onto the card! (make sure you have scrap paper under your work, or everything will get coloured! lol) Also quite a good way to hide mistakes 🤣
Next up you create the opening - to do this you'll need to only partially cut the die, leaving a small amount uncut where you want the "hinge" to be (see the photo below)
After that it's just a case of decorating, you can have it as an opening to the inside of your card, or in my case I added extra under it.
I added a piece of coloured card covering the back of the front of the card (how confusing is that?!), in other words I added a piece of card 14.5cm x 10cm behind the hole, then added a die cut directly onto this through the hole, so when the door opens you see the die cut. Oooo Just thought it would look pretty cool with window sheeting instead of the coloured card! Umm another time as it's now tipping down outside and that's not so appealing getting out to my craft room!
To see (and possibly purchase if you're feeling so inclined) the products I've used, check out this link: What Heather Used
If you'd like to see the video check it out here:
Ah well I hope you are all faring well with the rain and thunder storms!
Gee Whizz haven't the months flown by! Not long till Christmas again (I love making Christmas Cards!)
Anyway Novembers cards are sparkly and 2 of them Christmassy 😃
I'll start with them.....
See the links below each card for the individual products (codes and prices) I've used for each card and at the bottom I'll pop the times/day of classes:
I do love this angel from Angels of Peace Stamp Set, she feels really serene to me, I've paired her up with the lovely leaves die from Artistic Dies, and some of the stunning Expressions in Ink specialty Paper. Not forgetting a bit of Wink of Stella for glittery wings😉
This other Christmas Card Ive finally got around to using a couple of things I haven't used much, the Parisian Flourish 3D embossing folder and the Stars are Shining bundle, I've heat embossed round the edge and combined my gold and silver powder to create a really cool champagne'y sort of colour
Check out this link to see what I used in this card: Parisian Stars
Card #3 I've used some new stuff......Eden's Garden is a new Suite coming out on 2nd November I have used one of the dies and stamps from it, combined with the Gold and Rose Gold Metallic Specialty Paper.
Check out this link to see what I used in this card, although I can't link to the Eden's Garden suite yet: Eden's Garden Hugs
Last but not least, I think this might be my favourite card. I love this stamp set - Artisically Inked. It really doesn't need "dressing up" I've used 4 colours, and have to admit did add some Gilded Leafing.
SO, which card is your favourite of the pick for November?, do comment below and let me know!
The day I'm teaching these cards is 3rd November at 10.30am or 7pm, you'll need to book your place if you want to come along as places are limited Class cost is $20 which includes envelopes and instructions to take home too. However if you'd like to make these cards and can't make it that day, let me know and we can arrange another day (the advantages of having my own classroom is that I can leave it set up for another day 😉)
I don't know about you, but when I send off my Christmas Presies (mine go off to the UK and other far flung places) I really love making them look gorgeous on the outside, hopefully they also like what's inside. But who doesn't like looking at a pretty'ly wrapped pressie under their tree? or getting a beautiful looking present for their Birthday?
Stampin' Up! have some small "cheat" ways of wrapping up smaller presies, just decorate the boxes or bags and voila....
I have stamped directly onto the Ombre Gift Bags, and the boxes I've used a combination of Designer Papers, Stamps, Dies and even an embossing folder directly onto the Acetate Card box.
I do show them all in the video below, and you can check out Stampin' Up!'s Packaging solutions here:
My Something Saturday this week is about how to add veins of the gorgeous Gold Gilded Leafing to your stamped work, I've used the beautiful Artistically Inked Stamp set, I think this is just soooooo gorgeous! (check the bottom for the link to the products I've used)
Here are my cards I created:
this is the card I create in the video:
Isn't it gorgeous? It's so easy, this stamp set Artistically Inked, is so forgiving to use, pick a few coordinating colours and stamp, you can stamp quite randomly, I like to try and cluster them together. then just use the fine end of the tombow (Multipurpose Liquid glue) to draw on glue where you want the gilded leafing to go, allow the glue to dry a little before dusting over with the Gilded leafing, and brush off the excess, I like to use a fairly firm sponge for this. And voila gold veined stamped images, wooooooh 😍
And one last image for you.. (got a bit carried away!)
Well this "Something Saturday" was on the variety of Stampin' Up! glues (aka Adhesives) on offer currently.
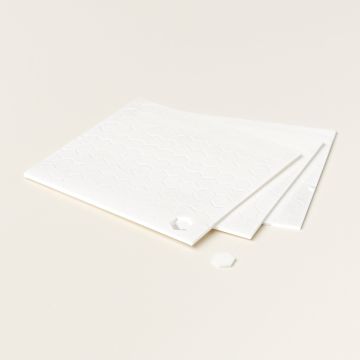
first up on my list was Dimensionals, these are Sticky Up'y dots, little foam hexagons with adhesive on both sides, so you can create "dimension" with your work. They come in White and black in 2 different sizes and there's heaps of them in a pack. The white standard Dimensionals have 300 plus you can cut up the side bits so it probably gives you another 100 peices. The white mini dimensionals have 720 mini dimensionals plus again all the bits round the sides. Black dimensionals have both in the pack (2 sheets of each).
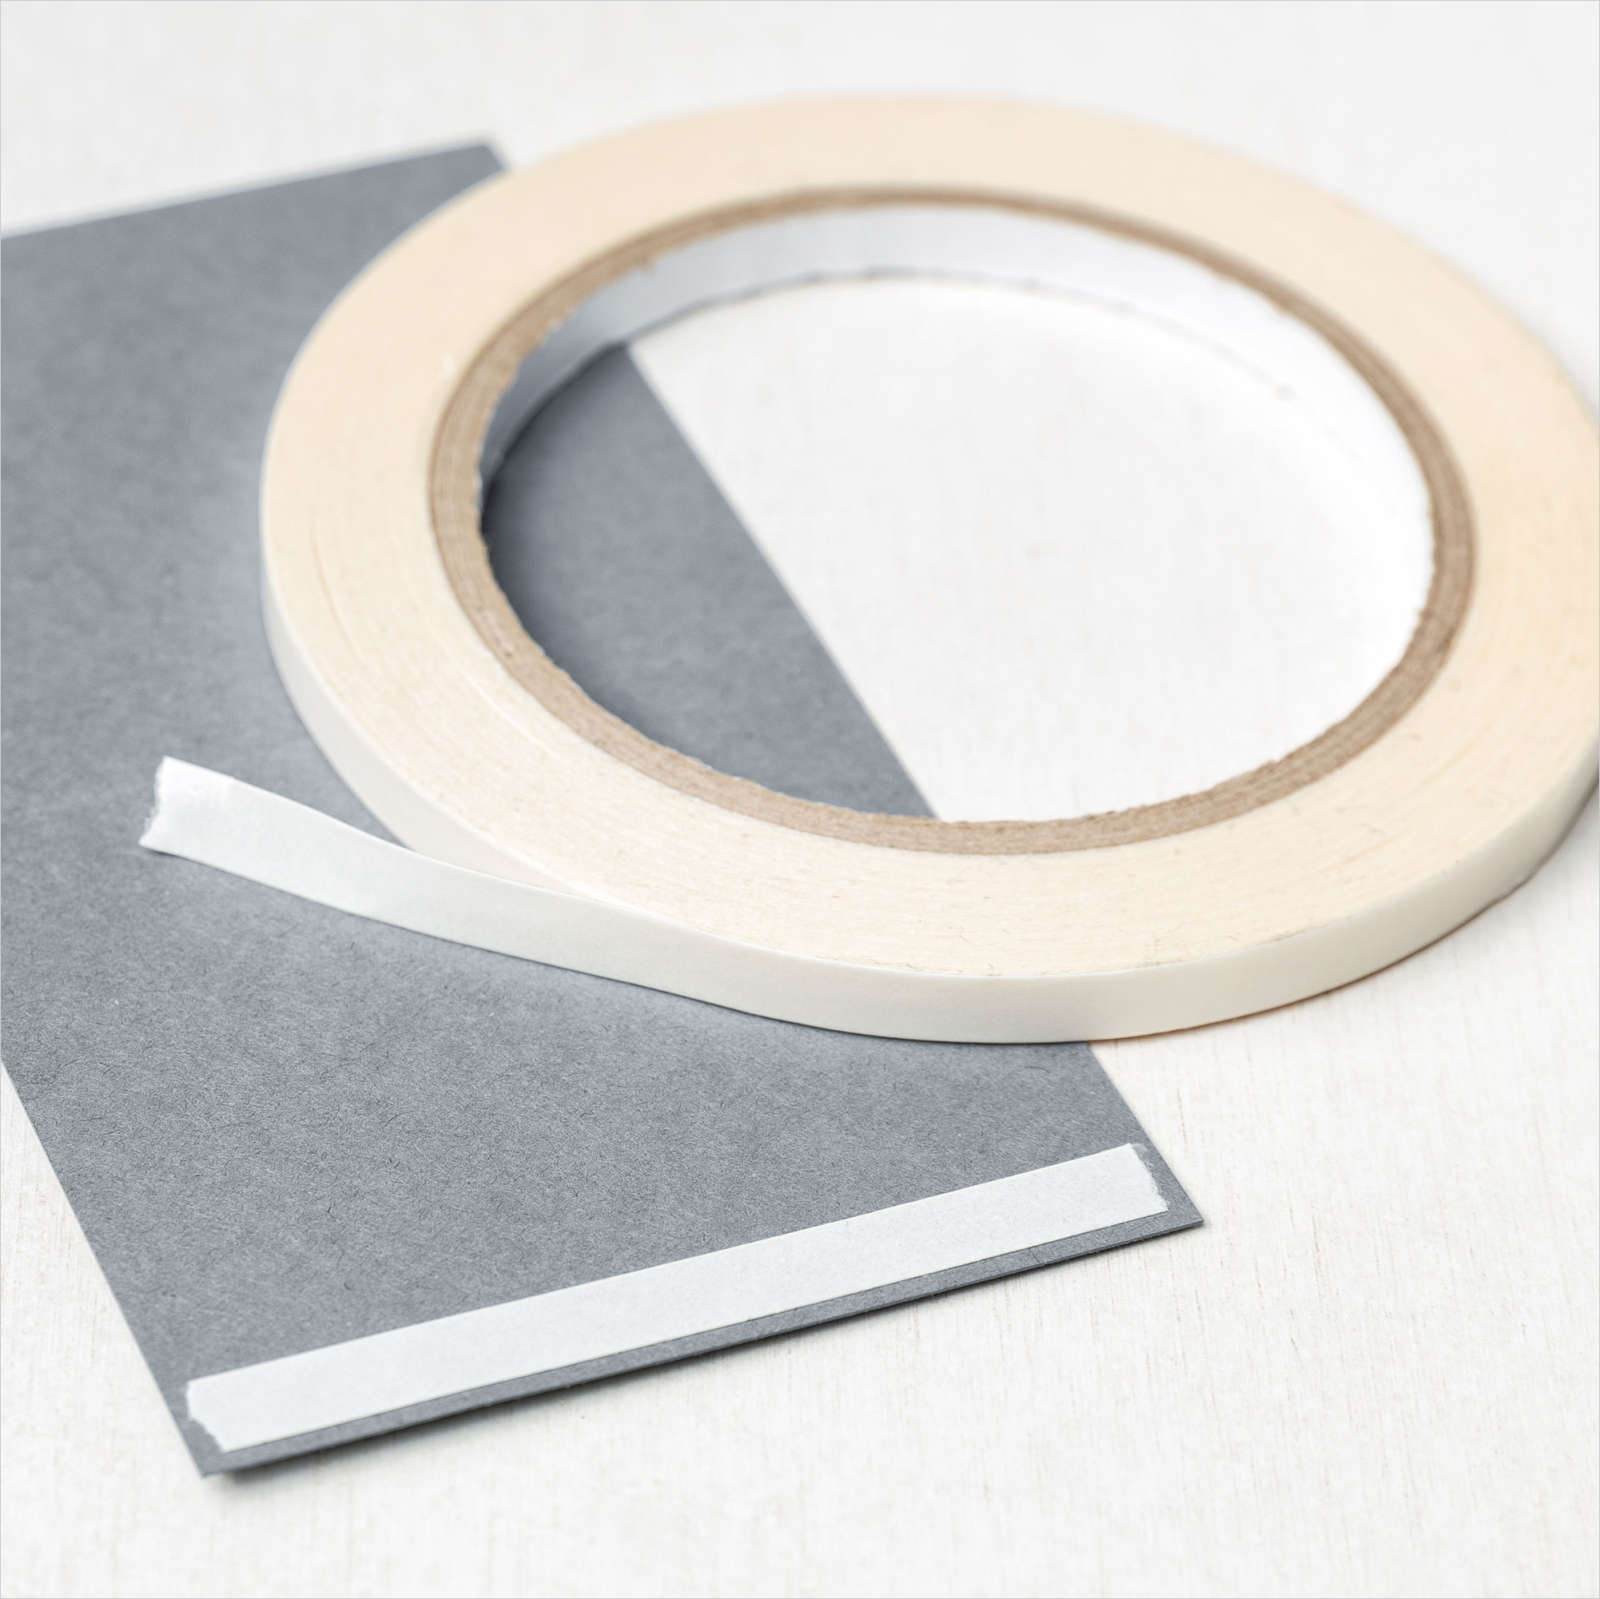
Next up is the Tear & Tape Adhesive, (basically double sided sticky tape that's stickier than your average double sided sticky tape and doesn't fall apart after 6 months!) when it goes on it's sort of translucent when it's on, it's fabulous for getting your ribbon straight, or just generally paper/cardstock, also if you have trouble getting things straight or dealing with a large piece, it can be really handy to peel a little bit away fold it over so it shows on the outside and get the corner straight of your piece then peel the rest carefully off.
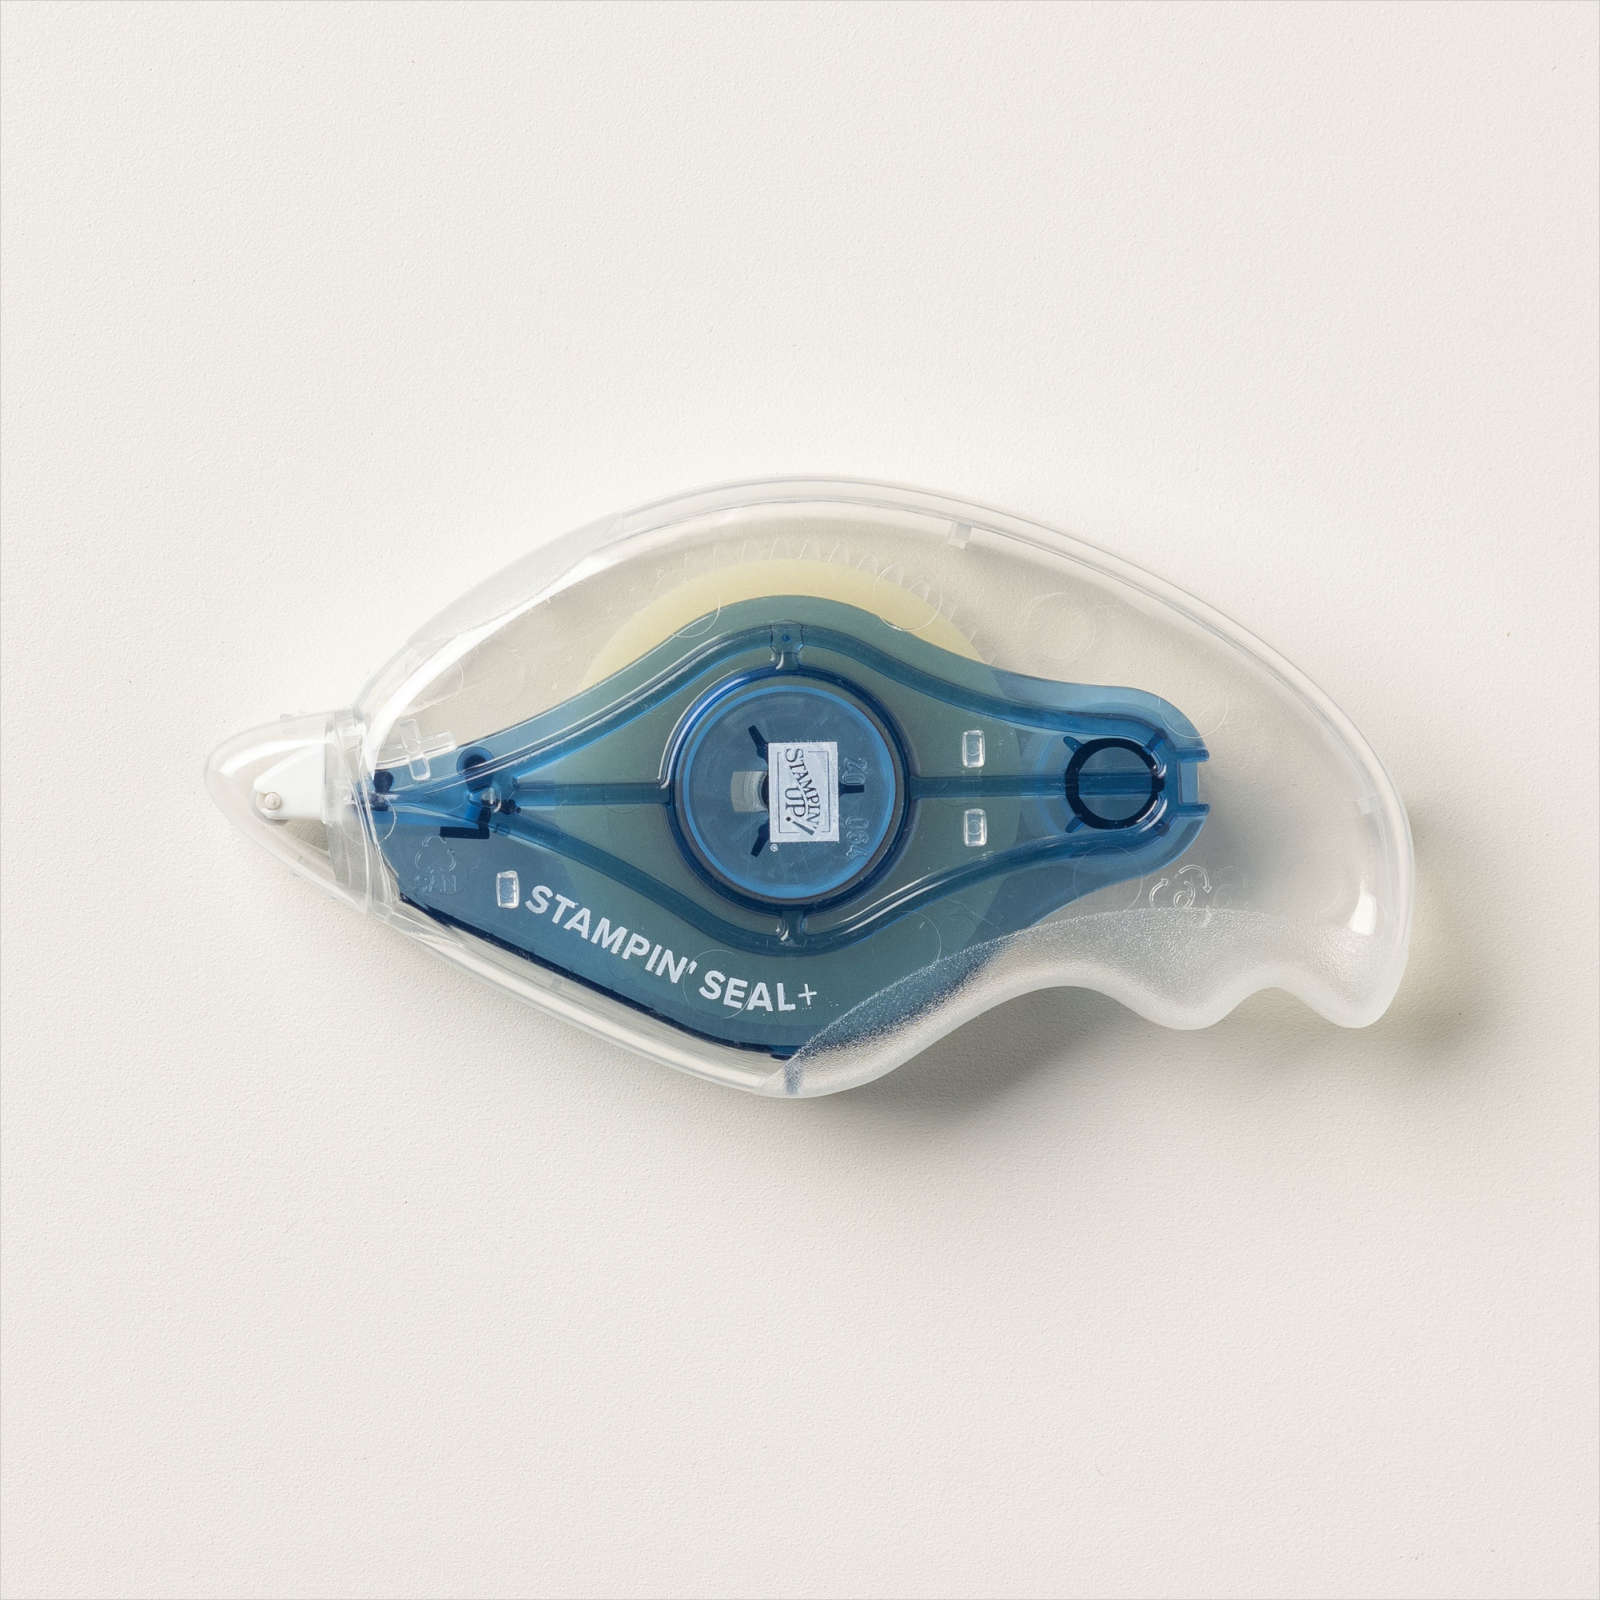
Then I showed Stampin' Seal (and talked about Stampin' Seal Plus)
This is an easy way to add glue in a quick straight line it's clear on, it's like applying white out tape, only both sides are sticky. Stampin' Seal (light blue) is fairly sticky, and holds well. Stampin' Seal Plus (dark blue) is mega sticky and holds even better, it has little lines in it approx each mm, which is kind of where the tape breaks off when you're done. There are refills for each Stampin' Seal Refill, and Stampin' Seal Plus Refill (click on the links to check them out)
Mini Glue dots next up, they are clear and fabulous for attaching small embellishments to your work, bows are great with this, or also sticking vellum down, which tends to show most glues, as these only take up a small amount of space you can hide them under lines or embellishments.
Silicone Craft Sheet, an absolute must if you're doing anything with glue! I constantly use mine (which if you've seen my videos you'll see it in anything I'm using glue) It's a square sheet of silicone which glue doesn't stick to, and just rubs off when you're done.
Cling Adhesive is the stuff that Stampin' Up! now offers for the back of your rubber stamps. When you purchase rubber stamps now they have this amazing cling adhesive which means your stamps don't come off the block until you peel it off, no more dropping off mid-stamp! if it becomes non-sticky you just wash it and it "re-sticky's" again
Foam Adhesive Strips, they are as it says "foam" they're double sided sticky, and they're strips, so bendy! I've used them to create shaker cards as you can take the strip and bend it round till it meets
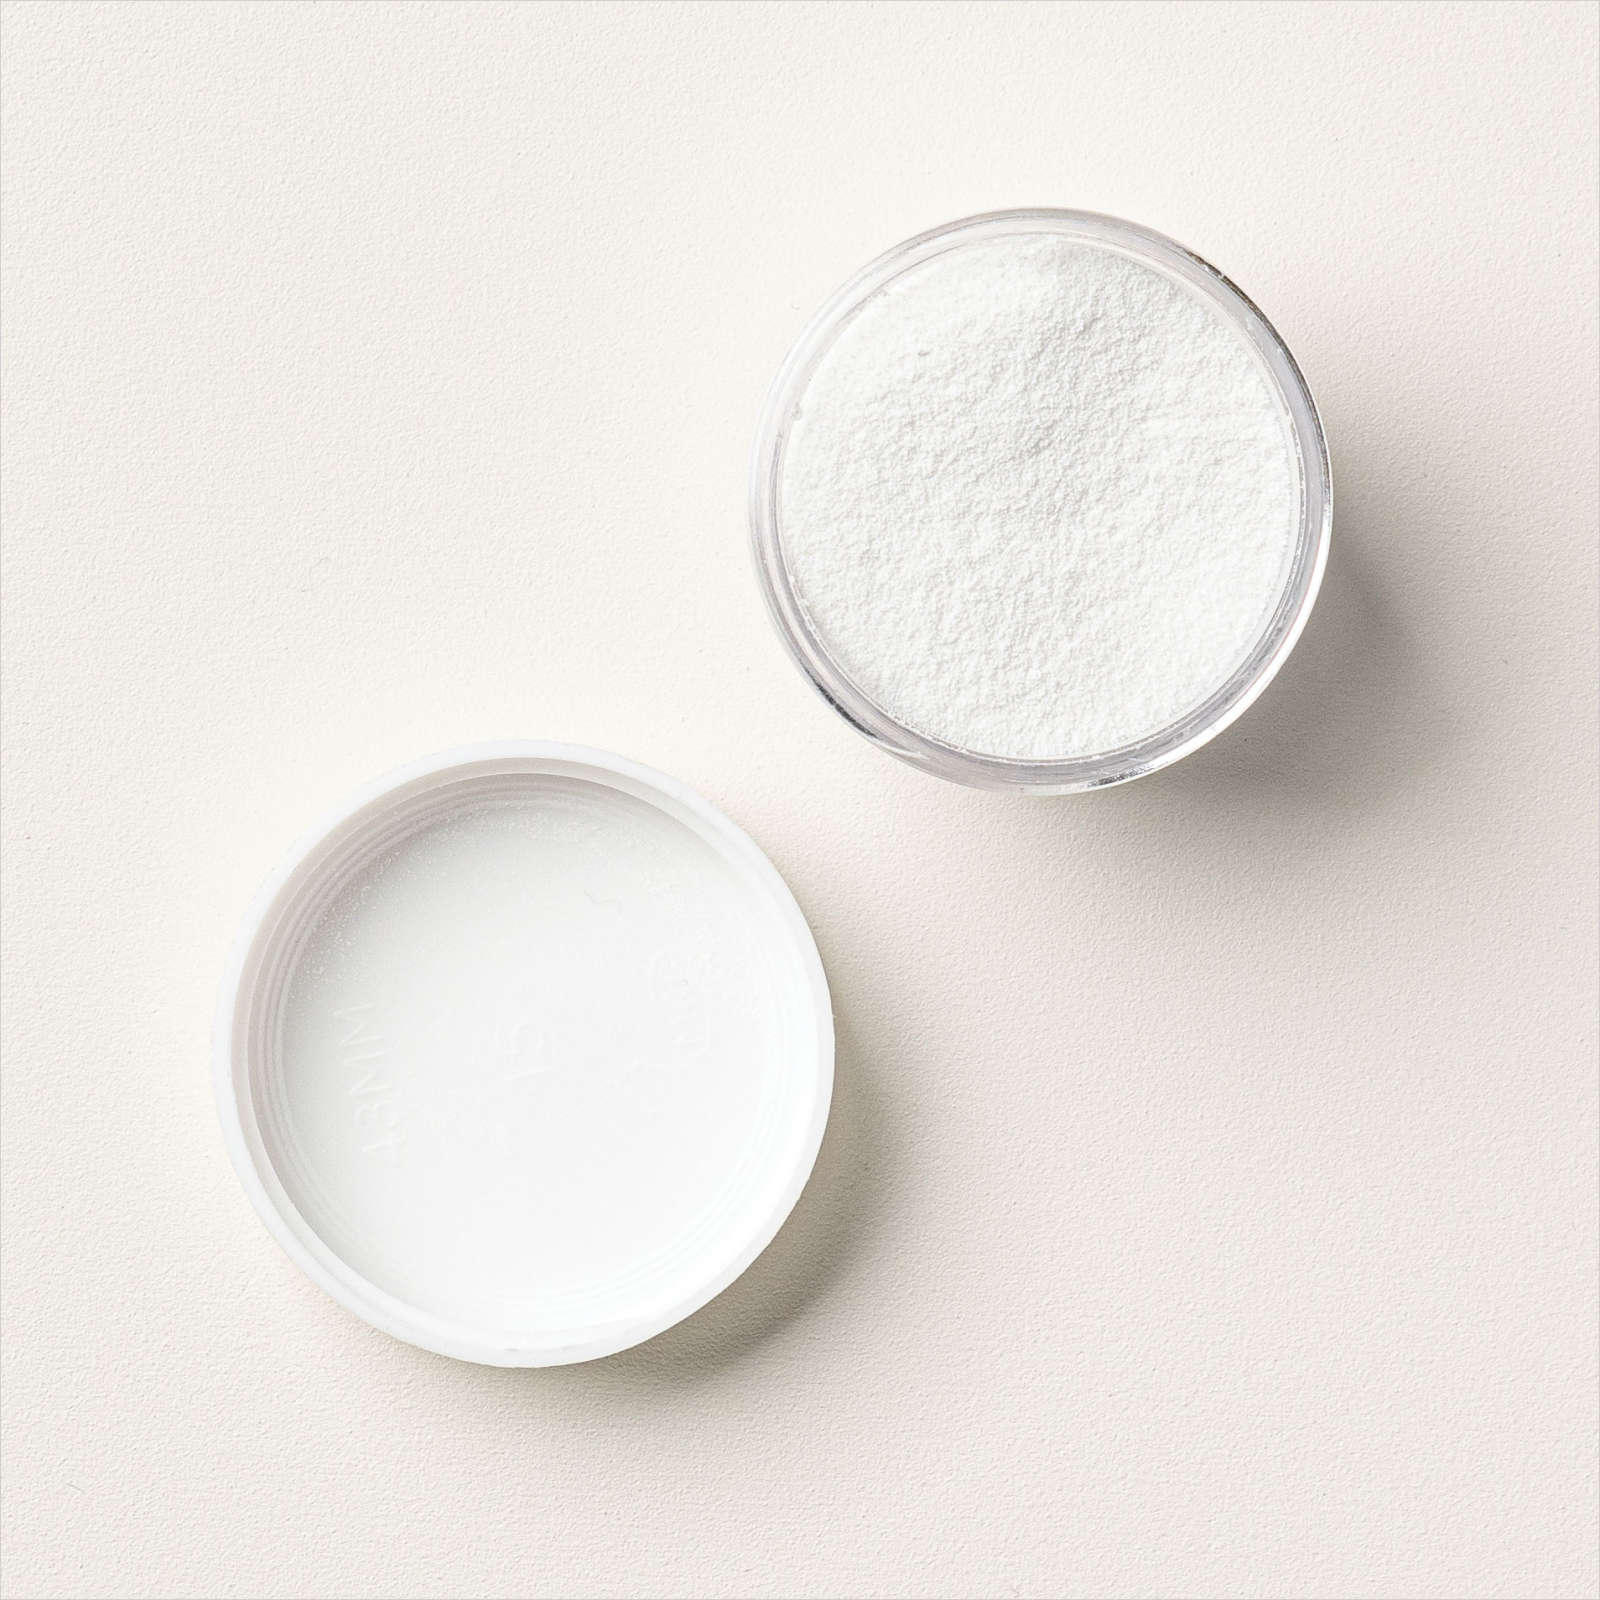
Heat & Stick Powder, this stuff is amazing! If you stamp with versamark, then dust over with this stuff, you heat it using the heat tool till it melts and goes sticky, then you can add glitter or gilded leafing (or potentially anything else you want to stick. If you're using glitter, reheat it again after applying the glitter and it set it into the heat & stick powder (you don't need to do that with gilded leafing)
Foam Adhesive Sheets (not strips!) So these ones are kind of like sheets of dimensionals that didn't get cut. If you want to you can cut these to any size, I've run mine through my Stampin' Cut and emboss machine with dies. Add the cardstock to one side cut with your die, and peel off the other side. Also fabulous for shaker cards!
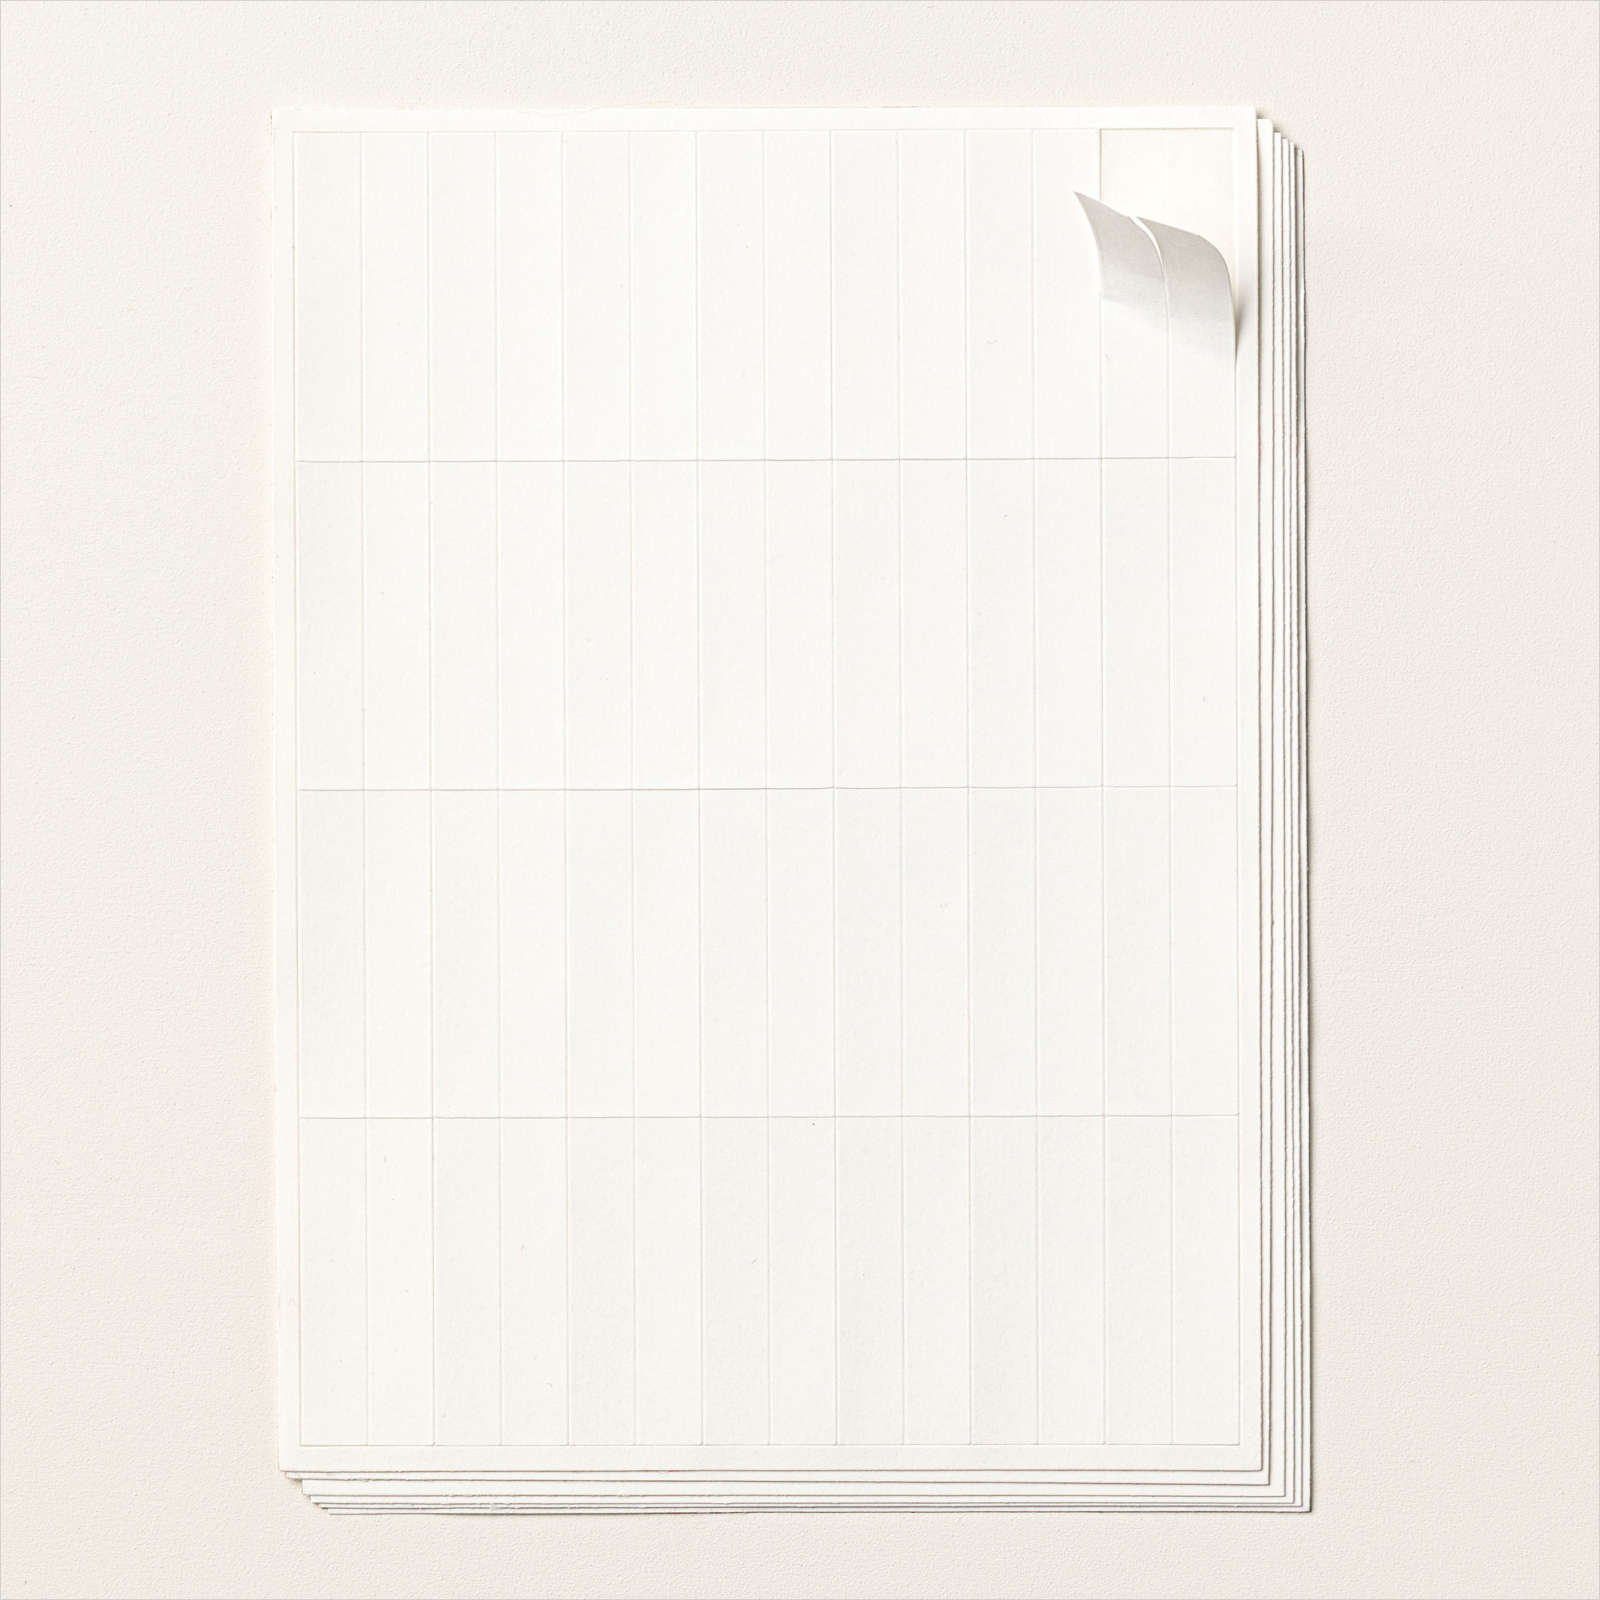
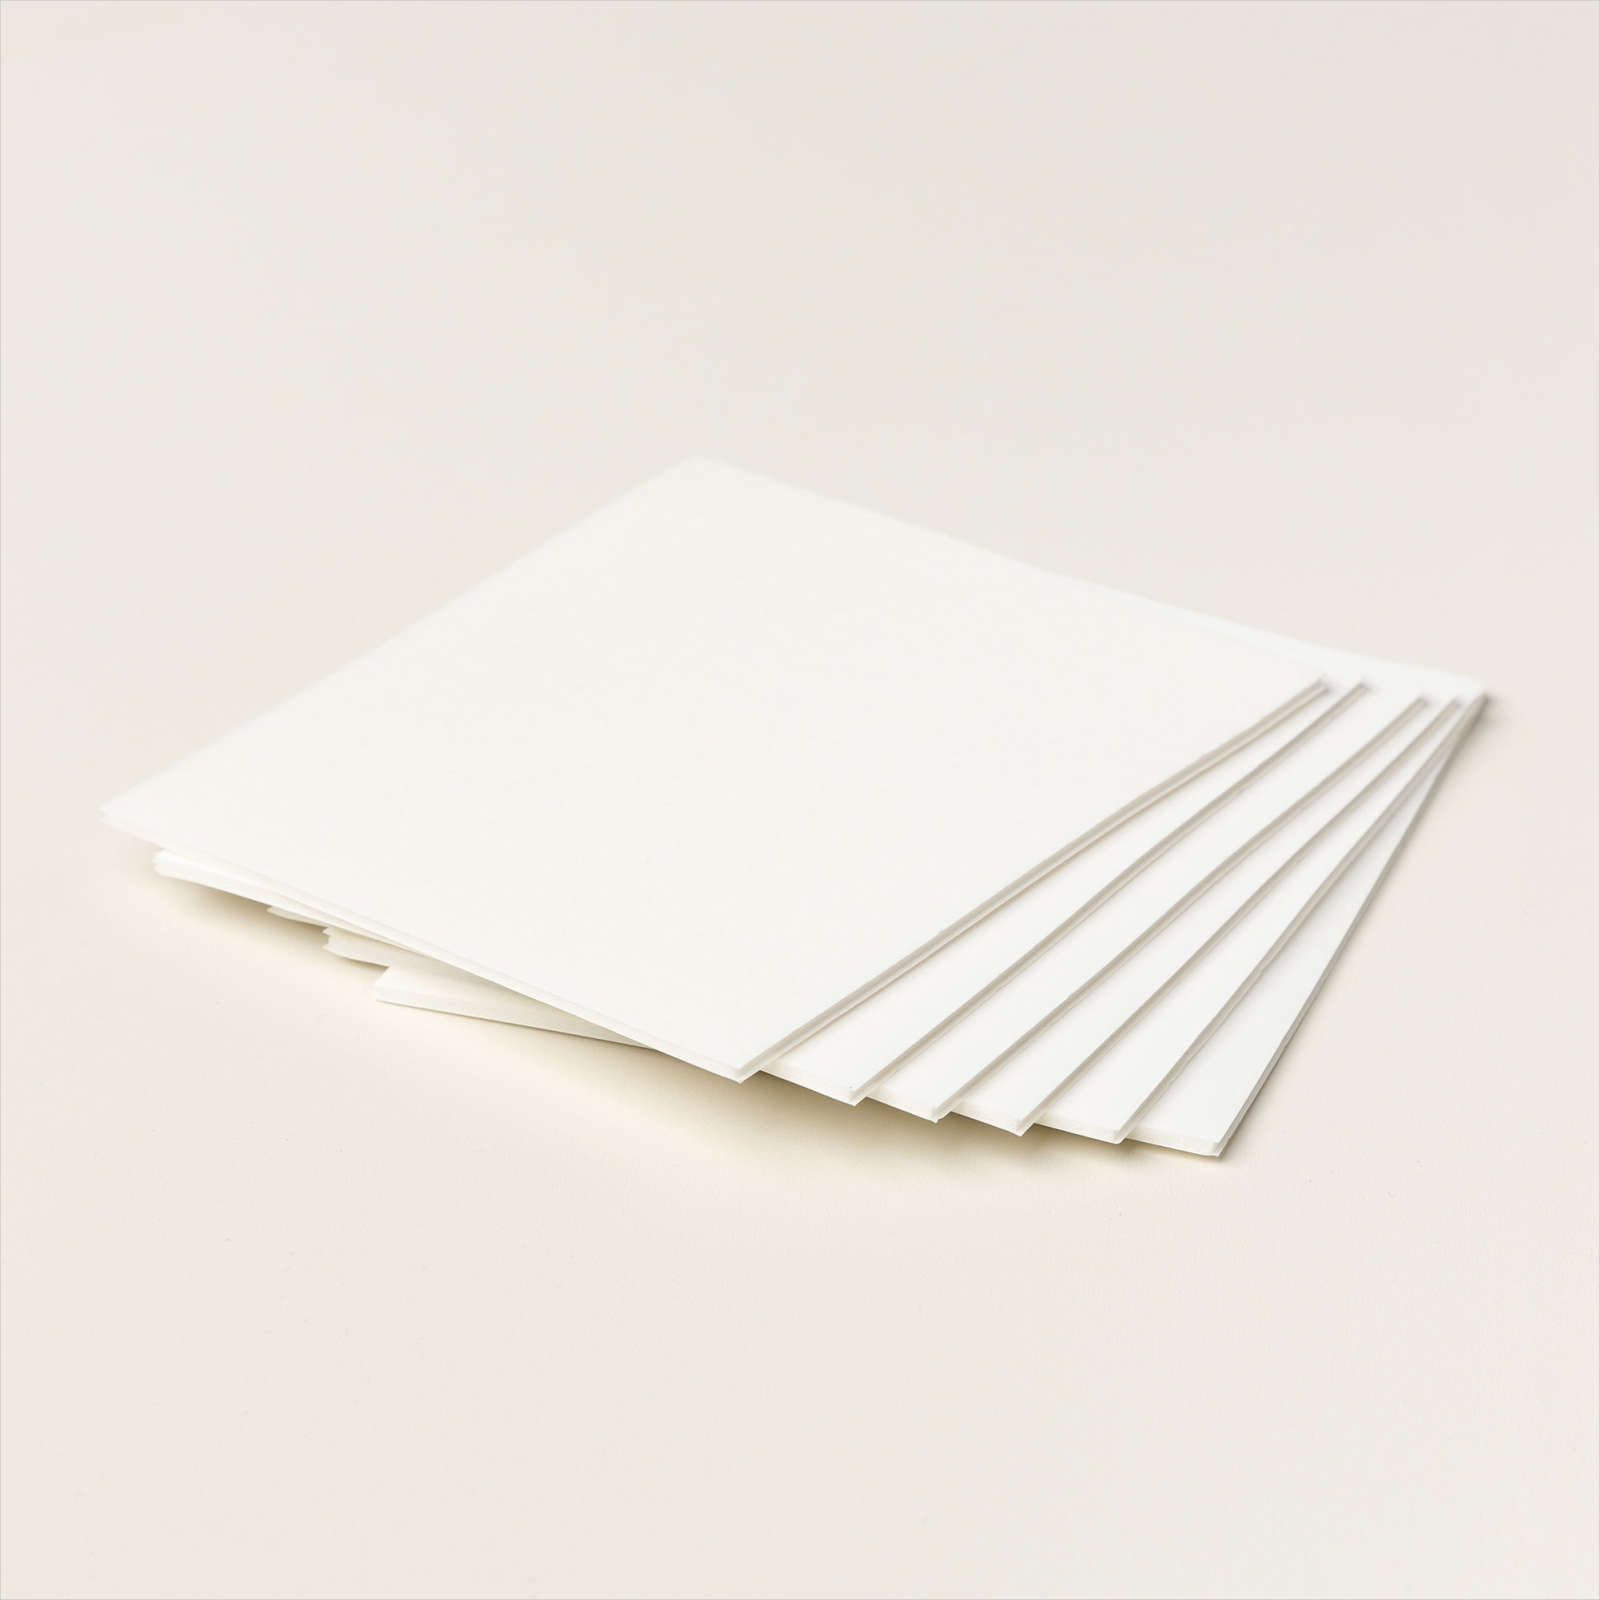
Alright 3 more to go..... Adhesive sheets is next, you know those really fine die cuts that are a pain to add glue to, yep well these are the go for those, Add it to the back of your cardstock, cut it out, peel off the backing (I recommend buffing it down well before peeling off the backing) and "Bobs your uncle" It's clear once you've taken off the backing, and just leaves a fine film of glue behind
Multipurpose Liquid Glue (commonly known as Tombow). this just happens to be my favourite glue! it's double ended and goes on white, dries clear (kind of like your average pva) but soooo much more...... Being double ended (you twist off the end) there's a thick end ("not as thick as some" as my Grandma used to say) and a thin end, if you want to "draw" with your glue you can use the thin end, in the video you'll see I scribble with it then add gilded leafing. However I use it to attach my cardstock down - a little goes a really long way! however one of the advantages I find is that it has a second or two of "wiggle room" so if you've put your paper down wrong you have a second to readjust it, having said that once it's stuck, there's nothing on earth getting that sucker off! My hubbie Tom used it to put a a frieze for his train room, and trust me it was not coming off in a hurry when we tried to remove it, I think we ended up painting over it instead in the end.
Another thing with Tombow is if you put it on as a thin layer then leave it to dry, it becomes re-positional, like sticky note paper.
I will also use this with my silicone craft mat and pop glue in the corner of the mat and use a sponge to pick up the glue to sponge onto any die cuts, or even just to create an interesting background to a card, if I want to have a glittery or gilded mottled looking background.
Last but not least is Shimmery Crystal Effects. It produces a kind of wet glimmery raised look, actually to be honest it reminds me sparkly nail polish, it has a pointy bit that you squeeze the glue out of (you have to cut the end of it off to get it to work), however it's fairly easy to control, and you can add little bits to your work. It does take while to dry though, so do this last and put your work to one side for a couple of hours.
Well done you made it to the end of the glues! I really hope this was helpful, and inspires you to try out different glues (Adhesives) 😉


.JPG)

