Hi there,
I'm back again.....
After talking to Jenny one of my friends/downline we discovered that we'd ordered one of the same pre-order items, which are the "Santa's Workshop Memories & More Pack" and the matching cards and envelopes. I ordered it because I've made some great cards with these packs before, and figured I needed to check it out (also because we have a CreateAbles team day coming up on 18th and thought it would be good to show the girls) If you join my Stampin' Up! team before then you're welcome to come too!
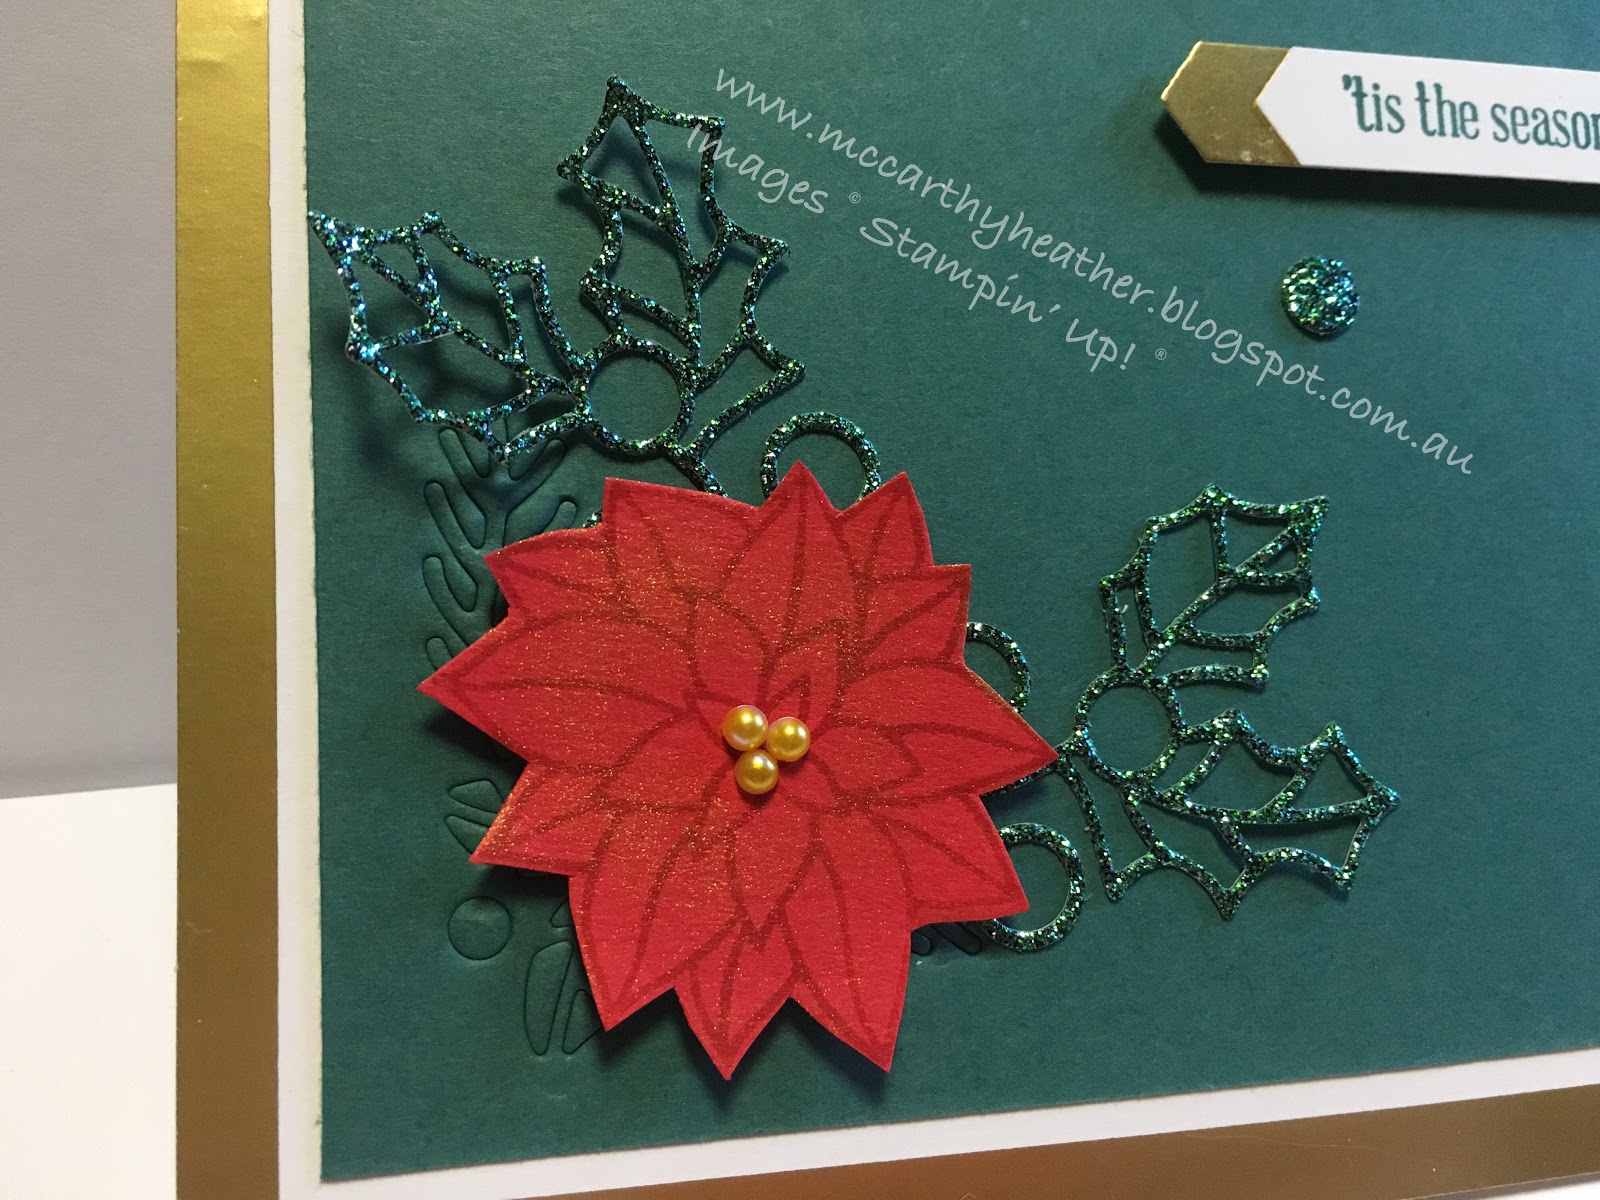
Oh wow, Oh wow! the cards are so fabulous, like the last post on Timeless Tidings Card Kit these make fabulous easy peasy cards! (and they're so cute!!) I'm thinking this might be the way to go for the kids Christmas cards at just over a $1 per created card (probably less than that actually, as I didn't count in the stickers) BARGAIN!!
Oh of course you want to see them.....
and guess how long it took me to create these cards? about 1/2 hour, seriously I was sitting at the table 1/2 watching TV, and just picking out the cards from the memories and more pack, then sticking them onto the Poppy Parade cards, adding a couple of the stickers here and there, and voila 8 cards in 1/2 hour (so exciting)
Here they are individually/up close and personal......
you can't see it but the little candy cane is all glittery (and it's a sticker) I've used 2 of the cards for this one.
this one is just one card with a sticker (the holly and berries)
I will admit to a touch of stamping and a punch made it into this card, and I've used 2 of the cards from the pack
Of course it's an Elf thing lol Ive used a couple of the little glittery stickers with this one, the cards come in 2 sizes, this one is the smaller of the 2 cards
How cute is this? not sure you can see it but this is one of the specialty cards and has glitter on the tree and in the Elves hats, I've also stamped the saying and punched it out.
We're back to one of the small cards again, and a sticker from the pack for the saying
this one just didn't need anything, Santa has his bling, and a bling'y Ho, Ho, Ho!
Last but not least I've used 2 cards on this one, and a sticker, the bottom card is one of the specialty cards with the glitter on the snowflakes.
I just can't wait for Christmas, gotta find lots of people to send cards to now, 2 of my boys finish school really early so I reckon they're going to be taking Christmas cards in November to their mates and teachers!
If you've ordered from me in the past year, you should be receiving one the new catalogues in the mail (or in person if I see you). If you're not sure if you're on the list, and want to make sure of it either make sure you place an order, or let me know!
I hope these inspire you to create
God Bless love
Heather xox


.JPG)

