Hi there Creators
Well after having played with a bit of the True Love Designer Series Paper, (DSP) I just couldn't resist continuing on with it, so here is my next lot of cards that I've made up with it. I got a bit inspired when I saw what others had done with it and adding hearts into the equation! Having recently treated myself to the Heart Punch Pack, which consists of 2 heart punches, that fit together nicely.
Anyway onto the cards......
The first card I made I just punched the straight heart out from a piece of card, lined it up on the DSP and drew round the cut out heart, then I coloured in where it needed it, attached it together, and if you're a regular reader of my blog, you might remember that I stamped up the Many Messages stamp and cut out all the messages with the matching die, so I had 18 sayings to pick from (have to admit I'm loving this way of adding my sayings!) check out the Many Messages Bundle!
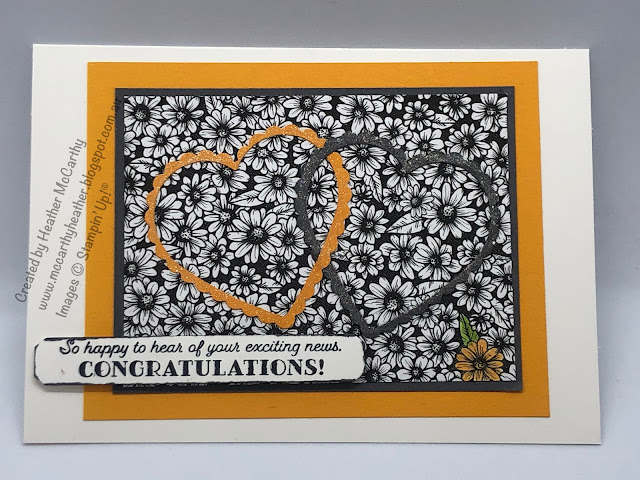
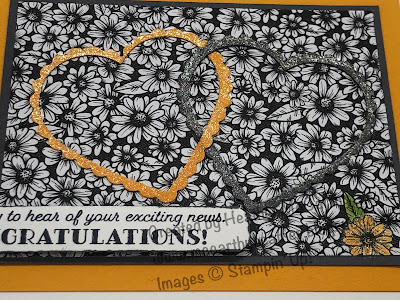
This next card, I have punched out the straight heart first then punched the scalloped heart, as you can see where to position your scallop heart this way round, I've added Wink of Stella over both hearts. And another one of the sayings......
You can see the Wink of Stella better on this photo:
The next card I made was this one, extremely simple, but quite effective!, take a piece of the DSP, punch the straight heart out of the middle, then punch the scallop heart out too, pop the rectangular piece of DSP down on the card add a line of the Black organdy glittered ribbon. Daub round the edge of the heart, I've also used my new blending brushes, and add the heart on dimensionals to your card. Did you guess I used another one of the sayings from Many Messages?
And the last card, I've coloured in the flowers with my Stampin' Write Markers (I've used the 2020-2022 In Colours) Again I've cut the straight heart out first, then the scalloped heart, and utilized both, the straight heart is painted over with Wink of Stella (it's a lot more glittery than my photo gives it credit for!) You know what I still have a heap of the sayings left over on my desk from the Many Messages!There is the potential to make so many cards out of this fabulous pack of DSP (and it's only $20! pretty good value!) I've used a small section of each pattern in the cards I've made so far.
Well I hope these inspire you to create in your space!
God Bless love
Heather xox


.JPG)

No comments:
Post a Comment