Posts

Something Saturday - Click Clack Concertina Card

Image
 Hi there Creators Well I was sitting last night wondering what to do for my Something Saturday, and playing around with a bit of paper, ended up designing this card, I've made similar cards before like the cascade cards, this is probably a bit more basic, but I'm happy with it and it's way simpler to create, but still packs a cool Woah factor🤣  I've used Sentimental Christmas Designer Series Paper which is on the last chance list. I decided it needed a sentiment so picked out this one from Sweetest Star Stamp set (last chance list again), because it has 6 words (1 for each panel!😃) and these Adhesive backed Snowflake Assortment are also on the last chance list and happen to be reduced to 1/2 price (woo hoo!) Ok, onto measurements.... You'll need a sheet of A4 for the base card, score it at 9.9cm either end, then cut in 1/2 at 10.5cm, fold so each piece is concertina'd into 1/3rd's then each folded piece needs a cut that goes 1/2 way up the card (in the...

Something Saturday - Reverse Stamping

Image
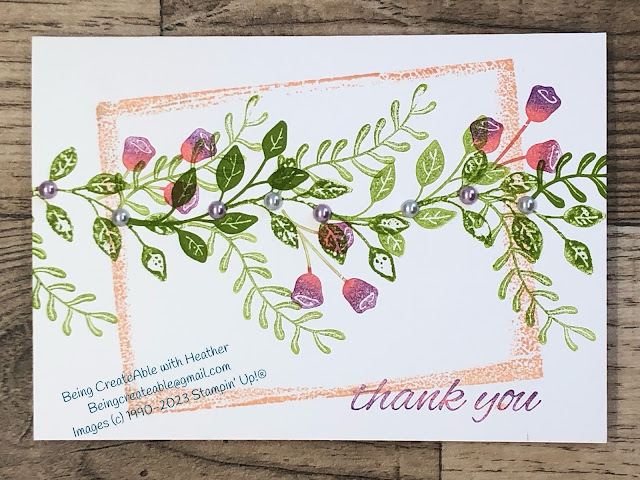
  Hi there Creators I thought I'd do a spot of reverse stamping this week, there's a really lovely stamp set: Elegantly Said, that has this cute little die that looks like 1/2 a butterfly, so if you know how to reverse stamp you can create the butterfly quite easily.  In the video I show creating the pink butterflies, I've then added the Pool Party Butterflies and the large flourish in the corners is also reverse stamped for the upper corner.  check out what I used here:  What Heather used This next card uses the Boughs & Blossoms stamp set, the leaves only go in one direction and as it's not a photopolymer set I can't bend them in the other direction, so reverse stamping allows me to get them to wave their way across the page (they'd make a pretty good wreath I reckon if you kept stamping them round!)  check out what I used for this card here: What Heather Used  Anyway, nitty gritty, how do you do this?  Easy peasy, stamp your main image 1/2 stren...

April Class cards

Image
Hi There Creators, oops I keep forgetting to add this post with next months class cards! (apparently I completely forgot last month, I'm so sorry!) Next months classes are: Wednesday 6th at 10.30am in Laanecoorie, Thursday 7th at 7pm in Laanecoorie, and Saturday 9th at 10.30am in Maryborough, class cost $20 for all 4 cards. Ok, well as many of you already know, the retiring list is out!  Products from the annual catalogue (check them out here:  Retiring products)  there's some fabulous discounts to be had! And would you believe it but 2 out of 4 stamp sets I picked are retiring and discounted! First up In Bloom Stamp set now 1/2 price at $15!!! wow what a bargain, it's such a cool set this, I love the block images as you can do so much with them, and create your own patterns inside them, which is what I'll be showing how to do with this card.  Next is the ice cream 😢 such a useful set for anybody's birthday (I mean who doesn't like a bit of ice cream every so ...

Something Saturday - Tulip Dies

Image
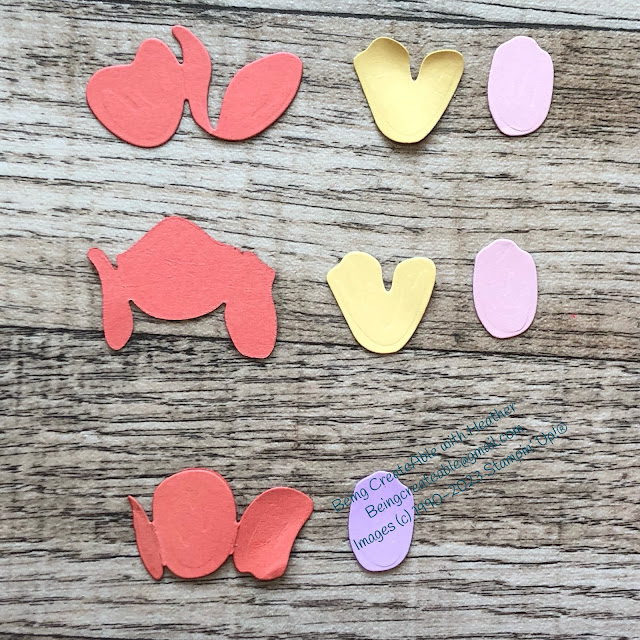
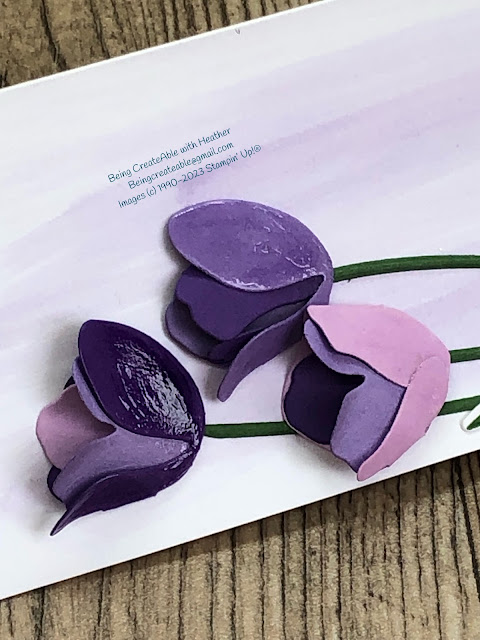
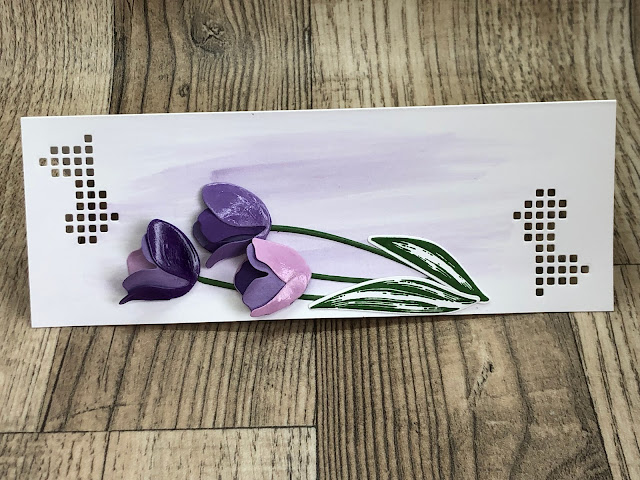
Hi Creators, Well this week I thought we'd check out the gorgeous Tulip Dies they're a bit different in that 3 of them have special folds, which I felt needed a bit of explanation (in other words I had to check out what others had done too 😉) So here's my "take" on it...... this is the card I made before the video I love the idea of the tulips being a bit 3D, so I've curled the card, and added the glossy stuff, which on the left hand tulip is the Shimmery Crystal Effects and the other 2 are done with the Fine Tip Glue Pen .  Mine sadly got all gunked up in the lid,  (there is a pin that's meant to go into the extremely fine tip, and the pin got a bit mangled!)  anyway more than one way to get round things, so I unscrew the lid and use a toothpick to apply it 😃 gives a lovely glossy finish. Then in the video I show the components I used to create these 3 flowers: Here is the line up...... Then in the video I make up the flowers for this card...   I thi...

Pokemon Ball Easel Card

Image
 Hi Creators, Well in this weeks Something Saturday I show you how to create a really easy (and simple) Pokemon Ball Easel card.  If you have someone in your life who's a Pokemon fan, they'll love this card! I made one last month for one of Sam's friends (youngest son), and as he was so impressed with it I thought I'd better make one for him too.  Of course you can't do the same card twice, so his ties in another interest - Dinosaurs😃 Here's the first card I made for his friend:   I have to admit most of it was made with retired goodies (just as well I kept those dinos!) Here's the finished card..... As you can see, if it wasn't an easel card it would roll around and fall over (being a ball!),  I figured this was the perfect way to display the ball. You can see I've added a small circle of card that I stamped grass onto, folded it in 1/2 and stuck it down.  I've then added some of the Matte dots which I thought were still current catalogue items...

Cool Circle Card

Image
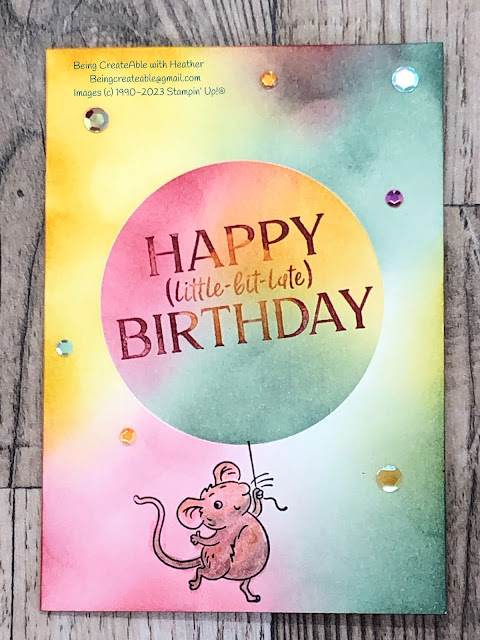
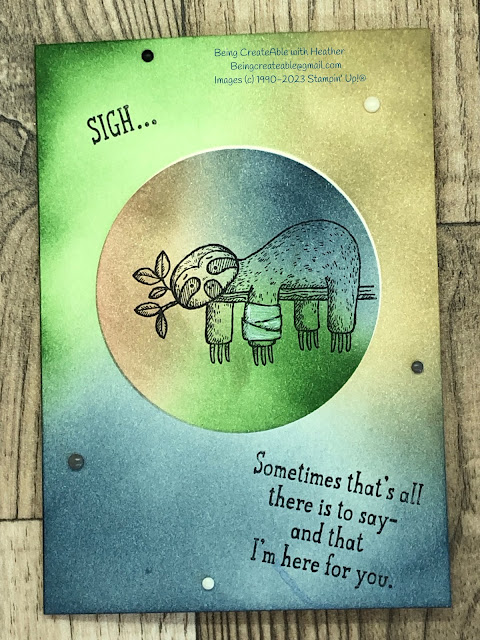
 Hi there Creators well I really didn't know what to call this card, so I just went with "cool circle"! 🤣 As I mention in the video, the church I go to has been using something similar to this on the big screen as a background for names and songs and I thought it was really cool, so figured I could re-create it on paper! I made this mouse one up first, using the ultra cute Mischievous Mice Host stamp set (love this set, so worth either spending up big ($250) to be able to pick it for your host $'s or persuading a couple of others to pop an order in with you 😉  And remember till 16th March, Sale-a-Bration has been extended for us here in the South Pacific, so for every $90 you (or they) spend you get to pick out a FREE Sale-a-Bration product too! (bargain) How cute is this little mouse?  to see what I've used to create this card click here: What Heather used. I actually show this card with the Slough in the video, and I confess that I've owned this set for a ...

Something Saturday - Night Sky Pastels

Image
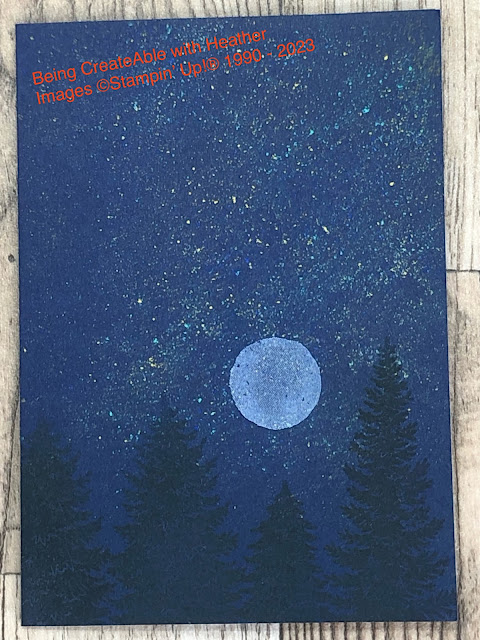
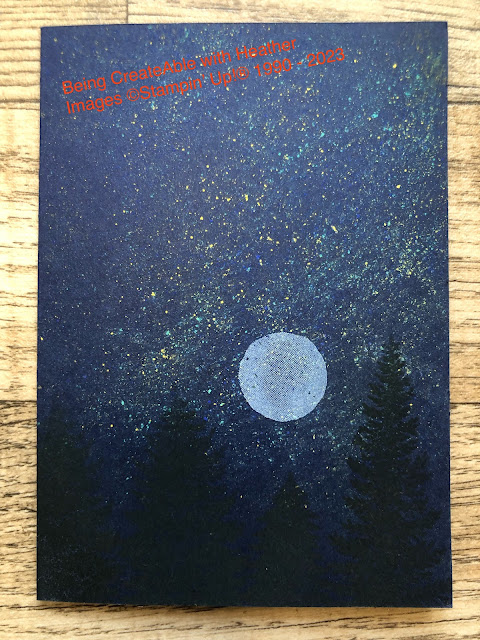
  Hi there Creators, Continuing on our Pastels journey, I have "night sky" pastels to show you this week, I was amazed at how well the pastels show up on dark cardstock. Here are the cards I made up.... this first one I made up with a black background, and really wanted it to be looking out of a window (this is when I wish I had Window Flower Box dies )  however I used the exceedingly useful Stitched Rectangle dies instead😃, as I wanted it to look like the inside of a shed I've "hung" a few tools off the window sill (courtesy of the Home & Garden bundle ) and used the Brick & Mortar 3D embossing folder for the wall. then this is the card I made up in the video (couple of photos as I couldn't make up my mind which was better 🤣), Here is the link to the products I used in this one: What Heather Used So, down to the nitty gritty, how do you do this? Take a dark coloured cardstock (I used Night of Navy in the video), then lightly grate pastels onto ...

Something Saturday - Pastel Pulling

Image
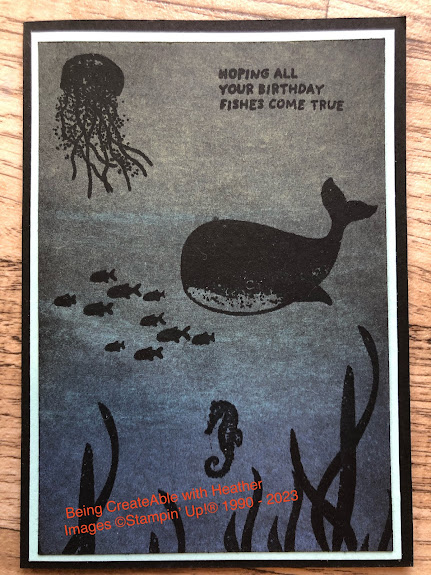
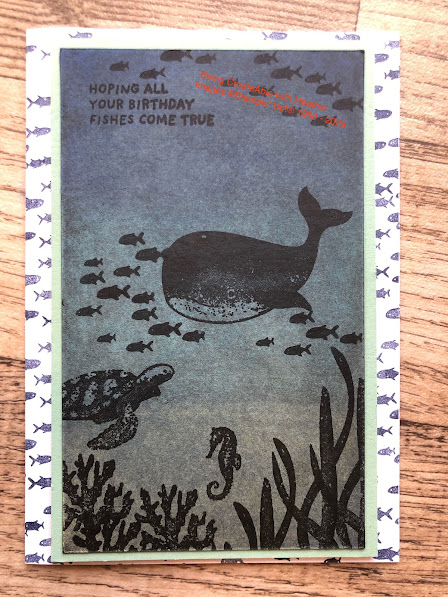
 Hi There Creators, I got asked in my last Pastels video to do more on pastels, so this week I'm showing off another technique that uses Pastels and Versamark. The thing with pastels is it really needs something to "set" the pastels into the card, or they will rub off, I always used to use hairspray to set it.  Anyway onto the cards and technique:  I've used the Whale Done stamp set as the pastel gets rubbed onto black cardstock so it feels quite dark and like the depths of the ocean to me.  Anyway the way to do the technique is... Colour the black cardstock with pastels, then take a tissue and rub it into the cardstock, so it colours the card all over, make sure there's no loose pastel left on the card. Next take your stamps, ink with Versamark, and stamp, you'll find it pulls off the pastel, and reveals the black cardstock (so fascinating when you do it!) And that's it let me know if you have a go.  check out the products I used here:  What Heather Used ...