Hi there Creators
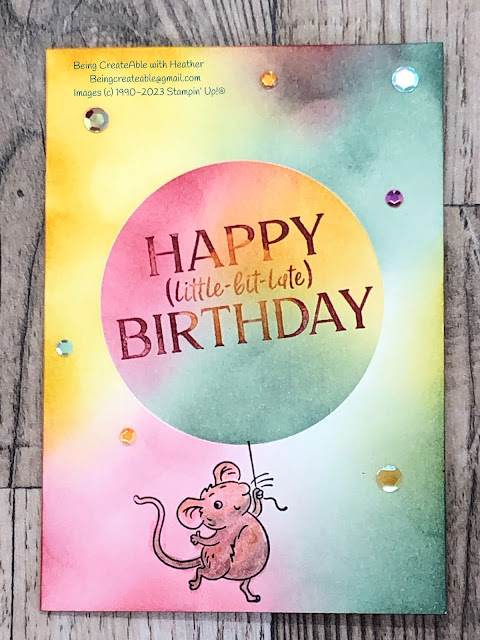
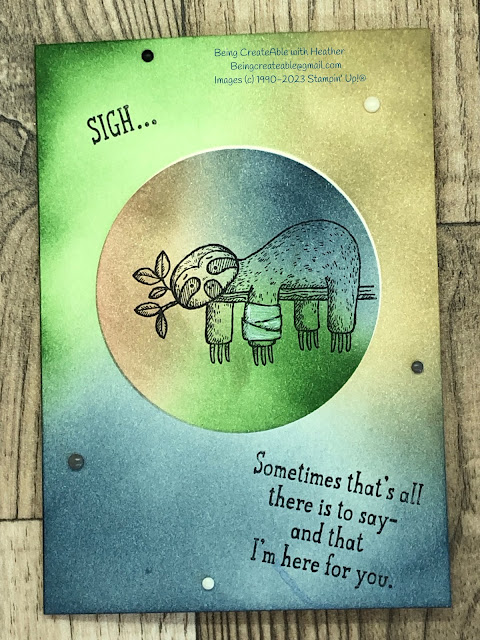
well I really didn't know what to call this card, so I just went with "cool circle"! 🤣 As I mention in the video, the church I go to has been using something similar to this on the big screen as a background for names and songs and I thought it was really cool, so figured I could re-create it on paper!
I made this mouse one up first, using the ultra cute Mischievous Mice Host stamp set (love this set, so worth either spending up big ($250) to be able to pick it for your host $'s or persuading a couple of others to pop an order in with you 😉 And remember till 16th March, Sale-a-Bration has been extended for us here in the South Pacific, so for every $90 you (or they) spend you get to pick out a FREE Sale-a-Bration product too! (bargain)
How cute is this little mouse? to see what I've used to create this card click here: What Heather used.
I actually show this card with the Slough in the video, and I confess that I've owned this set for a few months now, but never actually used it, in fact I discovered that I hadn't even got round to mounting the stamps onto their stickers (oops!), however I'm happy to report that the stamps are all ready to go and have been christened! To see what I used for this card, click here: What Heather Used
Anyway how do you create this background?
You'll need a base card (either white or vanilla), and a piece of card that will cover the front of the card
Next cut a circle into the spare piece of card (I used the layering circle dies)
Lay the piece with the hole cut out onto your card, and using the blending brushes, brush on 3 different colours until you're happy with the effect
remove the mask and add the circle over top of the circle, and again add colour from the edges of the card, I've gone with more concentration of colour on the edges of the card fading as it reaches the circle.
And that's it, just decorate now!
Check out my video here:
Have a go, it's really easy!
I hope this inspires you to create
God Bless love Heather xox


.JPG)

No comments:
Post a Comment