Hi there Creators
I thought I'd do a spot of reverse stamping this week, there's a really lovely stamp set: Elegantly Said, that has this cute little die that looks like 1/2 a butterfly, so if you know how to reverse stamp you can create the butterfly quite easily. In the video I show creating the pink butterflies, I've then added the Pool Party Butterflies and the large flourish in the corners is also reverse stamped for the upper corner. check out what I used here: What Heather used
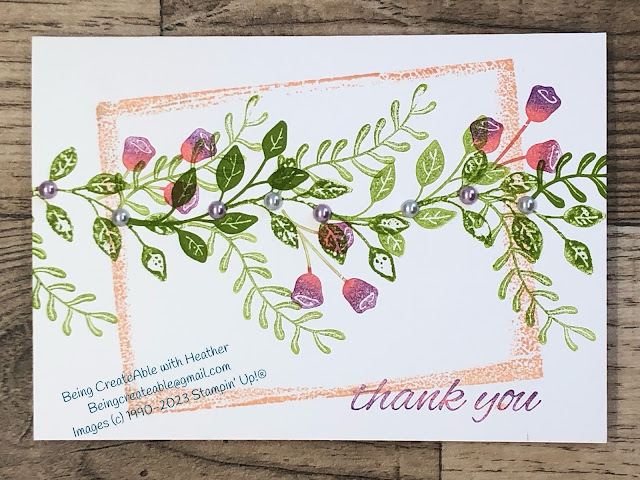
This next card uses the Boughs & Blossoms stamp set, the leaves only go in one direction and as it's not a photopolymer set I can't bend them in the other direction, so reverse stamping allows me to get them to wave their way across the page (they'd make a pretty good wreath I reckon if you kept stamping them round!) check out what I used for this card here: What Heather Used
Anyway, nitty gritty, how do you do this? Easy peasy, stamp your main image 1/2 strength onto your base card (ie stamp off once before stamping on your card), this will give you a lighter image which will match your reverse stamped image.
Then take a piece of Cellophane, make sure your stamp is well inked and stamp really carefully onto the cellophane (make sure it doesn't move as you stamp or it will smudge the image)
Then turn the cellophane over and rub it down onto the card where you want the image to go, Voila reverse stamped image!
Check out my video here:
I hope this inspires you to create
God Bless love
Heather xox


.JPG)

No comments:
Post a Comment