Hi there Creators,
well I set my team a challenge to come up with "different shaped cards" as in not the usual rectangle or square shape, and I thought maybe I should lead by example lol.
I was trying to work out what to teach the kids at school for Christmas this year, and then got a fabulous swap in the mail of a tripod tree, which I used to make many years ago, - perfect!
So here is the first card/tripod tree, which I'll be teaching the kids at Tarnagulla Primary School:
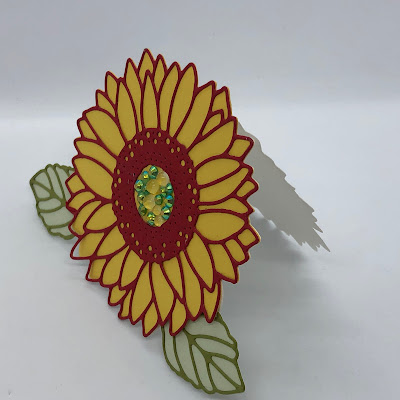
it has velcro at the back to stick it together so that it can fold down, and you can write on the inside.Next I turned to my dies, and thought it would be cool to create a couple of little cards that use the dies as the shape, so first up is this using the Sunflower dies which are today have a 10% discount - yay!
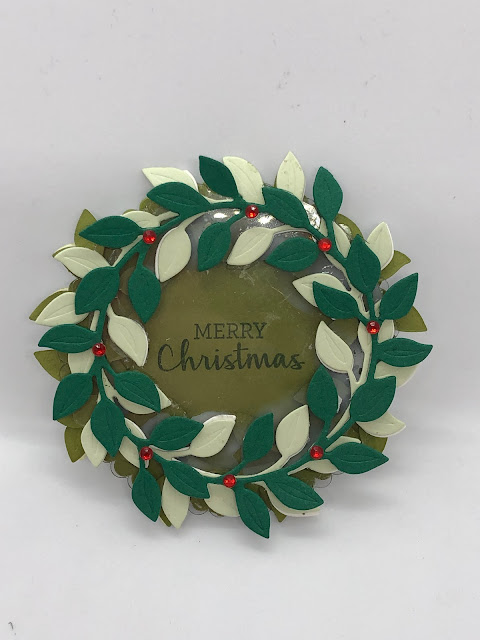
The next one is also quite small (actually the 2 cards are very similar in size), wanted to make a Christmas wreath card, and I will admit it was a bit on the fiddly side! I used the Wreath builder Dies, (also in the sale today), some window sheeting, red rhinestones, and the Merry Christmas was from the matching stamp set Arrange a Wreath. ( I think all of it is in the sale today!)
was hard to get a decent photo of it standing up
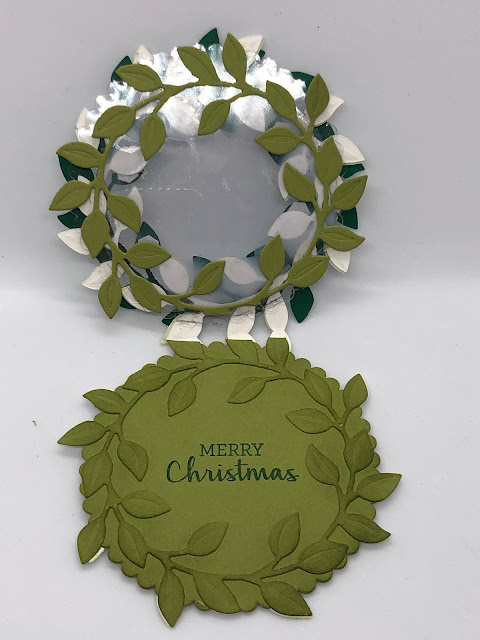
I really love the way the inside turned out! (I do like that the die, also embosses the card a little) again you'll see the join at the top, where I positioned the die so it wouldn't cut all the way through
Well I hope this inspires you to look at your dies in a new way! if you're on Facebook check out my Being CreateAble with Heather Facebook Page, I do a Something Saturday live every Saturday at 10am, think I might be showing how to make the sunflower card this Saturday!
God Bless love
Heather xox


.JPG)

No comments:
Post a Comment