
Well I thought I would share my "teacher" gifts. I have seen on Pinterest and Facebook people using these Petite Cafe Gift Bags and decorating them up, popping fudge or biscuits into them (because they have a special lining in them so they are food grade).
So....... I thought I can do that, found a cool recipe for Bailey's Fudge (yumm) checked none of the teachers were tee totallers!
And here we are:

Here is a closer look at of one of the bags:

 I have added 1cm strips of Gold foil cardstock to give interest to the bag,
and the
Whisper White
Mini PomPom
trim, I have really got into now! I've just attached it with some of the tear and tape adhesive, which I've folded back onto itself to make it fit.
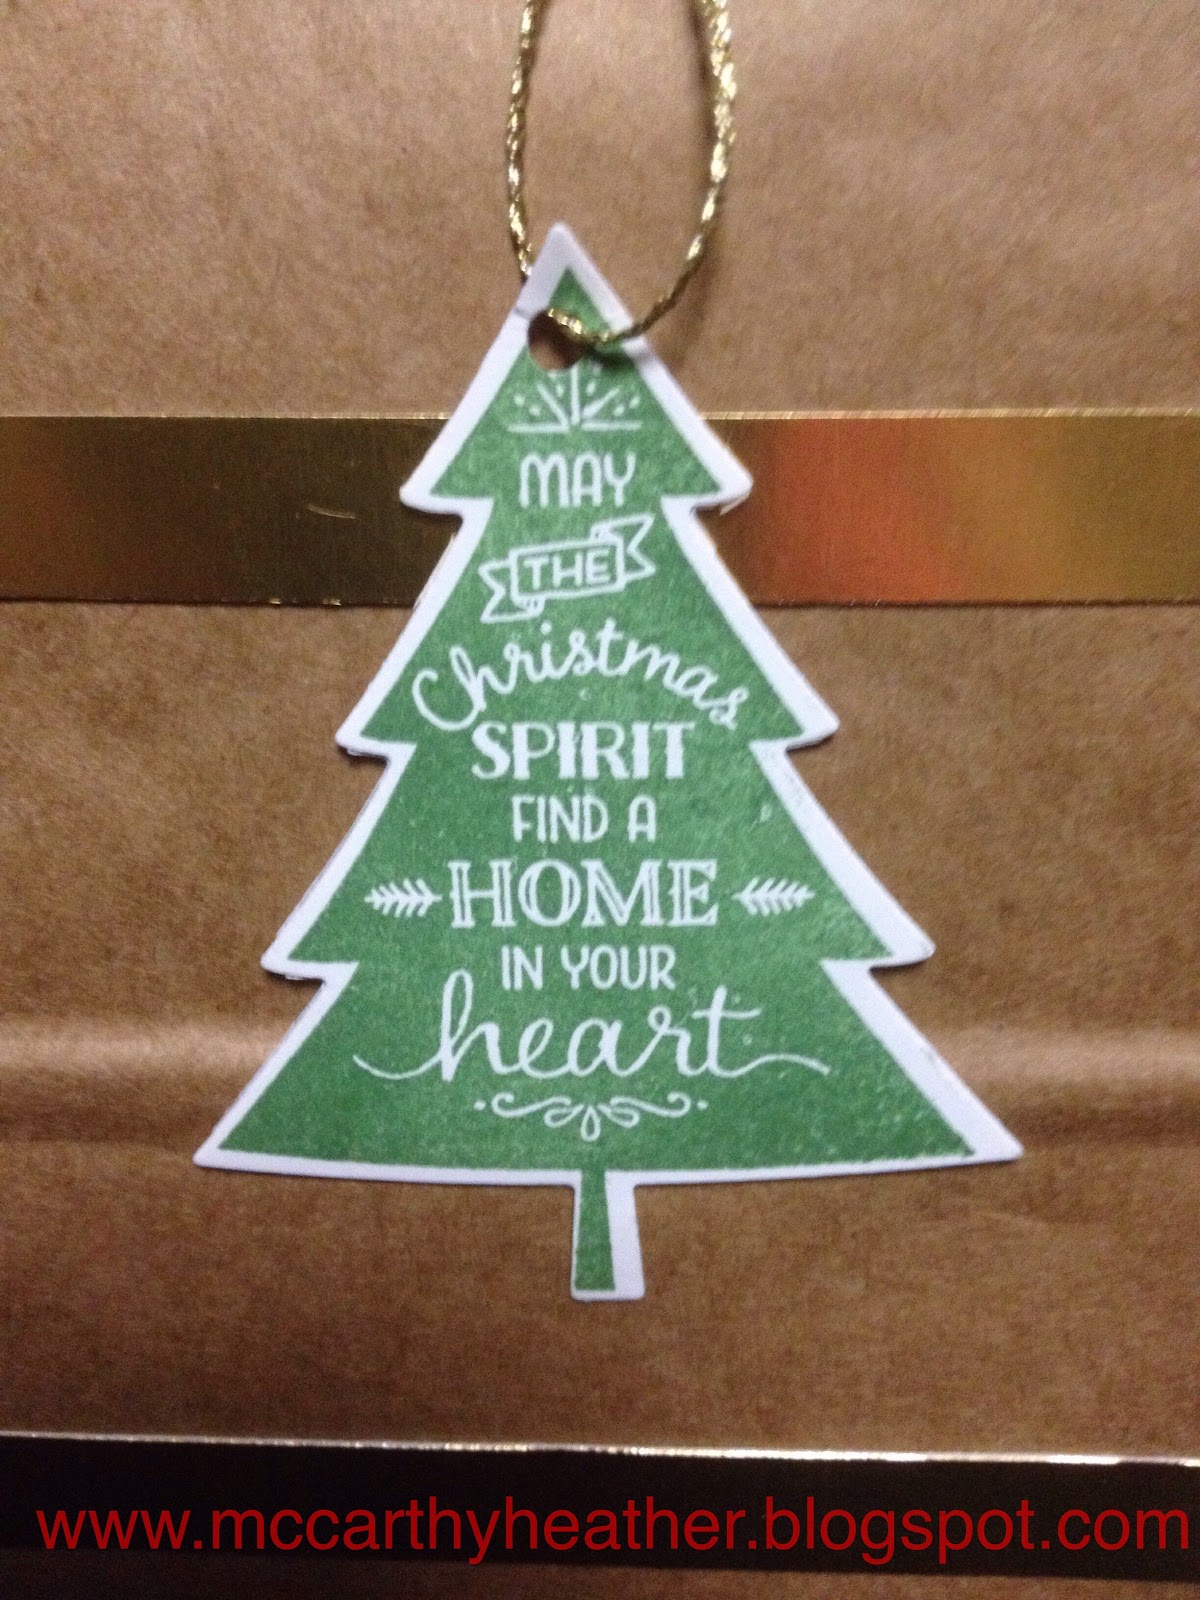
I have used the Peaceful Pines Stamp set and matching framelits to cut out the tree
The other side of the bag looked a bit plain, so.............

and Layered with a white piece (again cut with the same dies)
I'm pretty pleased with the way the bags turned out, and the fudge isn't too bad either!
Hopefully the teachers (and bus drivers) enjoy it :) If I was a better cook I probably would have tried this out ages ago! LOL
Ah well hopefully I've inspired you to have a go at decorating a bag with some goodies in it! You can purchase these bags by clicking on the link 😊
God Bless love
Heather xox

.JPG)
.JPG)

No comments:
Post a Comment