So Detailed Thinlits embossed

Hi everyone
Well here it is the video I promised at the end of the last post! 
Here is the actual card again too:
I have used the new So Detailed Thinlit dies, which will be available on 4th January, and one of the new Sale-a-Bration sets, also from 4th January.  With Sale-a-Bration (SAB) items you get to pick one of the sets/papers etc for free for every $90 you spend the So In Love Bundle which is the stamp sets and thinlits in the wood, are just over the $90 and in the clear are just under, which leaves room to get the ribbon, papers or adhesives!  So for just over $90 you could have 2 stamp sets and a set of thinlit dies (bargain!)
Do let me know what you think of the video,
I hope I have inspired you to create :)
God Bless love
Heather xox

Colour INKspiration Pre-Challenge

Hi Everyone,
I was invited to join a group called Colour INKspiration, which will be doing a bi-monthly colour challenge, the first (pre) one is for these colours:  Bermuda Bay, Daffodil Delight and Mint Macaron.

So off I went to my Craft room... (and an idea brewed.......)
I really wanted to be able to use this die from the So In Love bundle, but not cut with it, just use it to emboss, and this is what developed from that idea - I love it!  I've paired it with the Sale-a-Bration set Designer Tees, because I just love this saying "Don't quit your daydream".
The other thing I really love about this card is actually the way the paper has split slightly and it gives it that variegated colour, sort of reminds me of dyed silk:


So then of course I had to see if the other 2 dies in the set would look as good! first up came this one:
although I have to say the cutting out of it was bloomin' fiddly!, but I like it, I've used the matching stamp set So In Love with this one, wasn't too sure what to do with the curly leaf things, so had to refer to the catalogue for that one! Oh and I managed to stick to the same colours for it 😊,
Although for the last one, I really don't see hearts in those beautiful crisp colours!
So......
it had to be red!  this one's not my favourite, think I'm going to have to research in pinterest this one a bit more!  I do like the simplicity of the card though.
Thinking that the first card would make an excellent U-tube video, so stay tuned, hopefully tomorrow I'll get my precarious set up going, and give it a whirl 😀

Tell me which one is your favourite (please),
Hope this has inspired you to create (and maybe check out the video once it's done)

God Bless love
Heather xox

Creations for classes in January 2017

Hi Everyone,
I hope you've all had a lovely Christmas and that 2017 will turn out to be an amazing year for you 😊

I have worked out my January class class projects (dates for classes are: Saturday 7th January 10am, and Wednesday 11th January 7.30pm which is what I'll be showing you in this blog
First up we have:
I couldn't resist using this new "Beautiful You" stamp set, I've also used the new Watercolour pencils to colour her in, and cut out with the Flower Medallion punch, the background paper is
As the background papers are all different, I thought I'd do another one to show you too:
I've done a close up of the writing to show you too as it's not so obvious in this photo, as the area I wanted to put the writing on is quite dark, I've added a layer of white first, but you do have to let it dry properly or it will fade away!
So the next card again uses a new set, that I've done a blog post on before feel free to check it out here:  Bookcase Builder Stamp set blog post
I said it last time and I'll say it again, I just love the sayings in this set! and I really think it makes a great baby card, I even think this card would look cute in a scrapbook album!
So onwards - next card uses, Oh look at that, again some new stuff! (huh who would have thought!)
Alright so this card uses the "So in Love Bundle" one of the pretty Thinlit dies, and one of the sayings from the set, the sayings can be interchanged, I just thought it's been a long time since I did a Happy Anniversary card!  Underneath you'll see the embossed piece - that's done with the Hexagons Dynamic Embossing folder (and Smoky Slate cardstock) - it's pretty cool!  Add a bit of the sequin trim (I've used the Blushing Bride colour to match the cardstock)  Love the way Stampin' Up! colour codes everything so it matches!
Onto the last card, and this time I chose not to use a new stamp set, but a continuing one from the Holiday Catalogue:
Paisleys and Posies, I haven't used this set much in the lead up to Christmas so I was quite relieved when it was continued!  Until the 3rd January you can actually buy the stamp set and the dies as a bundle, Paisleys and Posies bundle so if you're interested in them get in quick, or you'll be paying 10% more :(  I've also made up this board to show you what the dies will cut out.
the little tiny tear drops fit into the little stemmed flower next to it.

If you're free on either of the above dates, do come along to one of the classes, if you're not free but interested in instructions (or a kit, although bear in mind that I can't do the stamping for you), do let me know.

I hope this has inspired you to create (and check out the new Occasions Catalogue) if you don't have one let me know and I can get one to you 😁

God Bless love
Heather xox

Sneak Peek Occasions 2017 - Lift Me Up

Hi Everyone,
Yes I'm back again with another Sneak Peek, This time from the new upcoming Occasions Catalogue (will be live on 4th January), if you've been in Pinterest recently this will be one you've definitely seen around, I've finally got around to playing with mine, and here are my first efforts:
And yes, now I can see why people like it so much, with this card I've used a piece of Watercolour paper behind, and washed over a bit of colour, the Up and Away thinlit dies come with sections to do the back of the big balloon, so you just add them behind it, and it colours your balloon for you, I've done a close up of the watercolour wash for you to check out:
Oh and the ribbon is new too :)
Ok so the other card I created for someone in particular so it will be winging it's way to her hopefully tomorrow!
This card also uses Suite Sentiments (also from the new Occasions Catalogue), that is a great set of words that mix well with all the different stamp sets in the catalogue.  I've used some of the gorgeous Blushing Bride Glimmer paper in this card behind the balloon (hand cut) and again a wash on the background although this time just onto the plain Vanilla cardstock.
If you don't have the new Catalogues yet, let me know and I'll get them out to you.
Hope this inspires you to create,
God Bless
Love
Heather xox

Sneak Peek Sale-a-Bration 2017 - So Very Much

Hi Everyone,
Here I am back again with another "Sneak Peek" (short post today) Let me know if you'd like to have the new catalogues and I can get them out to you.
This time it's a Sale-a-Bration (SAB) set called "So Very Much" remember from the 4th January for every $90 of products you order, you'll get to pick one of the SAB items for FREE - Yay!
I have finally used my Blossom Bunch Punch (Ooo and it rhymes - lol), so to make this card,
  •  I've used 3 co-ordinating cardstock colours, and punched one whole punch (gives 3 different sized flowers) I've used Watermelon Wonder, Calypso coral and Flirty Flamingo,
  •  I've sponged round the edge of each flower with watermelon wonder, then attached them together, the bottom 2 with a dimensional, and the top one just with a glue dot, then added a Pearl
  • To do the saying I've inked up the top 1/3 with Watermelon wonder, then the next 2/3 with Calypso Coral, then baby wiped the bottom 1/3, and inked this up with Flirty Flamingo this gives the graduated effect with the colour, although had I thought about it, it probably would have had the same effect using the Calypso Coral Ombre Pad (famous last thought's as they say!)
  • the leaves are from another new set called "So In Love"  I thought they set off the flowers nicely
That's kind of about it really! If you'd like to have a party during SAB it's well worth it, as there are extra benefits for hostesses, just let me know and we'll schedule it in
I hope this has inspired you to create
God Bless love
Heather

Cookie Cutter Santa Tic Tac holders

Hi Everyone,
I bought a box of tiny tic tacs from Big W a while ago, thinking I'd put some into the kids stocking pressies, hadn't realised there was 62 of them in the pack! possibly a bit of an overkill for the kids stockings 😁
So in lieu of that thought we had our Christmas community meal at church last night so yesterday morning I thought I'd make up the tic tacs into little Santas, as I was given one by Veronica Koenig at the Stampin' Up! Onstage event in Brisbane as a swap, and only save a couple for the kids - lol

So here are some of my Santas:
and a close up of a couple:
Aren't they just so cute?  I even got Josh (Mr 11 year old) helping me out colouring in the Santa's, although admittedly I was doing something else for him at the time!
Anyway they were well received at Church (the kids thought the tic tacs were great, adults were intrigued by the packaging)

Just to give you the measurements so you can have a go:
take a strip of cardstock 10.5cm x 1.5cm, wrap it round your mini box of tic tacs, and secure the ends together, so the box can slide in and out.  then stamp Santa, using the Cookie Cutter Christmas Stamp set, Punch him out using the Cookie Cutter Punch, and an extra "person" from plain cardstock (I used Real Red and Basic Black)  Attach Santa on one side of your tic tacs and the other "person" on the other side of your tic tacs and you're all done 😊

Yay, Thankyou Veronica!
Hope you have been inspired to have a go yourself.
God Bless love
Heather xox

Bookcase Builder Sneak Peek

Hi Everyone,
well I snuck into my craft room today, to play briefly with a new stamp set - Bookcase builder, it's in the new upcoming Occasions Catalogue.
I'll show you the cards I created:


This was actually the second card I made, as it's name suggests it is designed to build bookcases!, and it wasn't this that I fell in love with, it was initially this saying, "I didn't know we were making Memories,  just thought we were having fun"  and even though at the moment I'm not huge on Project Life and scrapbooking, I could see myself using this saying in it (when I do get round to it)
The funniest thing is what I thought was a topiary tree in a pot, oops turns out it wasn't meant to be that, it's actually a lamp LOL (ah well..... also works as a little trimmed tree)
Then this was the first card I made, I love the full Congratulations, as so often it gets shortened to Congrats, and the other thing in this stamp set that made me buy it was the cute banners, they come as 2 separate stamps, where you stamp one, then the next one can be done in a different colour and it fits exactly, this saying is beautiful too: " Today's little moments, become tomorrows precious memories"  which I thought was quite suitable for a baby card.

I hope I have inspired you to turn your stamps upside down and create something new from them - LOL, and piqued your interest in the new upcoming catalogue, if you'd like a copy let me know.
God Bless love
Heather xox

Petite Cafe Gift Bags

Hi Everyone,
Well I thought I would share my "teacher" gifts.  I have seen on Pinterest and Facebook people using these Petite Cafe Gift Bags and decorating them up, popping fudge or biscuits into them (because they have a special lining in them so they are food grade).
So....... I thought I can do that, found a cool recipe for Bailey's Fudge (yumm) checked none of the teachers were tee totallers!
And here we are:  
Here is a closer look at of one of the bags:
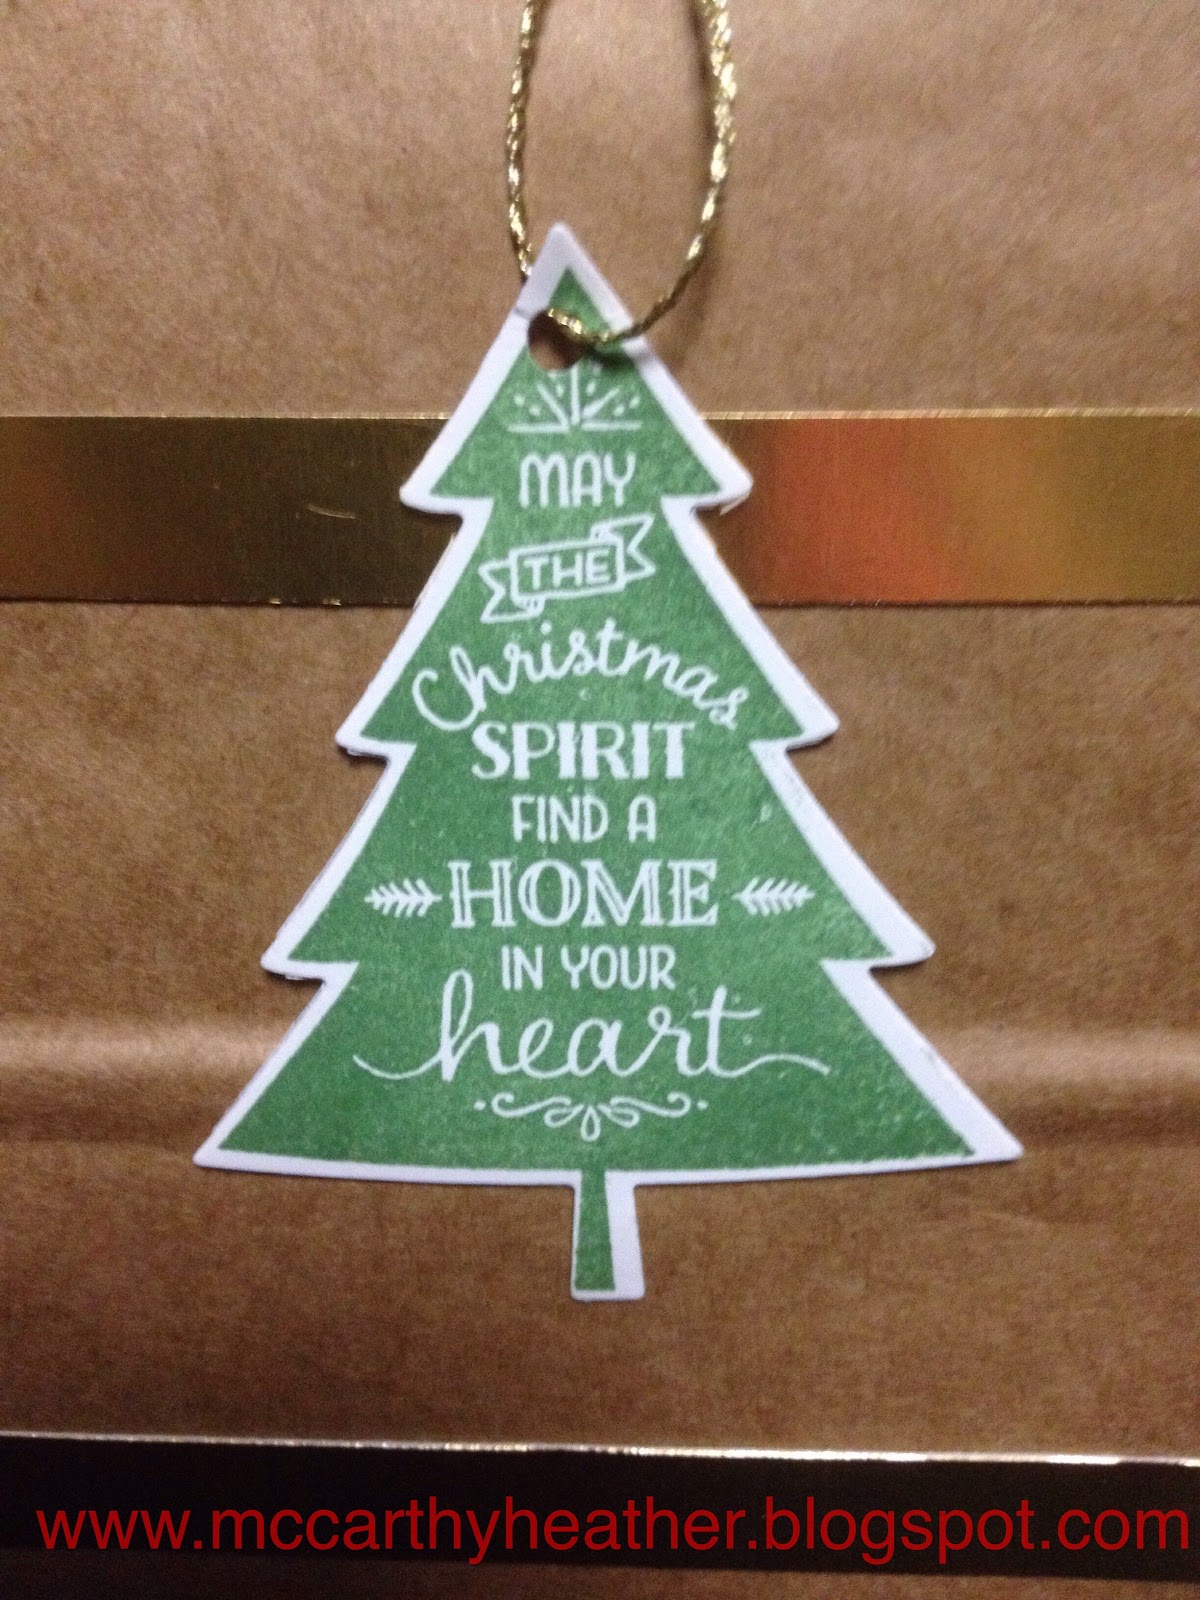
I have added 1cm strips of Gold foil cardstock to give interest to the bag,
and the
 Whisper White 
  Mini PomPom 
 trim, I have really got into now! I've just attached it with some of the tear and tape adhesive, which I've folded back onto itself to make it fit.

I have used the Peaceful Pines Stamp set and matching framelits to cut out the tree

The other side of the bag looked a bit plain, so.............
I found a bit of pretty Designer Series Paper (sorry it's a retired one now), cut into a 6" by 8cm piece, then another piece of the gold foil cardstock, cut with the Banners Framelit dies
and Layered with a white piece (again cut with the same dies)

I'm pretty pleased with the way the bags turned out, and the fudge isn't too bad either!

Hopefully the teachers (and bus drivers) enjoy it :) If I was a better cook I probably would have tried this out ages ago! LOL

Ah well hopefully I've inspired you to have a go at decorating a bag with some goodies in it!  You can purchase these bags by clicking on the link 😊

God Bless love
Heather xox

Twist'n'Pop Card tutorial done with A4 cardstock

Hi Everyone,
Well I am loving doing videos, I'd really like feedback on them too, if there's anything you feel I could do better (other than my somewhat precarious set up, which thankfully you can't see - might take a photo of it next time to show you 😊)  Tom (husband) has said he'll work on that one for me  (bless him...), so
Anyway, this is the card I show in the Video below:  I've been wanting to make these Twist'n'Pop cards for a while but they always use 12x12 cardstock in the video's and tutorials I've seen, and I'm really an A4 girl, so this is my version done with ONE sheet of A4 (cos I'm also quite stingy and don't like to waste paper) LOL.


Check out this Video I created for you to show you how it's done:
 
The measurements I have used are: 
Start with an A4 sheet, cut 2 sections of 8cm each from it
Take the remainder piece and score it in 1/2 at 10.5cm
One of the 8cm pieces, score in 1/2 (through the width) then each side in 1/2 again, so you end up with four equal sections 5.25cm each (which is concertina'd)
The other 8cm piece is scored in 1/2 down the length at 4cm, then mark in each edge at 6.5cm, and score diagonally between them

Anyway for a list of "Ingredients" used on this card:
I hope this inspires you to have a go, if it does, please post me a photo of your creation, I'd really love to see what others create with my template, and do please leave me a comment to let me know what you think of my tutorial.

God Bless love
Heather

Video using Stampin' Up! Star of Light Stamp set

Hi Everyone,
well here it is my first "Official" Video!  I'm excited to share this with you, I hope you enjoy it and it inspires you 😊

Here is just a photo of the card:
Here is the list of "ingredients" I have used, which you can purchase through my Stampin' Up! blog if you are interested, just click on the links to see each item:


Something Saturday - Shepherds Care meets Snowy Delights Masks

Hi there Creators,  Today I thought I'd play around with a couple of my latest goodies, Shepherds Care Stamp set and Snowy Delights Mas...