Posts

Something Saturday - Click Clack Concertina Card

Image
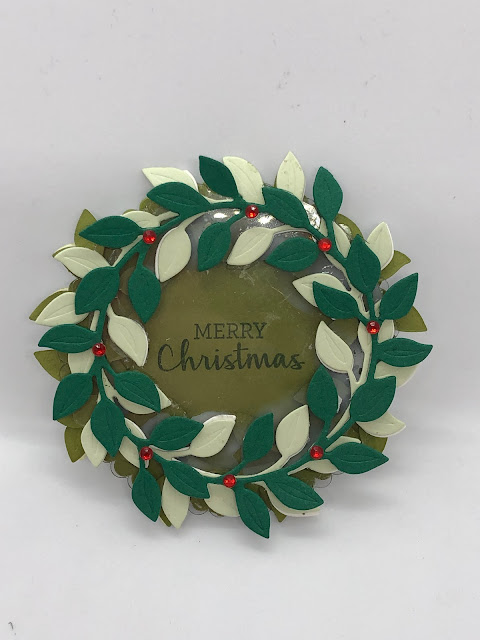
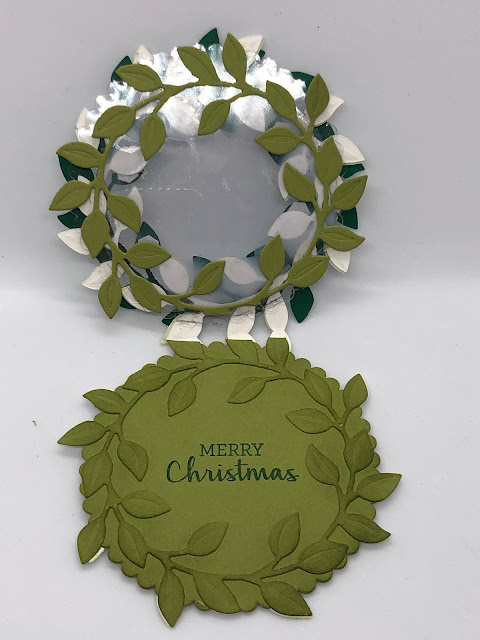
 Hi there Creators Well I was sitting last night wondering what to do for my Something Saturday, and playing around with a bit of paper, ended up designing this card, I've made similar cards before like the cascade cards, this is probably a bit more basic, but I'm happy with it and it's way simpler to create, but still packs a cool Woah factor🤣  I've used Sentimental Christmas Designer Series Paper which is on the last chance list. I decided it needed a sentiment so picked out this one from Sweetest Star Stamp set (last chance list again), because it has 6 words (1 for each panel!😃) and these Adhesive backed Snowflake Assortment are also on the last chance list and happen to be reduced to 1/2 price (woo hoo!) Ok, onto measurements.... You'll need a sheet of A4 for the base card, score it at 9.9cm either end, then cut in 1/2 at 10.5cm, fold so each piece is concertina'd into 1/3rd's then each folded piece needs a cut that goes 1/2 way up the card (in the...

Pearlescent Specialty Paper

Image
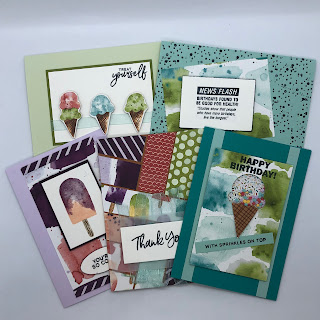
 Hi there Creators, Oh my goodness I just had my first play with this new Paper from the January (5th) to June Mini catalogue, I'm hoping that in the photos you can actually see the pearl finish on the paper (it's really hard to photograph!) but Oh so gorgeous! Initially I tried stamping on it and discovers that it just wipes straight off, oops! lol  then I couldn't help but think of rainbows, so I coloured it with my Stampin' Write markers then blended them all together with a tissue and voila..... actually it wasn't quite "voila" at that point as I realised that really rainbows need a bit of light rain, so I spritzed it with water and blotted it, then WOW! I've then used some of the Ice Cream Corner Designer Series Paper to cut the ice creams from, and a saying from "You are Amazing Stamp set", all these will be available come 5th January (unless of course you're a demonstrator, and you can get them now!)  I didn't think it needed m...

What to do with your cardstock scraps

Image
 Hi there Creators, I've seen a few people doing this recently so thought I'd jump on the proverbial band wagon 😄 I did a facebook live on this, and have converted the video to Youtube so I can add it to this (wow I'm getting good with technology - sort of...) However first up the cards I've made, as I've mentioned in the video I had a heap of cut off pieces of card which have been littering my craft desk for ages, and rather than chuck them in the bin (or in my scrappy container) I figured I'd have a go at this: So, basically you start off with a rectangular piece of card, and start sticking down the strips you have onto it, I like to start in the middle and work my way to the edges, and I also leave a gap between the strips.  Either as you go, or when you get to the end you can trim off all the excess pieces.  Stick the whole thing onto a card, and add a greeting, Voila! I found some "Tis the Season" Christmas Designer Series papers that I had a hea...

January Mega Class

Image
 Hi there Creators, Thought I'd better pop up a blog post about the January Mega Class for those of you who aren't on my email list! (if you'd like to be do let me know!) On Saturday 30th January I'll be holding a "Mega" class in Newbridge (at the hall) from 10.30am till 3pm  Here are some of the cards we'll be making........ We'll be making 20 cards in total, you'll receive supplies and instructions to make all 20 cards, lunch included, as well as 2 new Stamp sets and a punch, also ribbon, embellishments, Designer Series Papers, and a Tombow Adhesive You will need to bring with you a clear D block & scissors (and a drink of water!) don't think there's anything else but if there is I'll let you know nearer the date. Here are the details to book your place: Early bird special rate $128 book and pay by 1st January If you're booking and paying after this date you have until the 6th January and the price goes to $145 (I rec...

Curvy Celebrations Blog Hop

Image
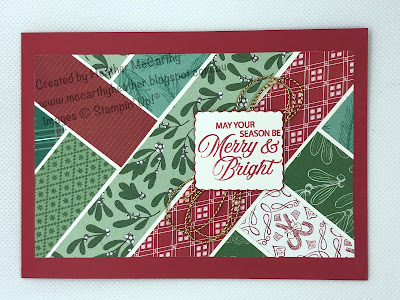
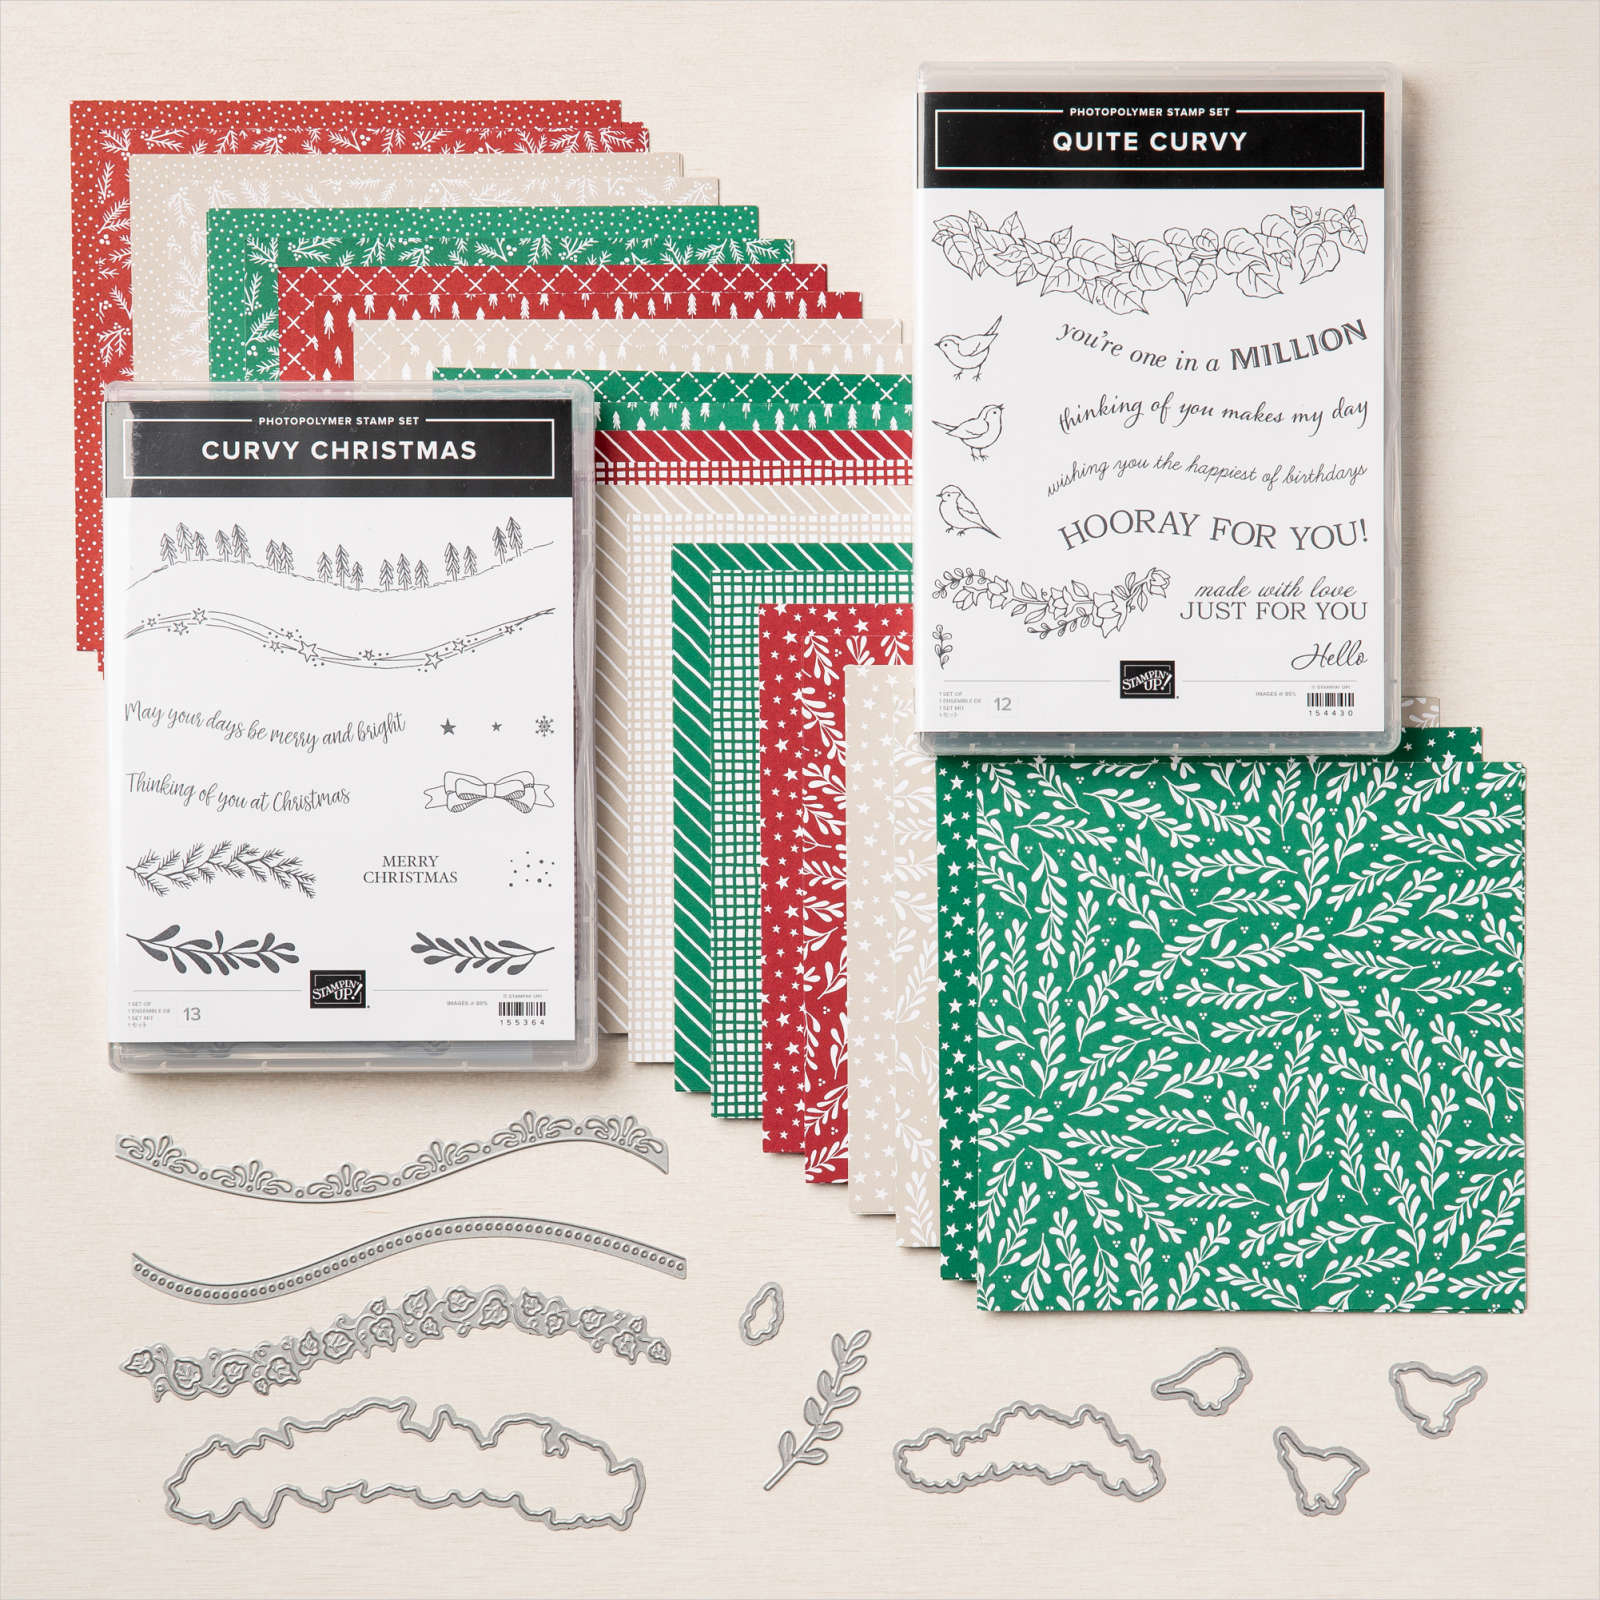
 Hi there,  Well I'm joining another blog hop, this time for the Curvy Celebrations.  I hadn't used the Curvy Christmas Stamp set much, so before it retires thought I'd better get in with it!  Currently you can purchase it all as a sort of Mega Bundle, which has the DSP, 2 stamp sets and a set of dies, after 4th January the papers and Christmas stamp set will retire :(  however the Quite Curvy Stamp set and Curvy dies will continue :)   So it's a pretty fabulous bundle! I only had time to make the 1 card with it at the moment, so here it is......... I made up the basics of the card before I had to go out with Samuel, my youngest to Cubs, then as I was meeting up with my friend Jenny, she showed me some of her cards and she uses so much fabulous bling on her cards, that it inspired me to add some to mine lol, so out came the Rhinestone basic jewels (shiny silver), the Basic Pearls , then also the Champagne Rhinestones and the fabulous Star designer elemen...

Share it Sunday Blog Hop

Image
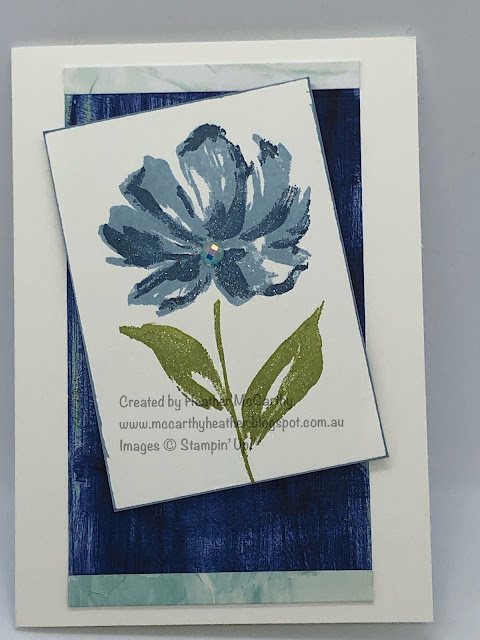
 Hi there Creators, I have joined a Facebook group called Crafty Collaborations, which is a Stampin' Up! demonstrator only group, demos all round the world, and there are various blog hops to join in with, which I thought sounded fun and might prompt me to remember to do blog posts lol! The "Share it Sunday" is an, anything goes one, which I figured was a great start for me! Today I thought I'd share with you a bit of a sneak peek!  Coming in January is our new Jan to July Mini catalogue and there is this AMAZING suite in it called Fine Art Floral, so beautiful! I've made 3 cards up and kind of ended up a bit "blue" not in feelings though - you'll see.... lol The first card is this one: I love the way it's got the 2 step stamping in the flower I've used one of the gorgeous Blue gems in the middle and bit of Wink of Stella on the flower too. This next card uses the matching dies: Floral Gallery dies, and the stamp set: Art Gallery.  Again th...

Different Shaped cards

Image
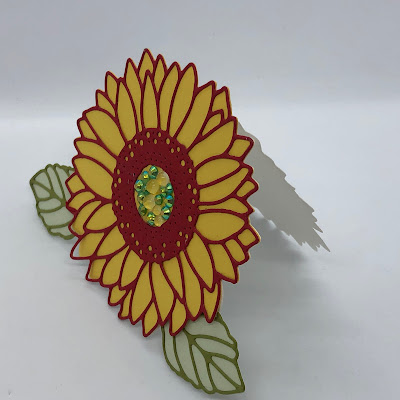
 Hi there Creators, well I set my team a challenge to come up with "different shaped cards" as in not the usual rectangle or square shape, and I thought maybe I should lead by example lol. I was trying to work out what to teach the kids at school for Christmas this year, and then got a fabulous swap in the mail of a tripod tree, which I used to make many years ago, - perfect! So here is the first card/tripod tree, which I'll be teaching the kids at Tarnagulla Primary School: it has velcro at the back to stick it together so that it can fold down, and you can write on the inside. Next I turned to my dies, and thought it would be cool to create a couple of little cards that use the dies as the shape, so first up is this using the Sunflower dies which are today have a 10% discount - yay! As you can see I've cut the large die out from folded card, but left a part at the fold that is uncut, then I've added the intricate cut flower on top.  It does make quite a small c...

How to curve photopolymer stamps in a different direction

Image
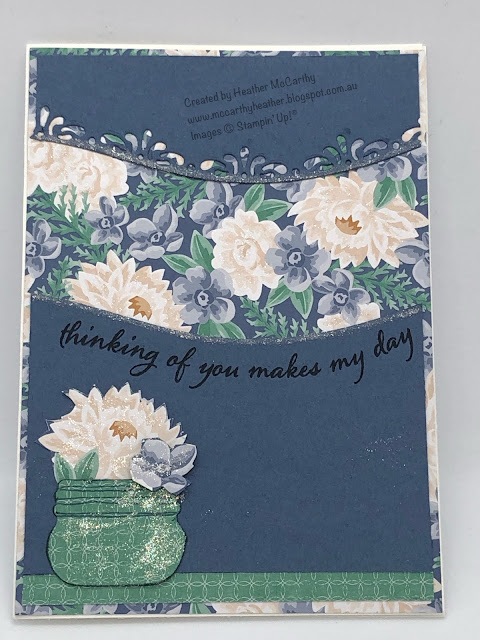
 Hi there Creators I've been meaning to make a video to show how I do this for a while, and finally got round to it today!  In the video I show 2 methods of positioning your long photopolymer stamps to curve them in the direction you want them to go, and as I don't make up the cards in it, I thought I should do a blog post to go with it and show the completed cards! Here is the video - enjoy! (and don't forget to read the rest of the blog!)   First up I showed how to curve the stamp to a cut out piece, by turning the piece over, laying the clear block over the piece then positioning the stamp where you want it on the block, when you stamp you turn the card stock back the right way. Here is the card I made using this technique: See how the saying mirrors the edge cut with the Curvy die ?  I've used some of the pretty F lowers for Every Season Designer Series Paper behind, and also for the jar, cutting out a couple of flowers from the paper to go in the jar (cut with ...