Botanical Tag Thinlits

Hi There,
One of my "must have" items from the annual catalogue I now have!  funny isn't it how you keep putting off and putting off getting something then finally bite the bullet and go for it!
I'm certainly not regretting this buy!

If you're a regular reader of my blog, you'll have seen an appearance of these dies back on the 31st August in my Interactive class for September blog
However after that I had a bit more of a play with some of the bits I didn't use much the first time round, and I'm hooked! lol
Let me show you. Da, Da......The Botanical Tag Thinlit Dies........


 how pretty is this rose?, I've teamed it up with Floral Phrases stamp set, and I think it works well :) I've also used the die cut piece to form a mask that I used on the background piece.

Next up I wanted to use the birds again, and I hadn't used the branch leaves in the other work I did....

again teamed up with the same stamp set Floral Phrases, just a very simple card, I love the delicacy of it.
And last but not least (possibly my favourite of the 3)


again I've used the leaves, this time to form a wreath round Santa with his Pineapple Drink and board shorts gotta love him! He and his saying comes from So Santa Stamp set, which was instantly on my list of Must Haves as soon as I saw it, go and check out the other stamps in it!  I've used a few of the Red Rhinestones around the wreath too, gives a spot of bling :)  Those who know me, know I'm not keen on being cold, so the saying works really well for me lol.

I hope you have enjoyed these cards, and it has inspired you to create at home, do click on any of the links to check out the products, and if you are purchasing, do add in the current hostess code: G43WBCJC for your chance to be in the draw for the free host rewards at the end of the month.  And check out the specials Stampin' Up! and I have for you when you order in the "Special's Happening" tab above.

God Bless love
Heather xox

Shimmer Paints

Hi There,
Only 4 days to go till the new Holiday Catalogue goes live!  Unless of course you're a demonstrator, in which case you'll most likely have ordered from it already!  (If you'd like to find out about becoming a demonstrator and joining my rapidly growing team, just ask :)

HOWEVER!  I'm here today to introduce you to the Shimmer Paints that are in the new Holiday Catalogue (if you have one they're on page 38)  Gotta tell you Vegas Gold closely followed by Bright Copper are my favourites.
I have done a video for you on how you can use the new shimmer paints as they're kind of hidden away on the page, and they're so fabulous that I figured you'd need a few tips.

They are waterbased, but you can heat set them for use on fabric (haven't shown that in the vid), let's just move onto it......
I hope you find this video useful, and do let me know if there's anything you'd like to see in a video.

I hope it inspires you to create,
God Bless love
Heather

Interactive Class for September - Slider Cards

Hi There,
yay finally got the 2nd card finished and photos/videos done of the Slider Cards we'll be creating on 20th!  Remember you can also order this as a kit and I will be doing a video to show how to put your pack together (as well as written instructions)
So Card1:

And Card #2
  I have made a couple of quick videos so you can see how they work


both of these cards use beautiful Specialty Designer Series Papers, the top card also uses the Botanical Tags Thinlit dies (aren't they gorgeous?) and the second card uses the Detailed Floral Thinlit dies, and the Celebrate You thinlit dies.  And just in case you're wondering the Specialty Designer Series Papers are, Share What You Love (card 1) and a new one called Frosted Floral (available from 5th September - unless you're a demo, in which case you can get it now!!)

Anyway down to the nitty gritty, the class is in Laanecoorie on 20th at 10.30am and 7.30pm, cost $20 however if you can't make that, as mentioned above, I do offer it as a mail out class cost $15 plus $2 postage.  When you receive this as a mail out class I can't do any stamping for you, having said that there is only 1 stamped image in the whole 2 cards which is the Happy Birthday, this comes from the Soft Sayings Card Kit (which is an all inclusive kit and produces a beautiful set of cards), or you can substitute it for something else :)

That's it folks for today, I hope these cards inspire you to create
God Bless love
Heather xox


Cards for August Classes

Hi There,
I say it every month, but wow another month has gone by again!  Time to reveal the cards you can make with me in September.   Class dates for these 4 cards are:  Saturday 1st at 10am in Maryborough, and Wednesday 12th at 10.30am and 7.30pm in Laanecoorie.

As our new Holiday catalogue starts on the 5th September, we're doing a bit of a sneak peek with a couple of the cards on the 1st but should be well into the swing of things by the 12! lol

This first card uses the lovely Beautiful Blizzard Stamp set and dies (they come as a bundle - yay for 10% off!)   there is also a saying inside the card that says "And you are extraordinary"

Next card also uses the Beautiful Blizzard stamp set (not the dies this time though)  I had someone ask me how to use the "splotchy" stamps that are part of this set, so thought I'd better have a go with them! 
Next I've gone back to the Annual Catalogue and using the Varied Vases Stamp set and punch, which again come as a bundle 😊  Do you notice how the vases are 2 toned?  I'll be showing you how to get that effect (how exciting)
And last but certainly not least!  with this card you have to pick one.  It uses the beautiful Delightfully Detailed Laser Cut Paper of which there are 6 pieces that can be cut from the one sheet and create lovely cards, however as each one is different I've been trying to work out a way to use it in class, and this is what I came up with:

the banner and saying is from Banners for You stamp set and Bunch of Banners Framelit dies (which last year were bundled in the catalogue but they're not anymore😞)

If you plan to come to one of these classes do let me know, if you can't make it to any classes, I hope this has inspired you to create in your own space!
God Bless love
Heather xox
Placing an order? make sure you use the current Open hostess code for your chance to be in the draw for the host benefits HG96JUPK

Step It Up with Timeless Tidings

Hi There
By now those who I've mailed out the Holiday catalogue to should have received them - let me know if you haven't got a copy and you want one!  It starts on the 5th September (unless you're a demonstrator, in which case you can order now!) Yay!

Some of you will have received a card with your catalogue that showcases the Timeless Tidings Stamp set, if you're a regular reader of my blog, you'll remember a few posts back this Timeless Tidings Project Kit I showed you (Still in love with it, it's such amazing value for money and such stunning cards!).

Just in case you didn't receive the card, I thought I'd show it to you now, and also a "Stepped Up" version, when I go to Stampin' Up! events they often mention "stepping up" your cards, I really should do this more often, it was fun! lol.
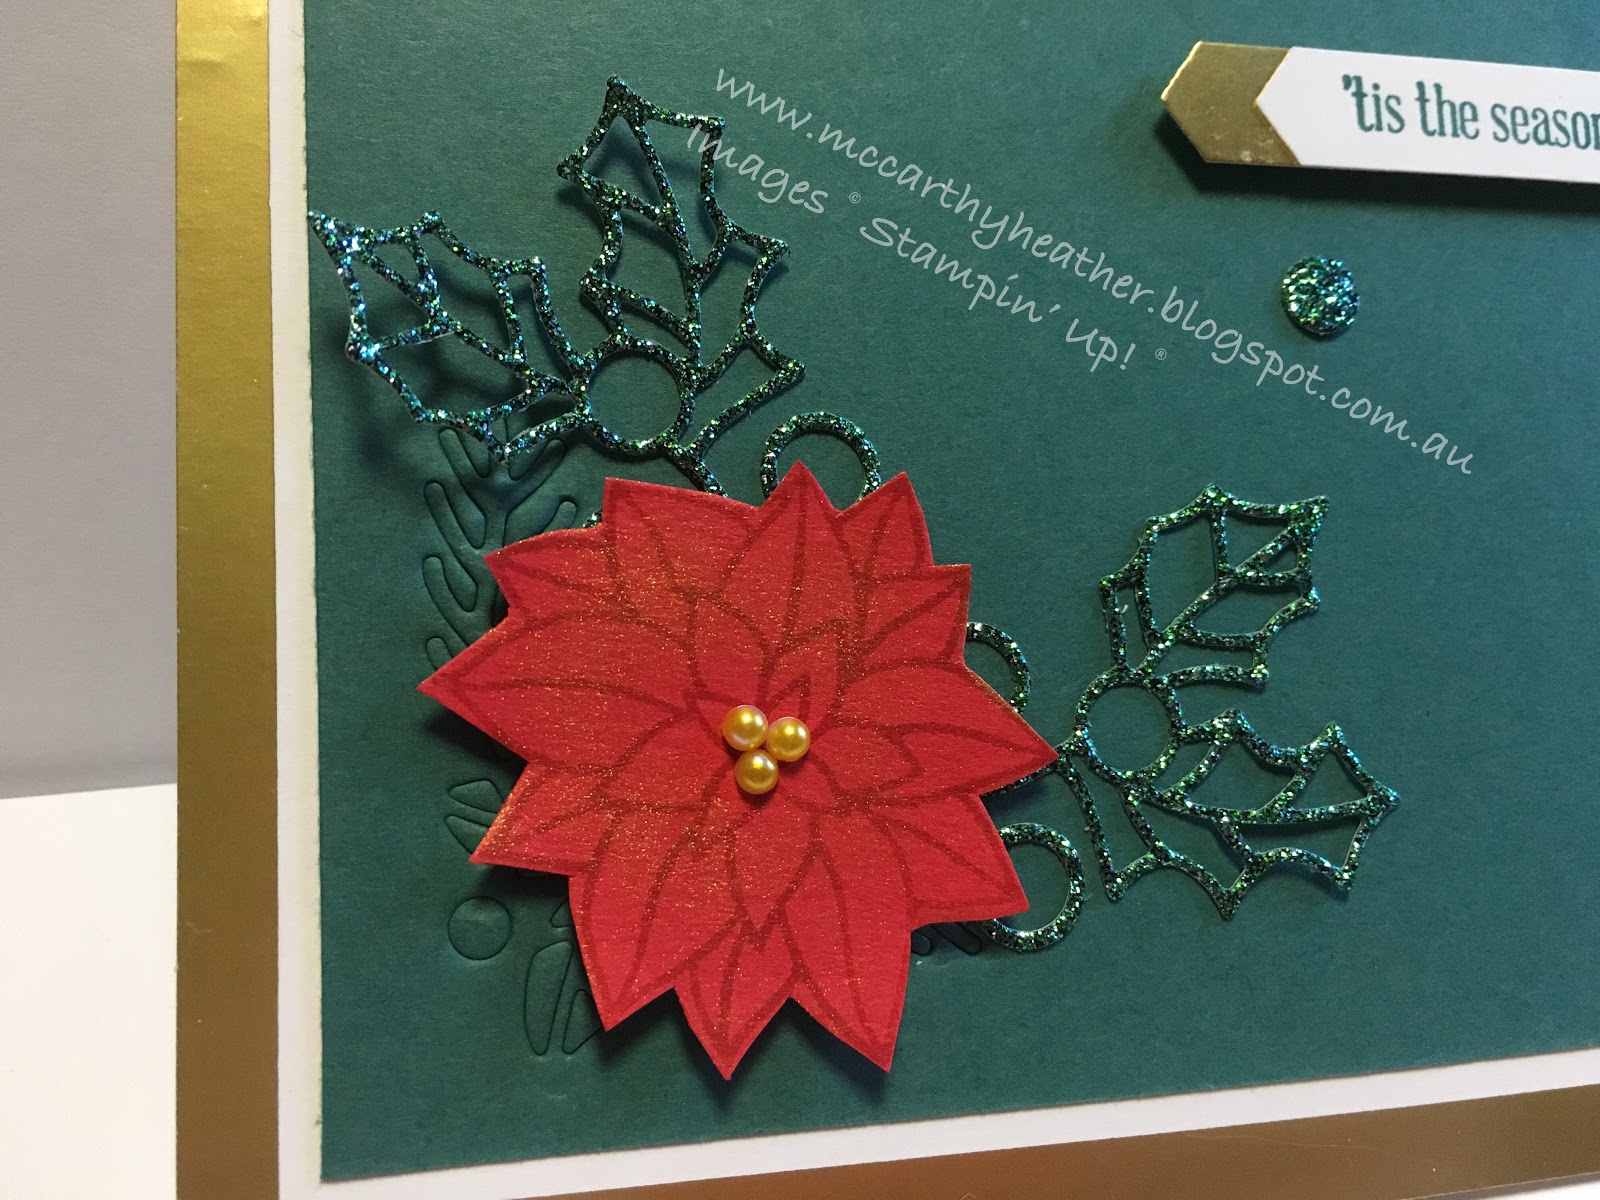
Here is the first nice simple version:
My idea behind this was to show something that anyone could do, doesn't require lots of fancy cutting or punches that people may or may not have, and when I started stamping I would have been proud to be able to send this out to people as their "homemade" Christmas card.  It uses only the Timeless Tidings Stamp set, and 3 colours, Garden green, Pumpkin Pie and Cherry Cobbler.  The Cherry Cobbler has been "smudged" using a Blender Pen, these are clear pens that you can use to pick up colour and colour in with, or in this case once I stamped I used it straight away to move the colour inside the stamped image, just gives it a subtle hint of colour.  The other thing I did to make this card "bling" was spritzed it with a gold spray.  I used the (oh so in love with this) Gold Vegas Shimmer Paint.  I've poured some into a Stampin' Spritzer Bottle,(on a side note what amazing value are these? 2 for only $5!) topped it up with Rubbing Alcohol, shake it up and spray.......

Don't you just love that shimmer effect?
So, to step it up I wanted to use the same stamps in the same order, then add some extras, here's what I came up with:
Again it's not majorly complicated, but does require a spot of cutting with the Stampin' Trimmer, Paper Snips and the Layering Oval Framelits.  Then the added extra of the little metallic Leaves Trinkets, aren't they lovely?
If you look closely you can just see the gold glimmer on the tree oval.
The Flower I stamped twice on spare card, then cut them out and layered them up, it's a nice easy flower to do that with as the lines are not blurred in together.  Oh and in case you're wondering why the yellow colour doesn't look like Pumpkin Pie, it's because it's not! by the time I made this card I'd packed the Pumpkin Pie up to use in a class, so I went with Mango Melody instead😊

Well I hope this inspires you to create, do feel free to leave me comments, I always love to hear from people!
God Bless love
Heather xox


Team Day August 2018 Part 2

Hi there
As promised I'm back again to show you the Make&Takes that I created for our team day.

Initially I'd planned just to make one, but got a bit carried away, 3 later thought I'd better stop! lol
 My initial idea was to make one of the new cute little "Takeout Treats" boxes using the matching stamp set "Take Out Treats", so we did make this one:
Gotta tell you that ribbon is so soft! it's called Merry Merlot & Copper 5/8" reversible ribbon, and it's so beautiful!

Then I kind of felt that really we should try out the other 2 new embossing folders from the new Holiday Catalogue! (having used the Swirls and Curls one in Jenny's card)
Hence this card came in to being.  Using the new Corrugated Dynamic Textured Impressions Embossing folder, also the Merry Christmas Thinlit dies, the Oh my goodness so amazing! "Shimmer Paints"  (do you get that I really like the shimmer paints? lol)  I've also added some of the Metallic Sequin Assortment (so pretty)

Ok and the other embossing folder is Tin Tile Dynamic Textured Impressions Embossing Folder, just so you know the "Dynamic" embossing folders have more layers than normal embossing folders, they can emboss deeper, and so some parts are more deeply embossed than other parts (pretty cool!)  Oh and funnily enough those Shimmer Paints make a showing on this card too!
This is a 1/2 size card, I've used Soft Suede Cardstock to emboss, then burnished using a dauber over the top with Vegas Gold and Bright copper Shimmer Paints, the punch and saying are from the "Christmas Traditions Punch Box", and the punched piece underneath is the Everyday Label Punch.

The new Holiday Catalogue starts for ordering on 5th September, if you haven't got one and would like to check it out let me know.

I hope these have inspired you to create!
God Bless love
Heather

August 2018 Team Day!

Hi there
well today we had our Team day, had 12 of us there, I really enjoyed the get together with the girls from my team, and Simone, (my upline).  We had a play with some of the new catalogue items.  You can purchase items from the new Holiday catalogue from 5th September, unless you are a Stampin' Up! Demo, in which case you can buy them now!!

Thought I'd share a few of the things we got up to!
 First up I shared a bit about emotions and how we have the power to control our emotions rather than allowing our outside circumstances to control them.  Then we moved onto creating.  I had asked 3 of the ladies if they would create something for us all to have a go at.  Jenny had made up this cute card for us to create: Using the very cute "Signs of Santa" stamp set, matching Santa's signpost framelit dies, also the new "Swirls and Curls" Textured Impressions Embossing Folder, and the new Christmas Punch from the "Christmas Traditions Punch Box".  This was my version of her card (little different, and of course I didn't think to take photo of hers!
I'd also asked Rosalie to create a Make&Take for us, she created this beautiful card (again my version) This uses the lovely new Foil Edged Cards and Envelopes, and also one of my new favourites the Joyous Noel Glimmer Paper, also the Peaceful Poinsettia and matching dies.
had to give you a close up of this one:
I'd also asked Diane to do a Make&take for us, and she chose the Petite Treat Framelit dies and Treat Time Stamp Set bundle, which was fabulous as I'm not sure if any of the rest of us have these dies or stamp set! As it was a bit of a Christmassy Theme today with the holiday catalogue, She'd paired it up with the "Under the Mistletoe" Designer Series Paper.  If you buy these dies, let me know and I'll explain how to put the box together, once you know how it's easy!!  Oh and it's perfect for small presies, Diane had made up one to hang on the Christmas tree too, great idea!
I also made 3 things for Make&Takes but I might save those and show you in the next post (stay tuned!)
Simone also shared a little about her recent Stampin' Up! incentive trip, which was fabulous.

If you want to join us at these team days, do ask me how you can join my team, or click on the link above that will tell you more details.

I hope I have inspired you to create
God Bless love
Heather xox


Something Saturday - Swaps I received at Backstage

 Hi There Creators, Well as most of you know I went to a Stampin' Up! leadership event called Backstage in Las Vegas recently, I made up...