Thankyou for joining me today, I have been a Stampin' Up! Demonstrator, since 2008. My blog will show you how to make cards and projects using Stampin' Up!'s fabulous products. And occasionally random extra stuff (that's the way I roll 🤣) Please do sign up to receive my emails, so you get my latest info.
Gee Whizz haven't the months flown by! Not long till Christmas again (I love making Christmas Cards!)
Anyway Novembers cards are sparkly and 2 of them Christmassy 😃
I'll start with them.....
See the links below each card for the individual products (codes and prices) I've used for each card and at the bottom I'll pop the times/day of classes:
I do love this angel from Angels of Peace Stamp Set, she feels really serene to me, I've paired her up with the lovely leaves die from Artistic Dies, and some of the stunning Expressions in Ink specialty Paper. Not forgetting a bit of Wink of Stella for glittery wings😉
This other Christmas Card Ive finally got around to using a couple of things I haven't used much, the Parisian Flourish 3D embossing folder and the Stars are Shining bundle, I've heat embossed round the edge and combined my gold and silver powder to create a really cool champagne'y sort of colour
Check out this link to see what I used in this card: Parisian Stars
Card #3 I've used some new stuff......Eden's Garden is a new Suite coming out on 2nd November I have used one of the dies and stamps from it, combined with the Gold and Rose Gold Metallic Specialty Paper.
Check out this link to see what I used in this card, although I can't link to the Eden's Garden suite yet: Eden's Garden Hugs
Last but not least, I think this might be my favourite card. I love this stamp set - Artisically Inked. It really doesn't need "dressing up" I've used 4 colours, and have to admit did add some Gilded Leafing.
SO, which card is your favourite of the pick for November?, do comment below and let me know!
The day I'm teaching these cards is 3rd November at 10.30am or 7pm, you'll need to book your place if you want to come along as places are limited Class cost is $20 which includes envelopes and instructions to take home too. However if you'd like to make these cards and can't make it that day, let me know and we can arrange another day (the advantages of having my own classroom is that I can leave it set up for another day 😉)
I don't know about you, but when I send off my Christmas Presies (mine go off to the UK and other far flung places) I really love making them look gorgeous on the outside, hopefully they also like what's inside. But who doesn't like looking at a pretty'ly wrapped pressie under their tree? or getting a beautiful looking present for their Birthday?
Stampin' Up! have some small "cheat" ways of wrapping up smaller presies, just decorate the boxes or bags and voila....
I have stamped directly onto the Ombre Gift Bags, and the boxes I've used a combination of Designer Papers, Stamps, Dies and even an embossing folder directly onto the Acetate Card box.
I do show them all in the video below, and you can check out Stampin' Up!'s Packaging solutions here:
My Something Saturday this week is about how to add veins of the gorgeous Gold Gilded Leafing to your stamped work, I've used the beautiful Artistically Inked Stamp set, I think this is just soooooo gorgeous! (check the bottom for the link to the products I've used)
Here are my cards I created:
this is the card I create in the video:
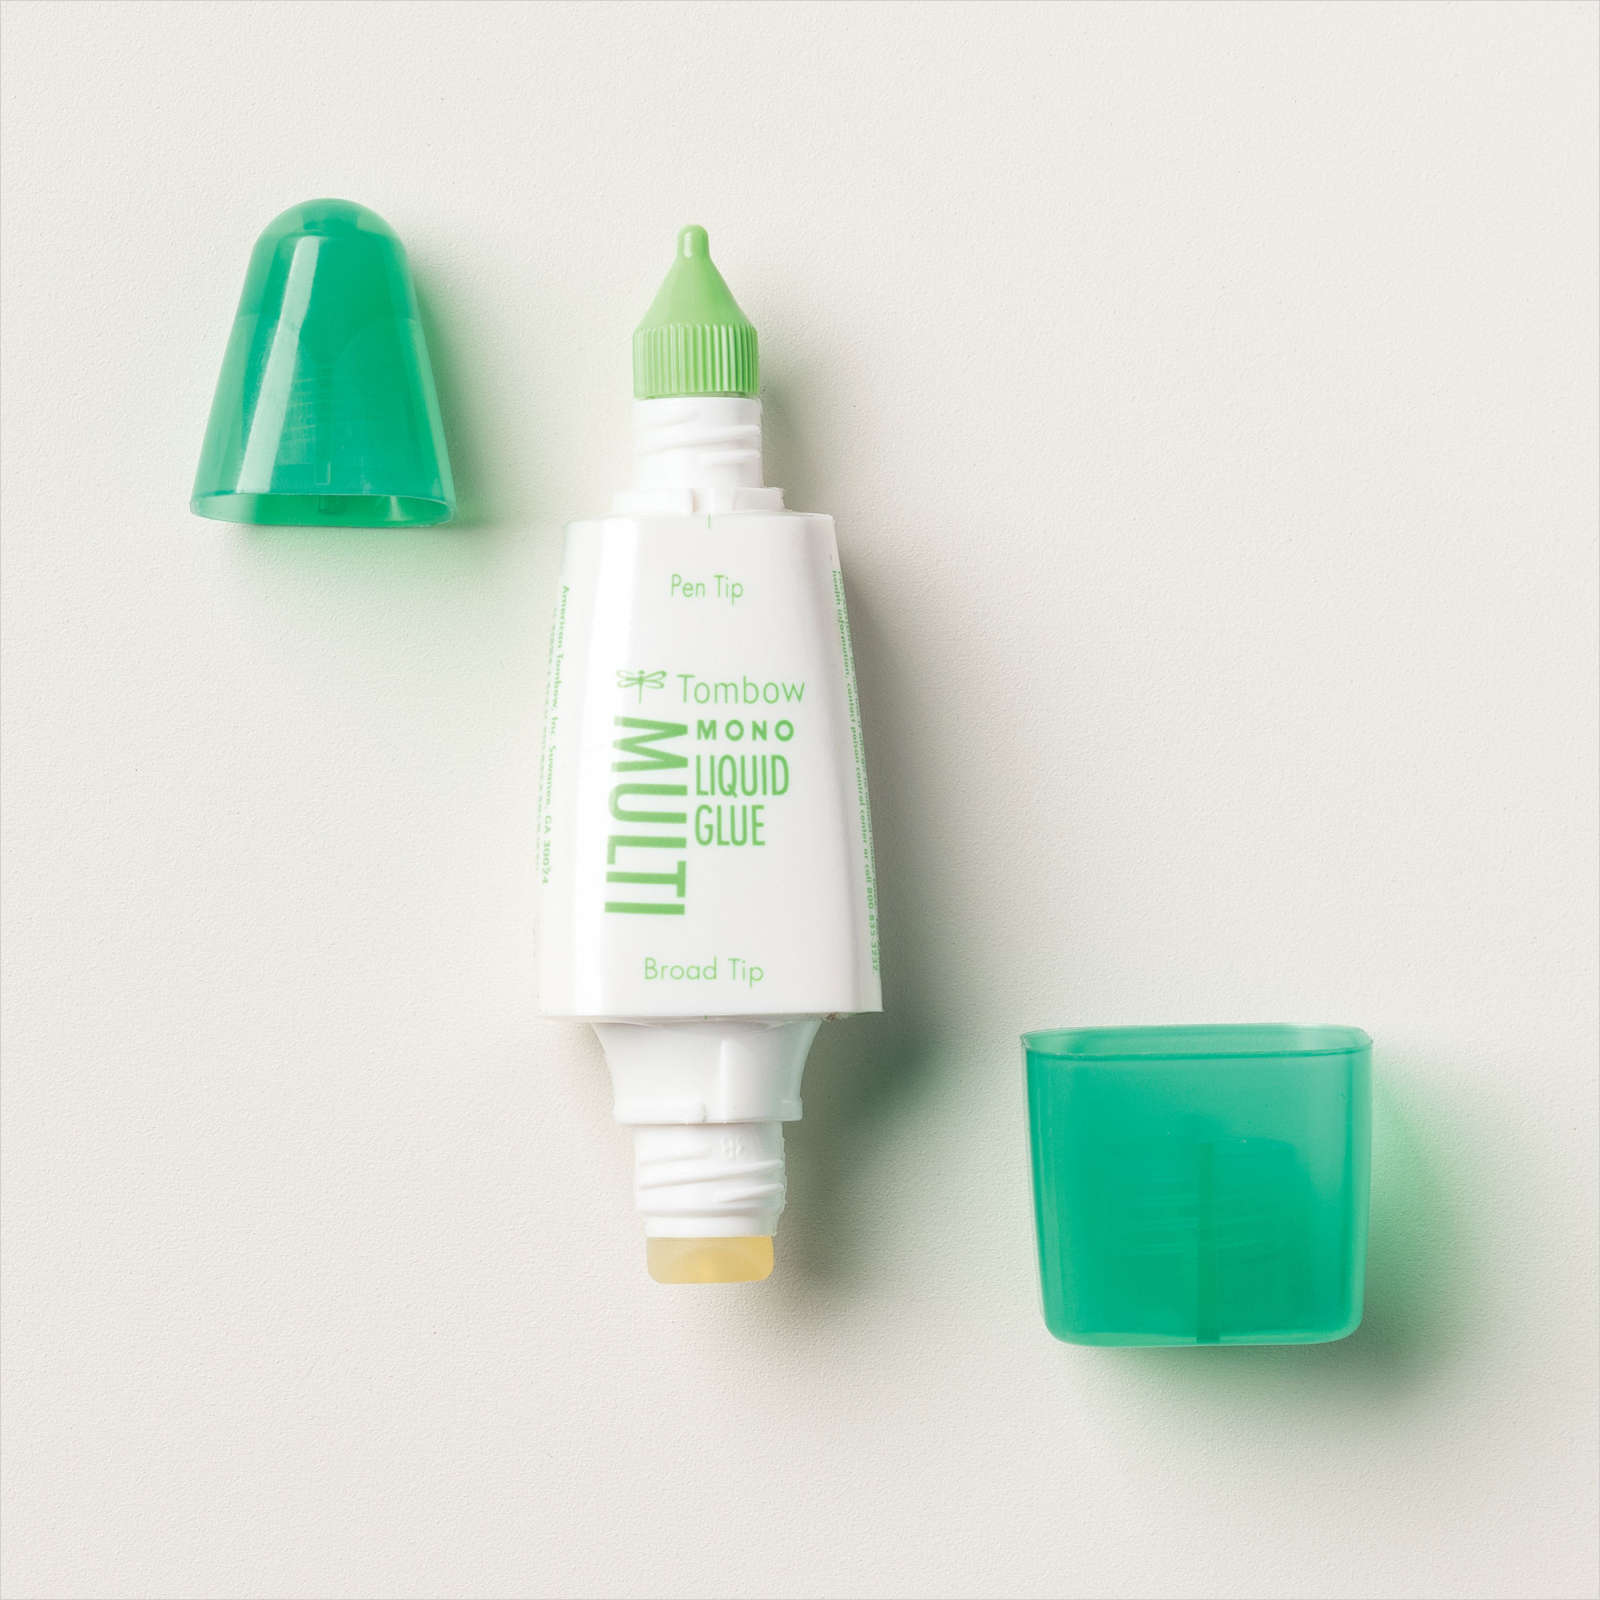
Isn't it gorgeous? It's so easy, this stamp set Artistically Inked, is so forgiving to use, pick a few coordinating colours and stamp, you can stamp quite randomly, I like to try and cluster them together. then just use the fine end of the tombow (Multipurpose Liquid glue) to draw on glue where you want the gilded leafing to go, allow the glue to dry a little before dusting over with the Gilded leafing, and brush off the excess, I like to use a fairly firm sponge for this. And voila gold veined stamped images, wooooooh 😍
And one last image for you.. (got a bit carried away!)
Well this "Something Saturday" was on the variety of Stampin' Up! glues (aka Adhesives) on offer currently.
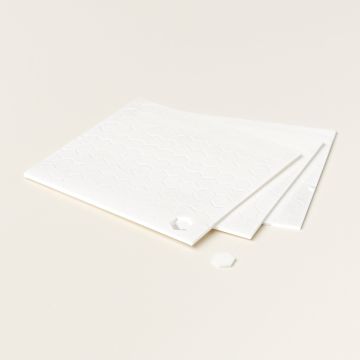
first up on my list was Dimensionals, these are Sticky Up'y dots, little foam hexagons with adhesive on both sides, so you can create "dimension" with your work. They come in White and black in 2 different sizes and there's heaps of them in a pack. The white standard Dimensionals have 300 plus you can cut up the side bits so it probably gives you another 100 peices. The white mini dimensionals have 720 mini dimensionals plus again all the bits round the sides. Black dimensionals have both in the pack (2 sheets of each).
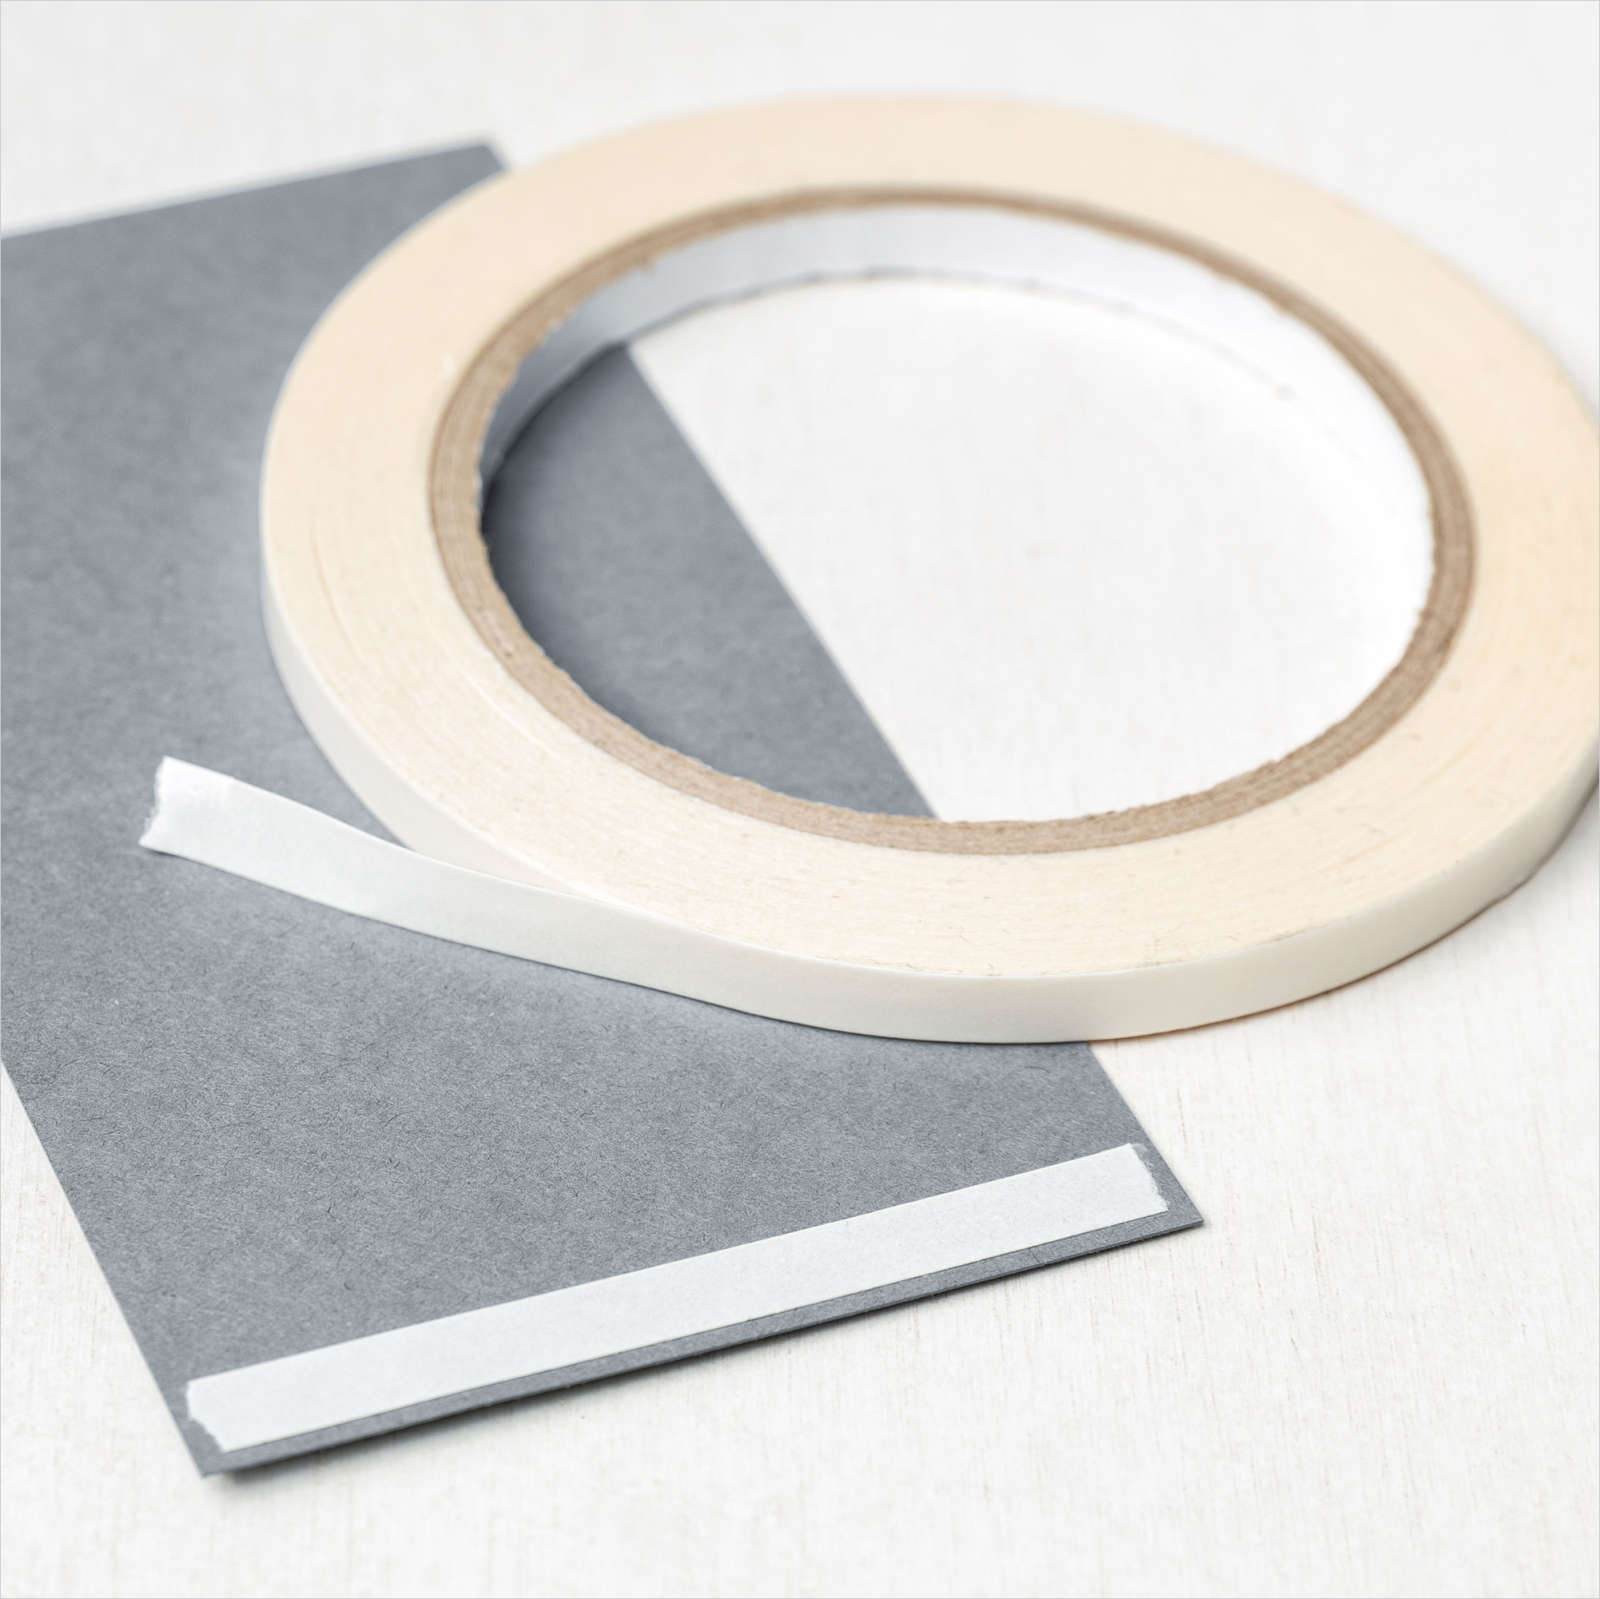
Next up is the Tear & Tape Adhesive, (basically double sided sticky tape that's stickier than your average double sided sticky tape and doesn't fall apart after 6 months!) when it goes on it's sort of translucent when it's on, it's fabulous for getting your ribbon straight, or just generally paper/cardstock, also if you have trouble getting things straight or dealing with a large piece, it can be really handy to peel a little bit away fold it over so it shows on the outside and get the corner straight of your piece then peel the rest carefully off.
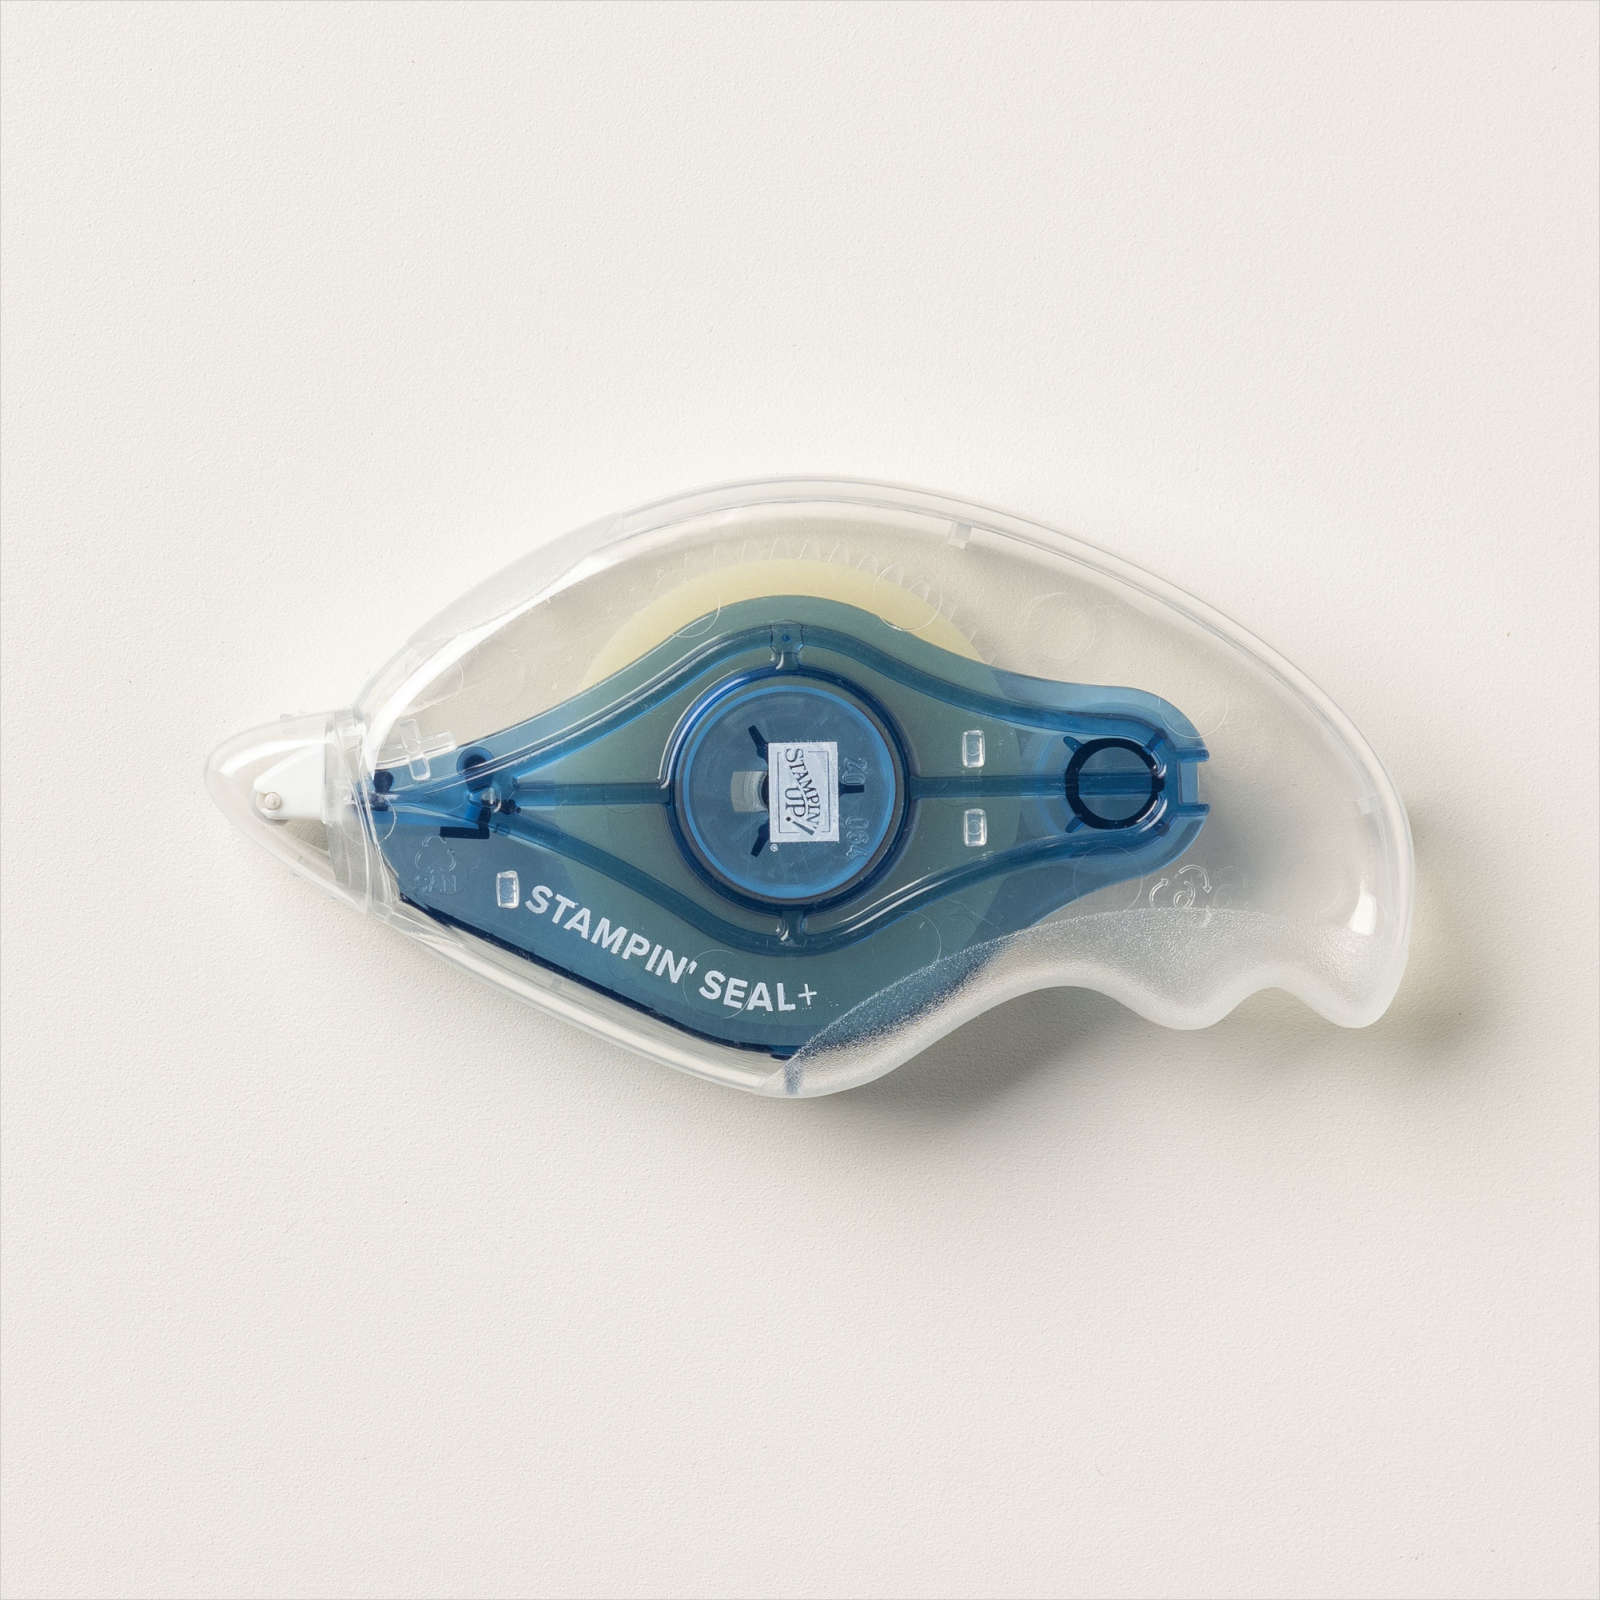
Then I showed Stampin' Seal (and talked about Stampin' Seal Plus)
This is an easy way to add glue in a quick straight line it's clear on, it's like applying white out tape, only both sides are sticky. Stampin' Seal (light blue) is fairly sticky, and holds well. Stampin' Seal Plus (dark blue) is mega sticky and holds even better, it has little lines in it approx each mm, which is kind of where the tape breaks off when you're done. There are refills for each Stampin' Seal Refill, and Stampin' Seal Plus Refill (click on the links to check them out)
Mini Glue dots next up, they are clear and fabulous for attaching small embellishments to your work, bows are great with this, or also sticking vellum down, which tends to show most glues, as these only take up a small amount of space you can hide them under lines or embellishments.
Silicone Craft Sheet, an absolute must if you're doing anything with glue! I constantly use mine (which if you've seen my videos you'll see it in anything I'm using glue) It's a square sheet of silicone which glue doesn't stick to, and just rubs off when you're done.
Cling Adhesive is the stuff that Stampin' Up! now offers for the back of your rubber stamps. When you purchase rubber stamps now they have this amazing cling adhesive which means your stamps don't come off the block until you peel it off, no more dropping off mid-stamp! if it becomes non-sticky you just wash it and it "re-sticky's" again
Foam Adhesive Strips, they are as it says "foam" they're double sided sticky, and they're strips, so bendy! I've used them to create shaker cards as you can take the strip and bend it round till it meets
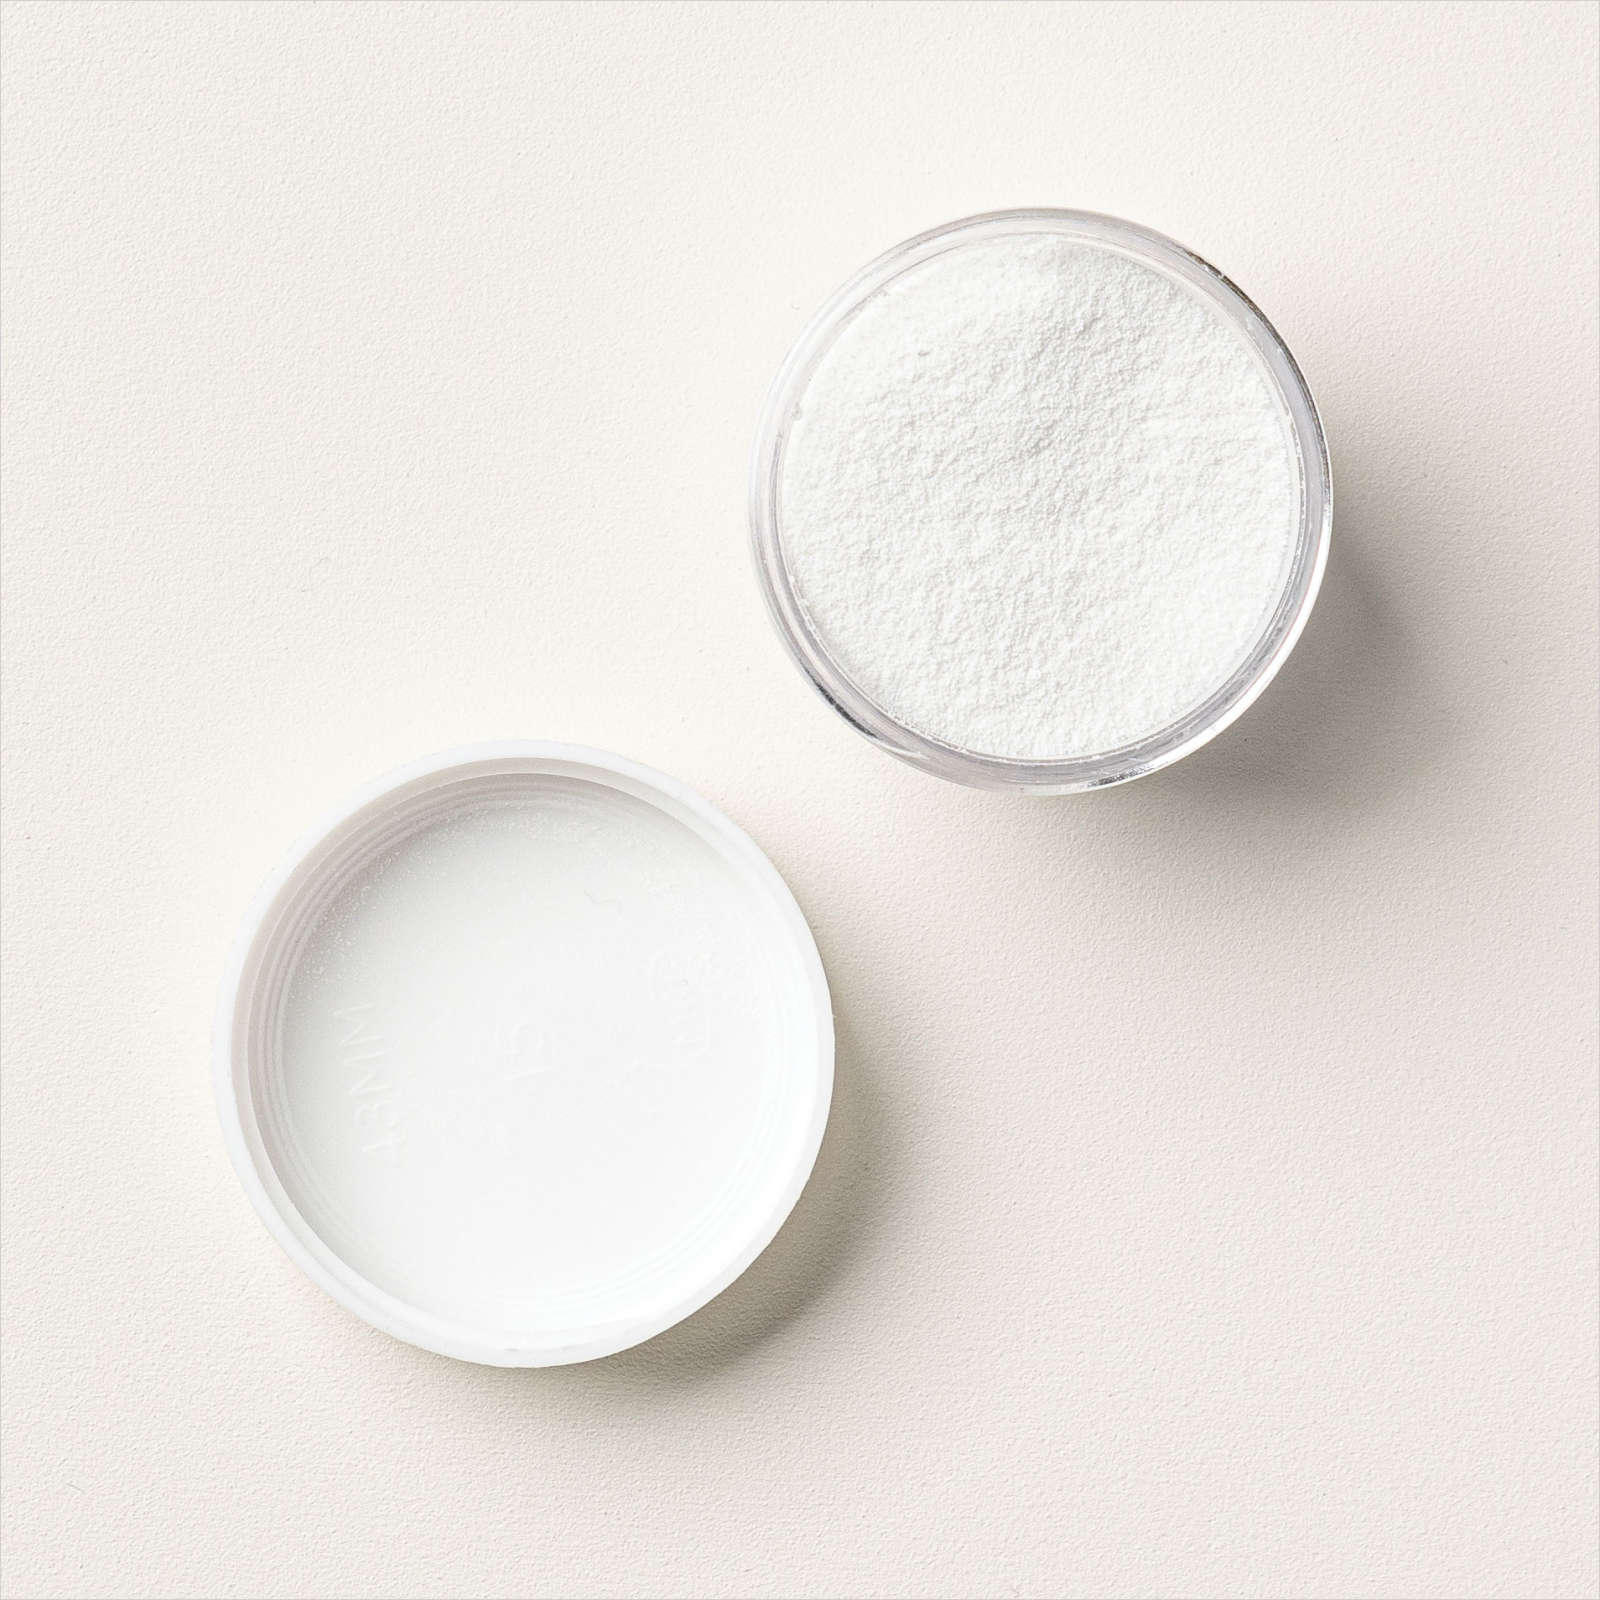
Heat & Stick Powder, this stuff is amazing! If you stamp with versamark, then dust over with this stuff, you heat it using the heat tool till it melts and goes sticky, then you can add glitter or gilded leafing (or potentially anything else you want to stick. If you're using glitter, reheat it again after applying the glitter and it set it into the heat & stick powder (you don't need to do that with gilded leafing)
Foam Adhesive Sheets (not strips!) So these ones are kind of like sheets of dimensionals that didn't get cut. If you want to you can cut these to any size, I've run mine through my Stampin' Cut and emboss machine with dies. Add the cardstock to one side cut with your die, and peel off the other side. Also fabulous for shaker cards!
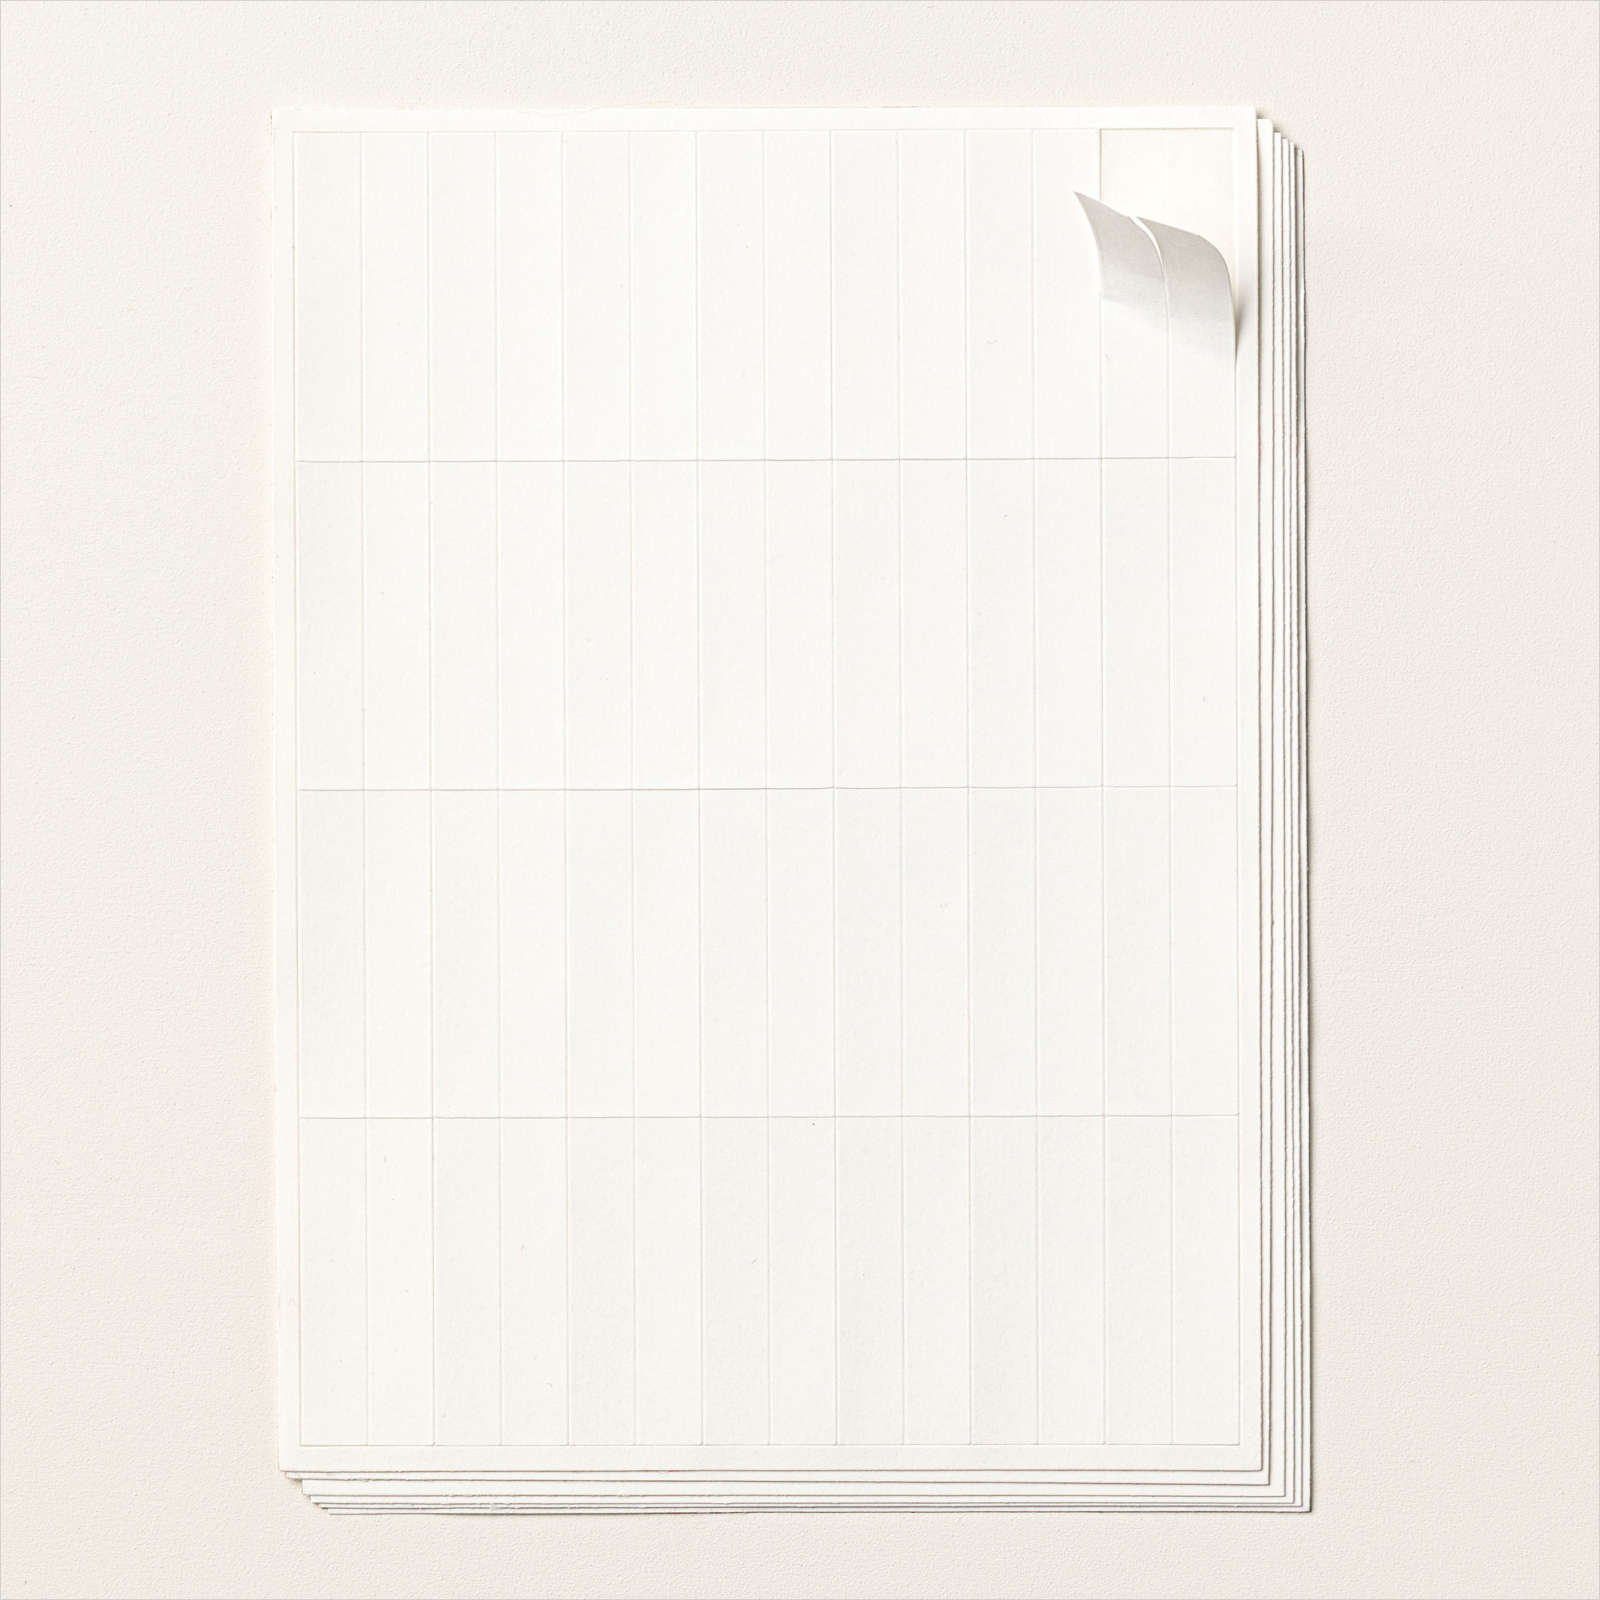
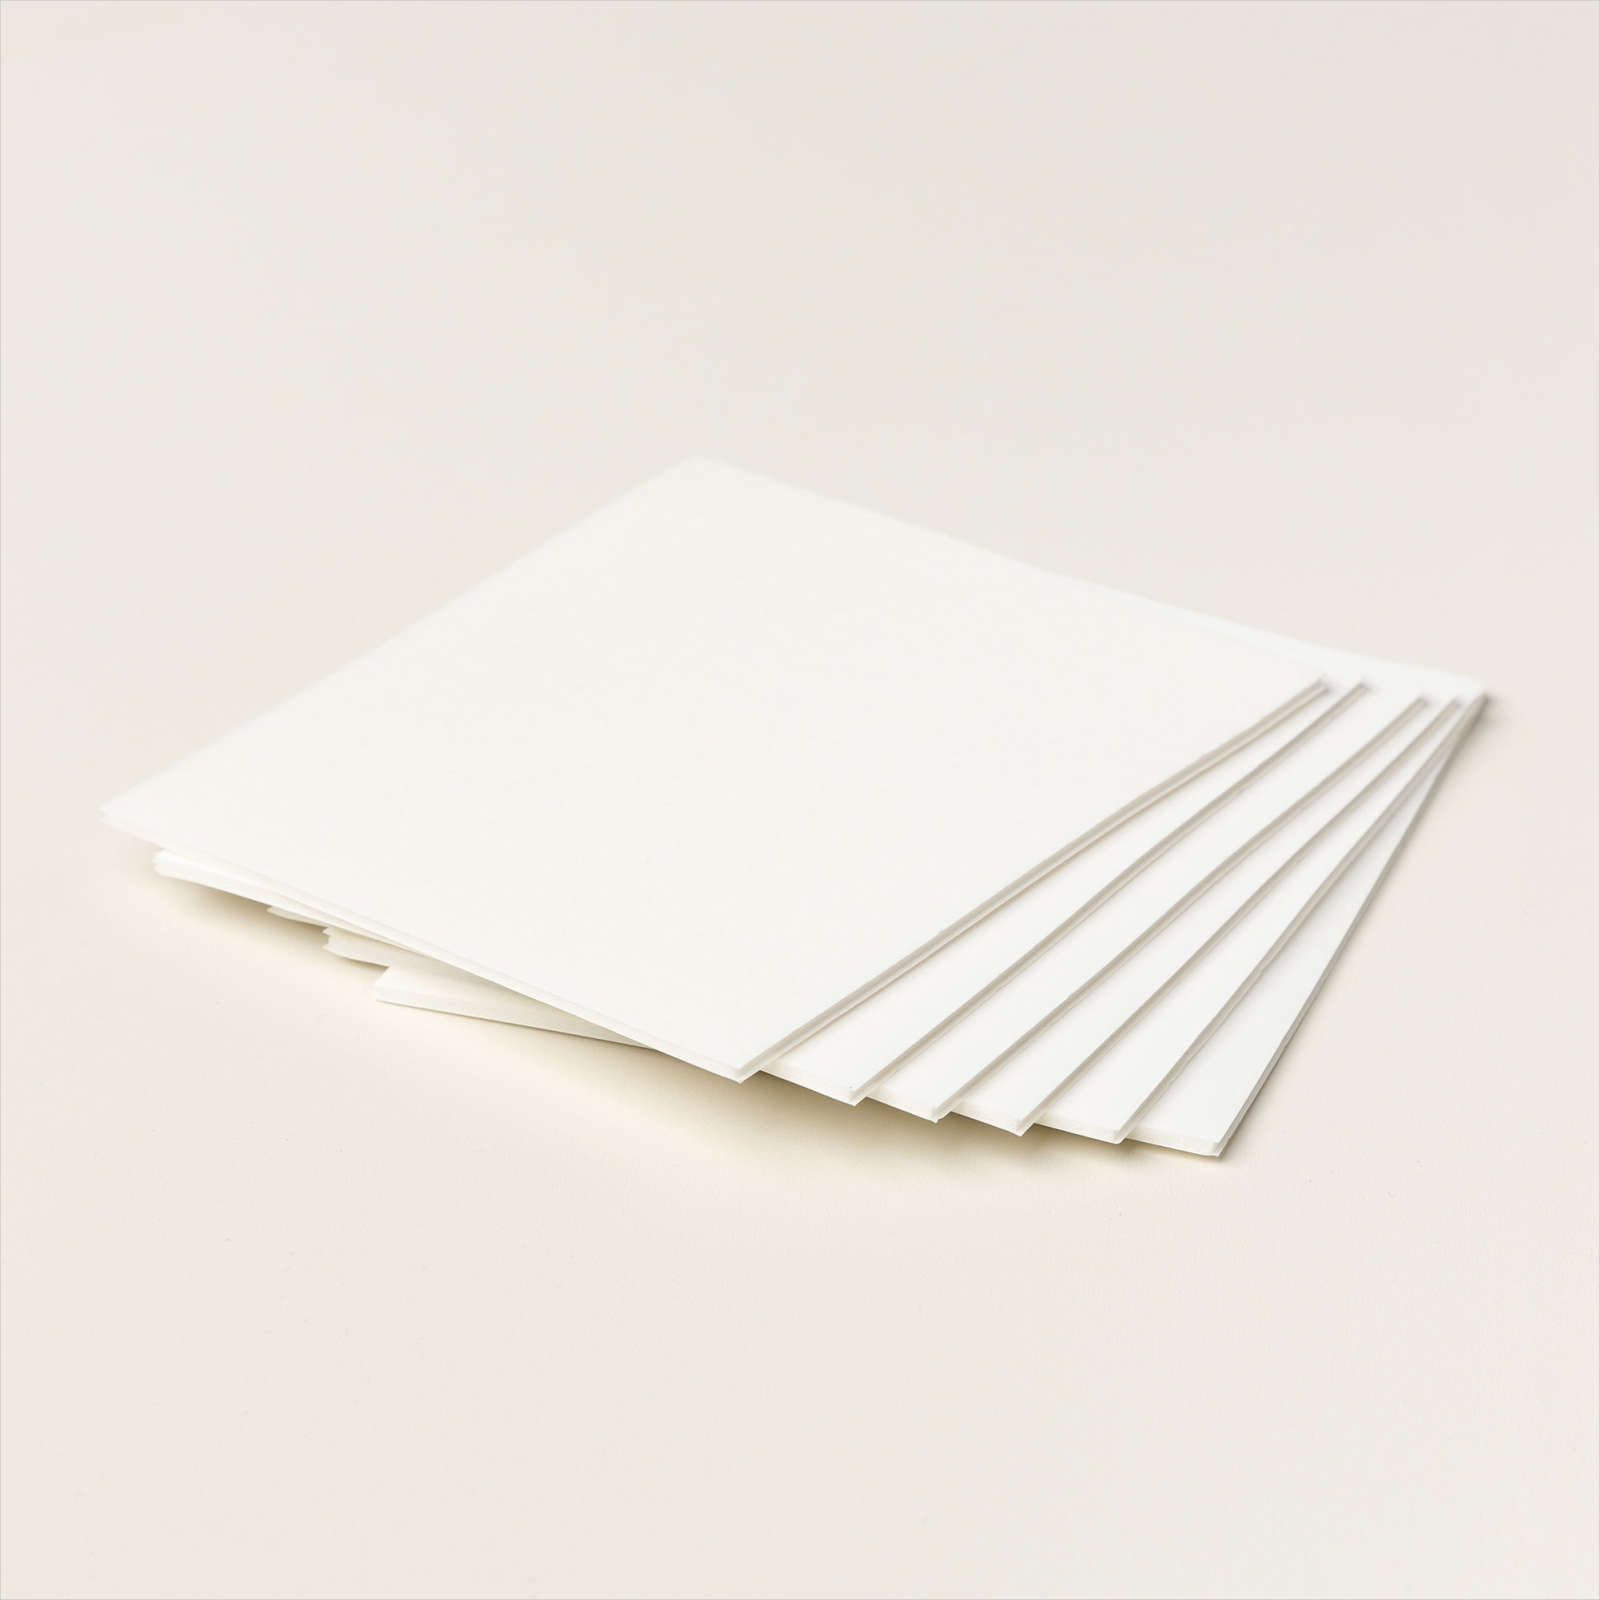
Alright 3 more to go..... Adhesive sheets is next, you know those really fine die cuts that are a pain to add glue to, yep well these are the go for those, Add it to the back of your cardstock, cut it out, peel off the backing (I recommend buffing it down well before peeling off the backing) and "Bobs your uncle" It's clear once you've taken off the backing, and just leaves a fine film of glue behind
Multipurpose Liquid Glue (commonly known as Tombow). this just happens to be my favourite glue! it's double ended and goes on white, dries clear (kind of like your average pva) but soooo much more...... Being double ended (you twist off the end) there's a thick end ("not as thick as some" as my Grandma used to say) and a thin end, if you want to "draw" with your glue you can use the thin end, in the video you'll see I scribble with it then add gilded leafing. However I use it to attach my cardstock down - a little goes a really long way! however one of the advantages I find is that it has a second or two of "wiggle room" so if you've put your paper down wrong you have a second to readjust it, having said that once it's stuck, there's nothing on earth getting that sucker off! My hubbie Tom used it to put a a frieze for his train room, and trust me it was not coming off in a hurry when we tried to remove it, I think we ended up painting over it instead in the end.
Another thing with Tombow is if you put it on as a thin layer then leave it to dry, it becomes re-positional, like sticky note paper.
I will also use this with my silicone craft mat and pop glue in the corner of the mat and use a sponge to pick up the glue to sponge onto any die cuts, or even just to create an interesting background to a card, if I want to have a glittery or gilded mottled looking background.
Last but not least is Shimmery Crystal Effects. It produces a kind of wet glimmery raised look, actually to be honest it reminds me sparkly nail polish, it has a pointy bit that you squeeze the glue out of (you have to cut the end of it off to get it to work), however it's fairly easy to control, and you can add little bits to your work. It does take while to dry though, so do this last and put your work to one side for a couple of hours.
Well done you made it to the end of the glues! I really hope this was helpful, and inspires you to try out different glues (Adhesives) 😉
Well I said the title out loud and my youngest son showed me a few creative punches, like this Mum, umm not quite the sort of punches I was thinking of lol!😀
Of course I'm talking about "papercraft punches", how to get the size to be bigger or smaller, handy to know when you have a saying that's longer than your punch, or when a small saying looks a little lost in the middle of your punch!
However I have taken a few photos for you, and I'll try and explain.... (click on the links to view the punches).
This first one shows the Delightful Tag Topper Punch, which has 3 widths, 2", 1 1/2", and 1", I love this for making my tags to go on bags or presies, you can do a larger one in colour, and pop a smaller one over top to create a nice layered effect down the side of the tag. Plus you can punch both ends of the card and tie it round something or create napkin rings..... (your imagination is your limit)
The next one I show in the video is this one, the Treasured Tags Pick a Punch, so called I'm guessing, because you can pick either side of it and create 6 different looks! Again this one has 3 specific widths, 1", 3/4" and 1/2".
Then we get creative, I can't remember the order I did these ones in, but if you measure the width of your punch (either direction) you can put one end in and punch it then put the other end in and punch that, so you can choose however long you want your tag to be.
I've used the Tailored Tag punch here, you can create great arrows with it!
then this one Elegant Tag Punch - this is so pretty on the corner of a card, or double ended
My favourite punch is this Everyday Label punch, this one is easy to enlarge in either direction!
And the last one I use is the Jar punch, again it's an easy one to enlarge up or sideways! you can have tall jars or wide jars, again the limit is your imagination
View the Video on YouTube here:
I hope this inspires you to do more with your punches!


.JPG)

