Hi there Creators,
Welcome if you're viewing my blog for the 1st time, or the 100th!
Craft Alive Bendigo was meant to happen Thursday 10th June through to Sunday 13th, however COVID has once again got in the way, so we're having a "Pop-Up Online Event" instead, just a case of those of us who would have been exhibitors, adding a little extra to our online presence. I am hoping to have a Facebook live each day (Thurs/Fri/Sat) Saturday will be my usual Something Saturday at 10am
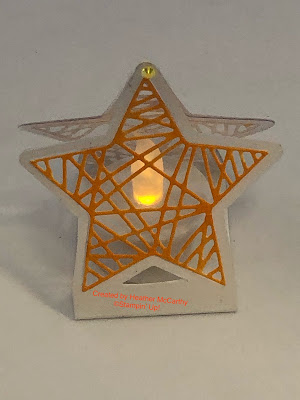
Anyway on to, what am I showing you in this blog post? I was planning on doing a Christmas in June/July theme, and my choice of products for this is the lovely Tidings of Christmas Suite (do click on it to check it out) This Suite has beautiful papers, ribbon, stamps and dies! And I thought the stars would make beautiful tealight holders, what do you think?
I decided to do a photograph instruction thingo for you, so here goes....
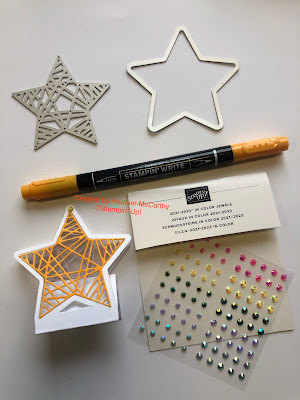
You will need:
- A standard card (I use the Thick white cardstock)
- Window Sheeting
- Christmas Trimmings Dies
- Stampin' Cut & Emboss Machine
- Paper Snips/ scissors
- 2021-2023 In colour Jewels
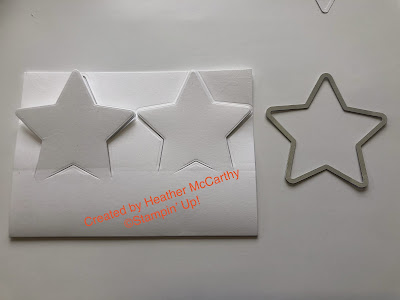
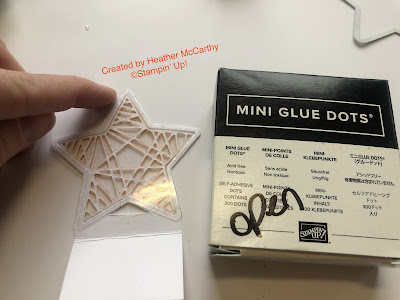
First up arrange your large star die on the card, make sure it's right on the edge, and the pointy top is right at the top end (top is the open end of the card, not the folded end!) You need to make sure that when you cut it, it leaves the 2 bottom points of the star still attached to the card, hence the top plate only covers as shown in the photo, then run it through your Stampin' Cut & Emboss machine
Next cut the stars out by a straight cut up from the bottom on both sides, leave the middle intact,
Next you want to create a score line about 1cm below the star and fold it. I thought I'd taken photos of this but they've disappeared!
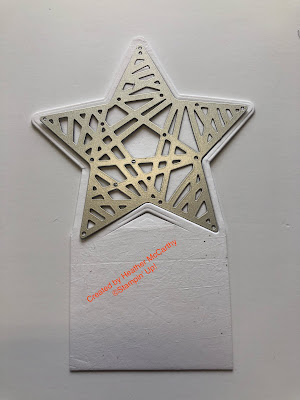
Next part is to cut out the detailed star (got a photo of this part, which hopefully catches you up to speed with the last 2!) in this photo the silver bit is the die in place.
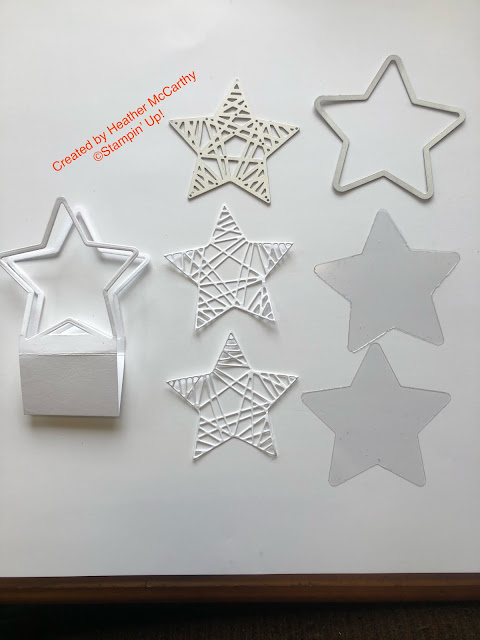
Once you have cut out the intricate star you'll have the outline left, as this next photo shows you'll need window sheeting, cut with the plain star (the 2 dies are at the top) you can see a slight fold in the cut piece under the star, if you score and fold this part it makes it easier to trim off.
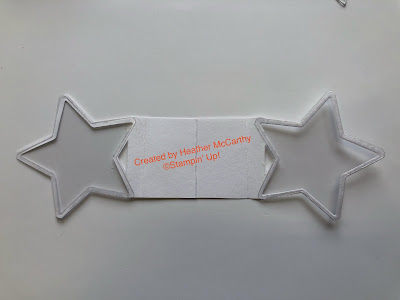
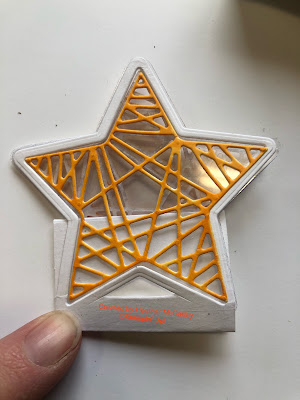
Once you have the 2 window sheeting stars open up your piece, which will have a star on both ends, you can, attach these to the inside as shown;
turn it over and attach the intricate stars, I've coloured mine in first with the Mango Melody Stampin' Write Marker, and added one of the In colour Jewels to the top on each side (want to know how to get a pack of these for free? I'll tell you after the instructions)
Next up attach the top star tips together, I used a glue dot
And Voila, stand it up and pop a (battery operated) tea light candle in it.
then it will fold flat when not in use.Let me know if you decide to have a go at this, and how it turns out!
Now how to get the free In colour Jewels.... when you purchase over $100 (excluding postage) this month June or next month I will send you a pack of these gorgeous jewels, so, check out my website, and just so you know there is a great sale on this month as the mini catalogue is retiring and a heap got reduced, also the Clearance Rack is so worth checking out for MEGA reductions!
If you are placing an order under $250 and would like to go in the draw for the hostess benefits use this host code when placing your order: CQ6JWZ3Q
However if your order is over $250 don't use the code as you'll be entitled to your own host benefits.
And the other thing is if you are placing an order that size why not think about joining my team? you can order $235 of goodies and only pay $169! then get an ongoing discount of 20%! - ask me for more details, or just go here to join: Join my team
If you're not on my e-mailing list and would like to be do let me know!
I hope this inspires you to create
God Bless love
Heather xox



.JPG)
.JPG)
No comments:
Post a Comment