Hi there Creators Today I thought I'd show you how to create this Louvre Windows card (little bit of trivia, did you know Louvres were invented back in the middle ages around 1500 years ago?, they were made of wood and put on pitched roofs to let out smoke, and increase circulation)😃 Anyway moving on.... I saw these kind of cards at the Picture to Page show, and of course the company selling them had dies to cut out all the components, but I figured I could make it work my own way. And so Voila: I made this card up before the video using the Celebratory Sips Designer paper (see all the links below) and here it is opened up (little difficult to photograph!) So this is the bit that's obscured above! Then in the video this is the card I made up, this time using the Beautiful Gallery Designer Paper (again links below) and the middle..... as you can see I used a bit more of the designer paper to cut out and add to the middle sections and again the obscured bit Links for products R...
Christmas In July Mega Class
- Get link
- X
- Other Apps
Hi there,
As you may (or may not) know I do a Mega Class in July (and January) each year, July's one is looming on the horizon, and I thought I'd better share it with you! If you get my emails you'll already have details of it, if you don't get my emails let me know and I'll add you to my list!
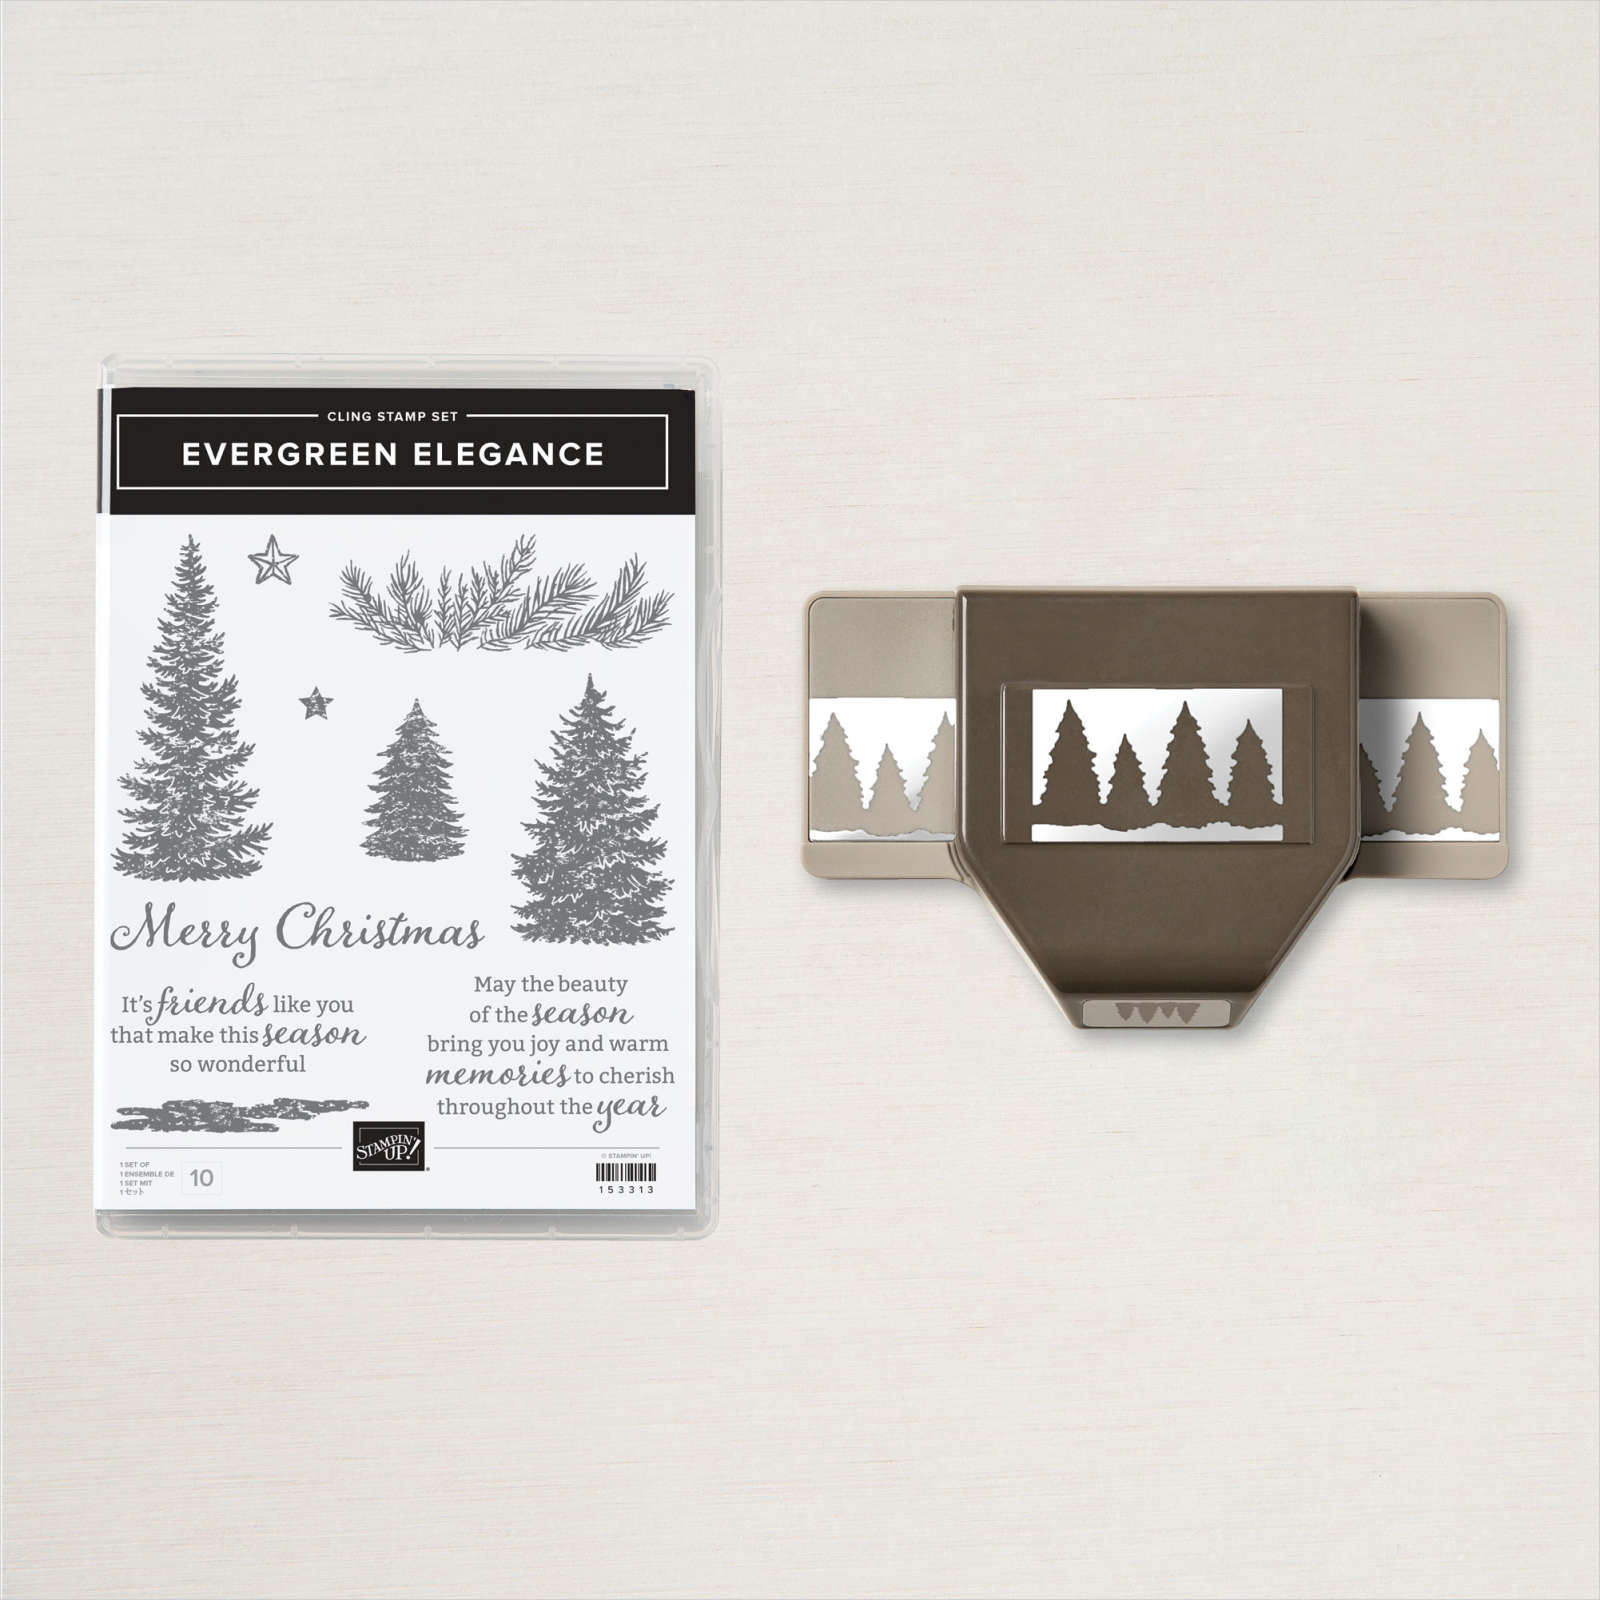
My Christmas in July Mega Class details are below, this is the stamp set and punch: Evergreen Elegance, that you'll be receiving as part of the class (amongst other goodies)
- Saturday 24th July 10.30am till 3.30pm.
- At Laanecoorie Mechanics Institute (middle of Laanecoorie)
- We'll be making 12 individual cards (with envelopes) 2 of which are fancy fold cards.
- Included
in the cost of this class is your own stamp set and punch (Evergreen
Elegance Bundle), full instructions, plus all the trimmings to make the
12 cards, and lunch is included in the price, so if you have special
dietary needs you'll need to let me know when you're booking your place.
- Cost for the day is $125 if you book and pay for your place before 30th June.
- After that the price rises to $135 and the final cut off date is: 9th July to ensure I can have your products ready for you
- This is available by mail too, the "by mail" cost will be $115 and this will include postage
And here is a peek of the cards you'll be making
My Mega Classes are so much fun, so do come expecting to have fun, make new friends and just enjoy yourself!
what you'll need to bring if you have it
- Clear blocks - all the stamps individually will fit onto a D size block (some diagonally), but you might want a selection with you
- silicone craft mat
- Pin tool or tweezers (if you use them)
- Excited/ can do attitude
If you want to join in, book your place soon as "in person" spots go pretty fast!
God Bless love
Heather
- Get link
- X
- Other Apps
Popular posts from this blog
Something Saturday - Mixed Media Florals
Hi there Creators, Well today I thought we'd check out something from the new catalogue, which will be live in just a few days (7th Jan). I saw the Mixed Media Florals Memories & More Card Pack in the catalogue and thought they looked lovely, and yes they really are gorgeous! (link prob won't work till 7th) Anyway in the video I show off all the cards in the pack, and mention that I am doing share packs for various things in the new catalogue (Designer Paper, Ephemera Packs, Embellishments, Ribbons and this Memories & More) See more details at the end or send me a message. And here are the cards I made up using the Basic White Assorted Memories & More Cards & Envelopes : This firs one uses one of the larger cards, a couple of stickers, the stamp set "simply said" for the saying and some of the pretty Riverside Irregular Pearls . Then this card is a small one, using the same stamp set "Simply Said" , a sticker and some more of the Riversid...
Something Saturday - Twisted Star Ornament
Hi there Creators I saw this cool star ornament in another video, and had a bit of a play around with it, ending up with this.... (with a retired Designer Series Paper) Then I ended up making this one (somewhat puffier 🤣) in the video with the current Natures Sweetness Specialty Designer Series Paper Ok, to make this you'll need 16 strips of 15cm x 1cm Designer Paper & glue (I used tombow) Use 8 of the pieces for each side of the star, you twist them like a Breast Cancer ribbon, but with a small "head section" and have a gap of around 4cm at the free end, and around 4cm of the 2 free arms (if that makes sense, it should if you've seen the video!) you then glue 8 of the "heads" together to make the middle of the star then the tails glue together to form the points. once you've made up 2 of these, you then glue them back to back, adding a piece of twine into the last point If you missed the video here it is: I hope this inspires you to create one t...
GDP #261
Hi there Creators, The Global Design Project #261 challenge this week is a colour challenge: (check out the link to see what others have done) So I thought I'd join in again, and try out a card type I've seen someone else show off recently I know it would have been on one of the Stampin' Up! facebook pages, I can't remember exactly what she used, but I liked the 3D'ness of it 😄 and I have no idea what the card is called possibly Diorama card would work? anyway I set to work trying to work out how she'd done it (although I suspect if I could re-find hers she'd probably already done instructions lol) I always seem to take the hard way..... So here is my "take" on it using these colours. The inside is the impressive bit..... The outside not so impressive, but check out that gorgeous Gilded Autumn Specialty Designer Series Paper ! I've teamed it up with the Ornate Layers Dies , and the super soft ribbon from the Basket Weave & Metall...
Comments
Post a Comment