Hi there Creators,
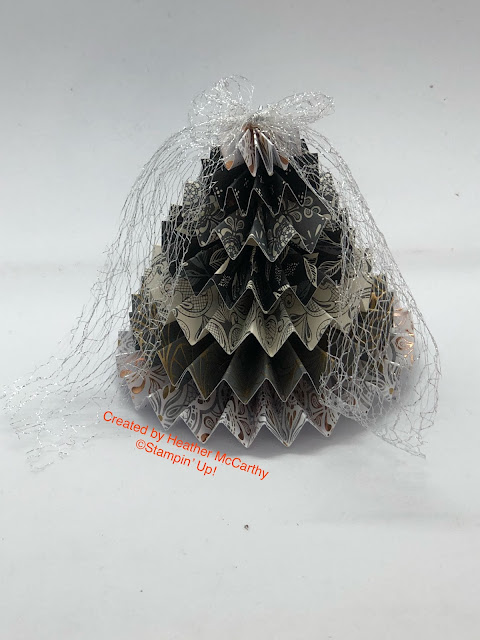
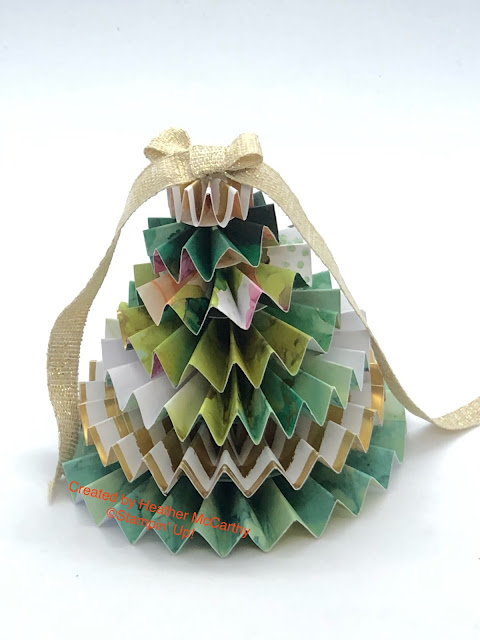
I have done a Facebook video on this cute Rosette Christmas Tree and promised to share the measurements in a blog post, so here we are.... first up the tree! I will aim to add the video to my YouTube channel too!
It's a really sturdy little tree when you put it together with hot glue.
You will need ideally 12 x 12" Designer Series Paper, the first one I made uses the beautiful Expressions in Ink Specialty Designer Series Paper, and the second one I've used the Simply Elegant Specialty Designer Series Paper the suites that go with both of these are just gorgeous!
You'll need to cut each of the following:
- 12" x 1/2"
- 12" x 3/4"
- 12" x 1"
- 18" x 1 1/4"
- 18" x 1 1/2"
- 24" x 1 3/4"
- 24" x 2"
I recommend for the last 2 that are 24" you cut double the width of the 12x12 card stock, then score it and then cut it in 1/2 (just saves an extra step). Each piece you need to score and concertina at 1/2" intervals I thoroughly recommend using the Simply Scored Board (makes the job really easy)
Press each one down to form a rosette (I recommend having the silicone craft sheet under your work at this point!), as you now need to use hot glue to hold the middle of the rosette together.
Do this with all the rosettes: (there is 1 missing from this photo, should be 7 in total)
then the incredibly soft Metallic Mesh ribbon on this one:
Before I head off, I should just let you know that if you're planning to order this month I do have a special for you: orders over $100 I will be sending you a pack of the beautiful 2021-2023 In colour Jewels, and if you are ordering under $250 use this host code to go in the draw for the free host $'s : CQ6JWZ3Q. If you plan to order over $250 don't use my host code as you'll be entitled to your own benefits, Or, have you thought of joining and ordering the starter kit? (pay only $169 for $235 of products!)
Let me know if you have a go at this, I hope it inspires you to create!
God Bless love
Heather xox


.jpg)
.JPG)
.JPG)
No comments:
Post a Comment