Posts

Showing posts from March, 2021

February 2025 Class Cards

Image
  Hi there Creators My goodness over 1/2 way through January!, so I figured seeing as I've made them I'd best share my class cards for Feb.  Classes are Friday 7th at 1pm in my classroom Laanecoorie and Saturday 8th at 10.30am at Wattle City Church Argyle Road, Maryborough.  Class cost is $24 for 4 cards I thought we'd better make the most of the Sale-a-Bration goodies, so this is Heart Shaped Bundle (stamps & dies) that you can get for free with an order of $200, it is a pretty bundle!  I've teamed it up with the new Antique Pearls this next one uses the rather cool Linked Together Decorative Masks and also the saying from With You in Mind (I rather like nice large sayings for cards and this one has a few! Moving onto a new punch: To the Point Label Punch and matching stamp set Bright Borders And last but not least one of the new Hybrid embossing folders (this means it has dies that go with the embossing folder): Beautiful Butterflies (never would have gu...

Sand & Sea Cards for Classes in April

Image
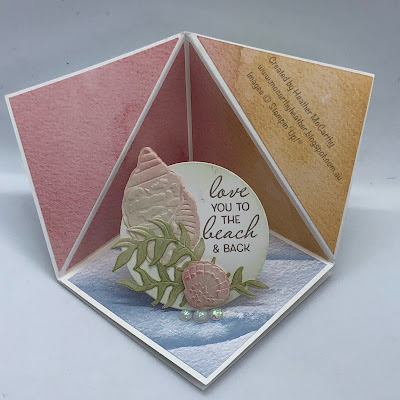
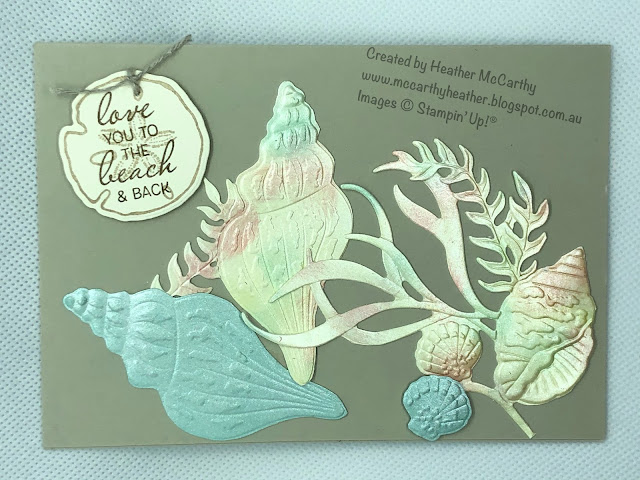
 Hi there, Well I've chosen to do my card class in April using the fabulous Sand & Sea Suite collection .  I just love the way the stamps match the dies and even the embossing folder. Oh and the fabulous Pearlescent Specialty Paper...... When you use them, just so you know; Cut, Stamp then Emboss! Anyway on to the cards that you'll be creating in my classes this month...... I'm really happy with the way this card turned out, I really wanted this big conch shell to stand out on the card, as totally unique.  In "real life" the shell has the beautiful pearl look from the Pearlescent paper. This next card I was hoping would work as either a guy or gal card, I hope you can see the gold flecks in the card stock (looks even greater in real life lol)   Then the last card is a 3D corner fancy fold card, using some of the Sand & Sea Designer Series Paper   I also love these little Opal rounds that I've used here to prop up the easel part of this card  (they'...

Cute Pop-Open Box

Image
 Hi there Creators, I did a Facebook live video a couple of weeks ago on this cute pop open box, and thought I'd share it here for you too, I've finally got round to uploading it to YouTube today! Here is the first box I made: I've used the beautiful Hydrangea Hill designer series paper, then I made this one in the video I had been scrolling around on the internet and found it but of course it was American and used imperial measurements not metric, so I've converted it to metric - specifically tailored to an A5 sheet.   This is my roughly written out instructions that I use, however just in case the markings aren't making enough sense..... Take your sheet of A5 in landscape, and score it at 1cm and 10cm, Then in portrait score it 2cm in one side and 2.5cm the other side On the 2.5cm side you need to cut at 6cm and 16cm (only up to the 2.5cm scored line) trim off the little bits as shown in the 1cm scored portion Using a bone folder you'll need to score the diago...

Creating Pearly Paper

Image
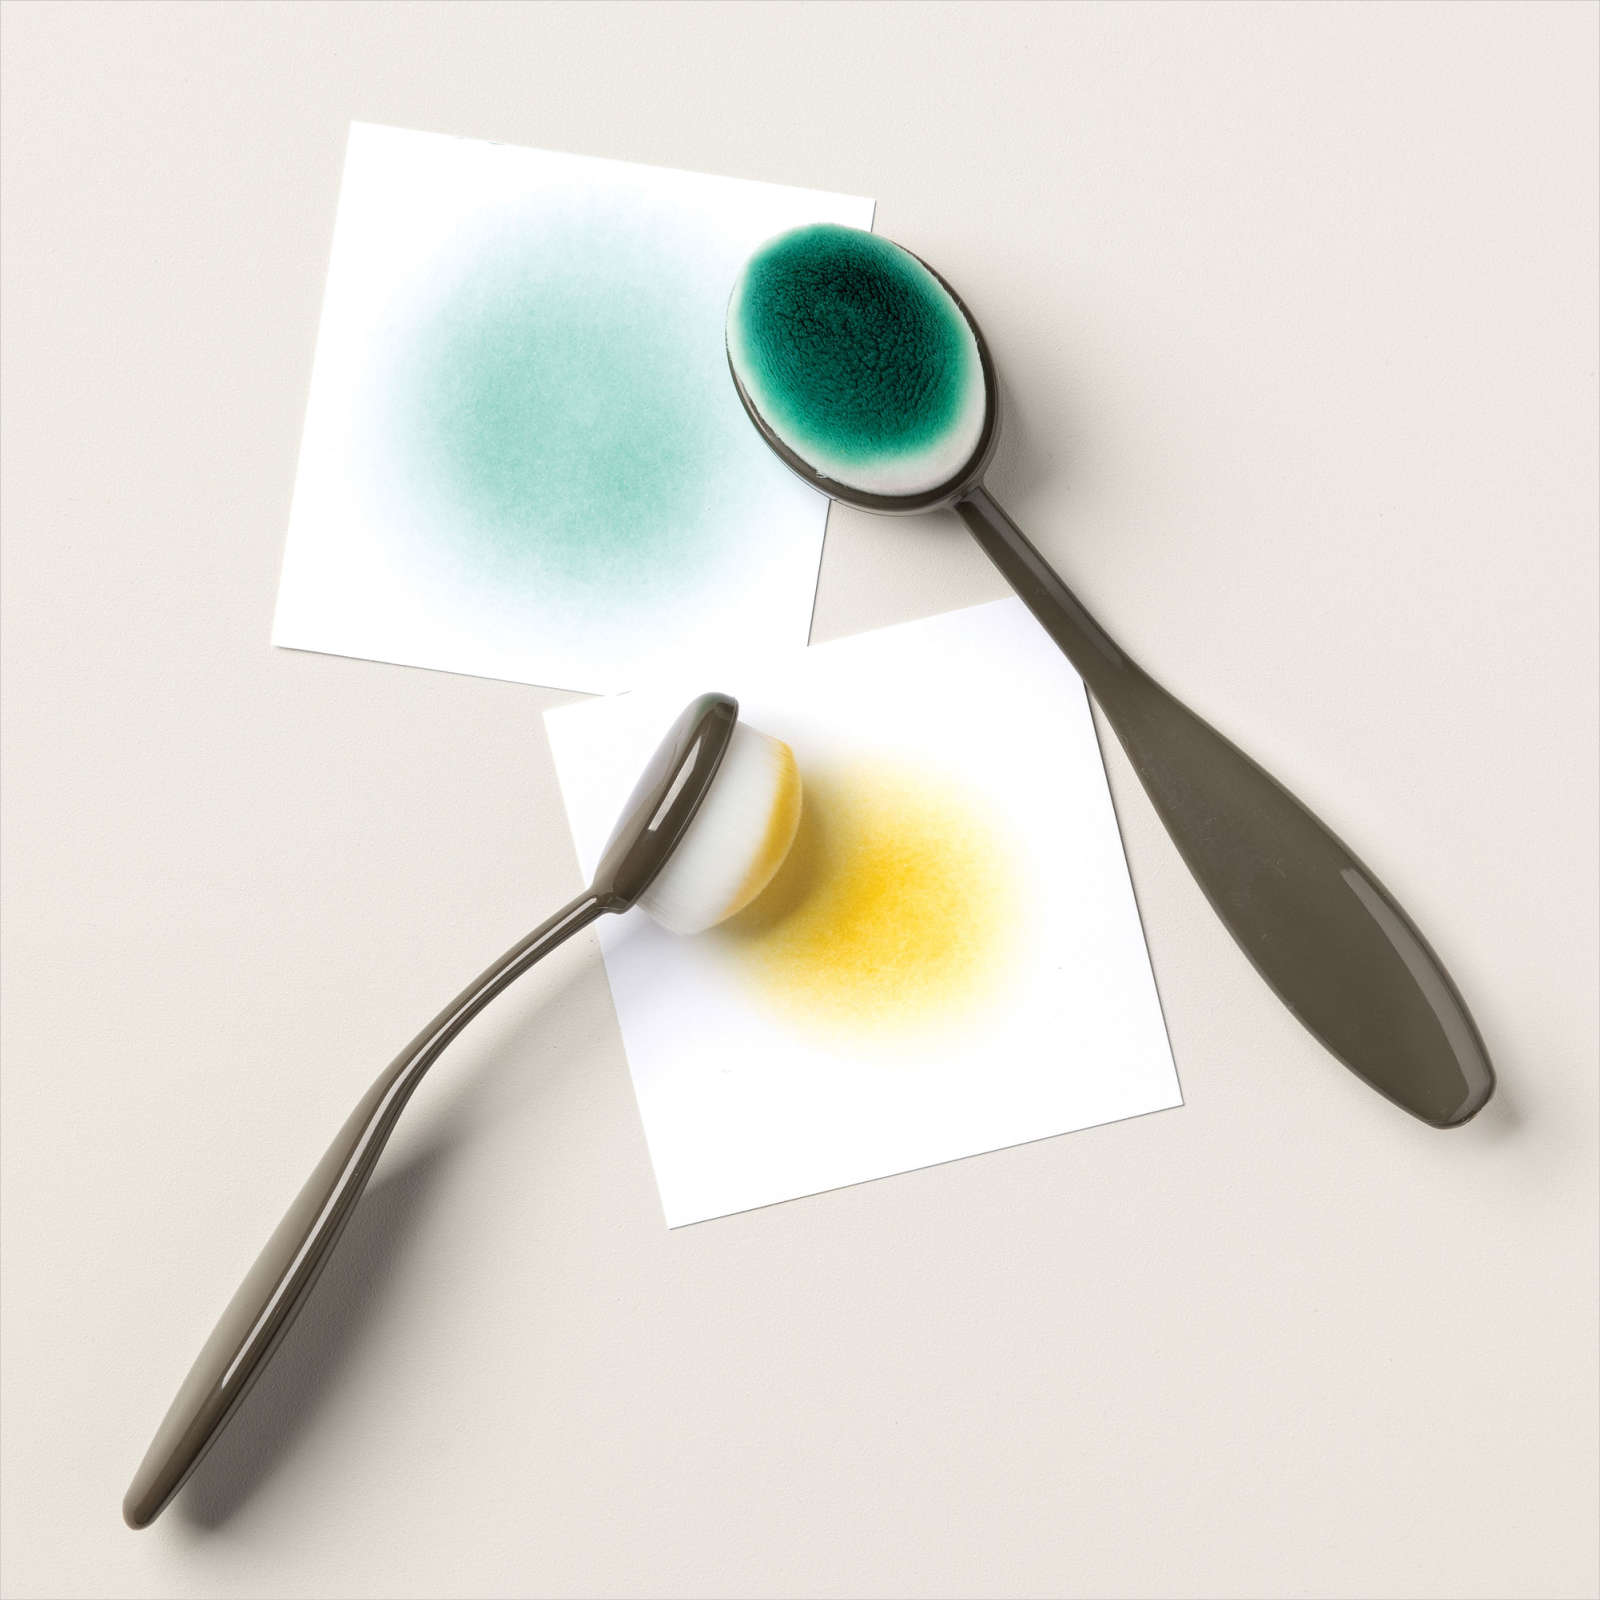
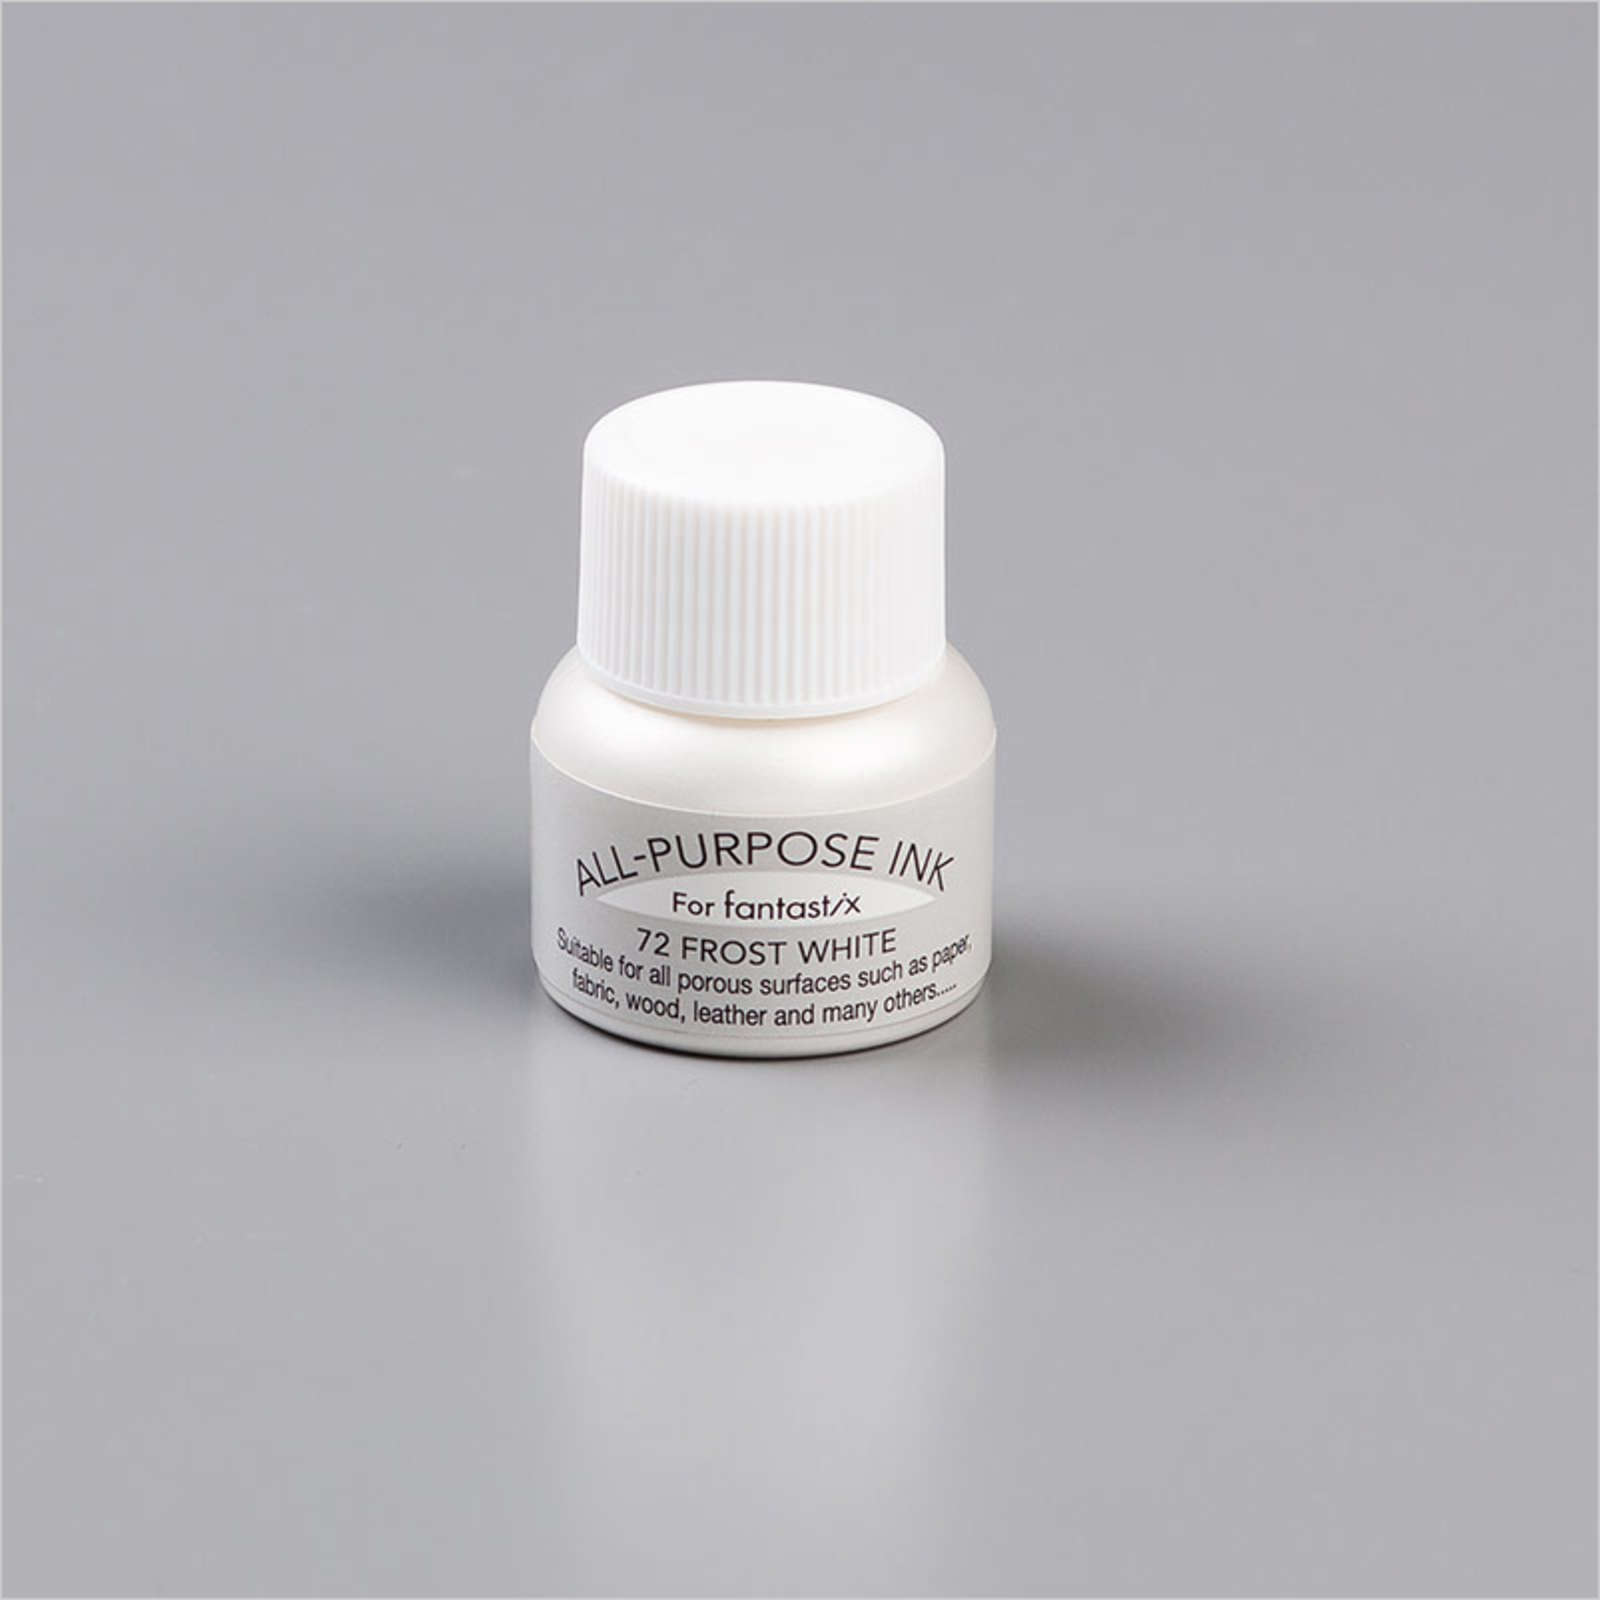
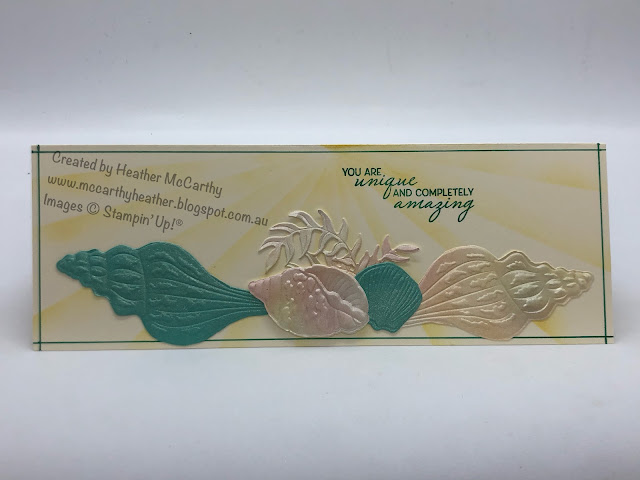
 Hi there Creators, I was surfing YouTube the other day looking for nothing in particular and came across a video from a lady in the State called Linda Heller who was showing how to create Pearlized paper, I thought it was so cool that I had to have a go too! It involves Cardstock, a blending brush and a pot of Frost White Shimmer Paint (so tempting to say a pot of gold lol)     Anyway, moving on...... the general gist is you use the blending brush to brush the card stock with the frost white shimmer paint, and then do whatever you're going to do with it, here's what I did!... I've used the amazing Sand & Sea Suite, in particular the Friends are like Seashells bundle and the Seashells 3D embossing folder (it pack a really WOW!) Sadly it's really hard to capture the pearly effect it gives in a photo (or at least it is for me!)  However I've made a little video to go with it, so do check this out too: I hope it inspires you to have a go, God Bless love  He...

Gilded Leafing and ways to stick it!

Image
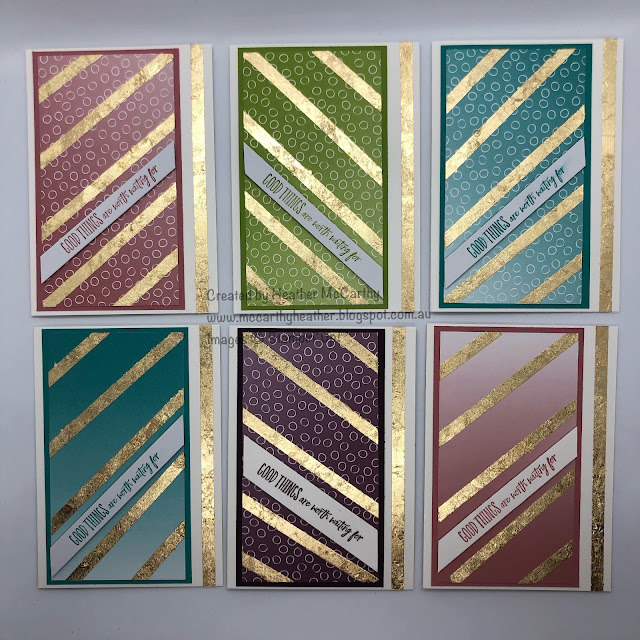
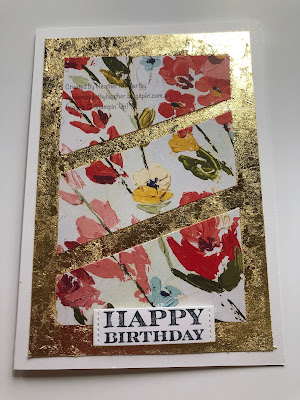
 Hi there Creators I showed this on my facebook page the other day, but I know not everyone is a fan of FB so I'm sharing it here for you too 😊 I've now uploaded the video to YouTube, which I'll include in this blog post, however a quick run down of what's in it..... So when you first get your Gilded Leafing , you'll need a bigger pot to put it into and a sponge or brush to help wipe off the excess.  HOWEVER.... it is soooo worth it! you can purchase Heat & Stick Powder which means you can turn your stamps into gilded images like this: you can pretty much use any glue to apply the gilded leafing, the next example I have is using the Tear & Tape Adhesive (ultra easy!) After that I've used the Adhesive sheeting : attached it to cardstock, then layered on my Fine Art Floral Designer Series Paper , then dunked into the gilded leafing I did use the Stampin' Seal and glue dots , which look great for a small embellishment!,  but haven't got round to ...