Posts

Something Saturday - Click Clack Concertina Card

Image
 Hi there Creators Well I was sitting last night wondering what to do for my Something Saturday, and playing around with a bit of paper, ended up designing this card, I've made similar cards before like the cascade cards, this is probably a bit more basic, but I'm happy with it and it's way simpler to create, but still packs a cool Woah factor🤣  I've used Sentimental Christmas Designer Series Paper which is on the last chance list. I decided it needed a sentiment so picked out this one from Sweetest Star Stamp set (last chance list again), because it has 6 words (1 for each panel!😃) and these Adhesive backed Snowflake Assortment are also on the last chance list and happen to be reduced to 1/2 price (woo hoo!) Ok, onto measurements.... You'll need a sheet of A4 for the base card, score it at 9.9cm either end, then cut in 1/2 at 10.5cm, fold so each piece is concertina'd into 1/3rd's then each folded piece needs a cut that goes 1/2 way up the card (in the...

Something Saturday - Night Sky Pastels

Image
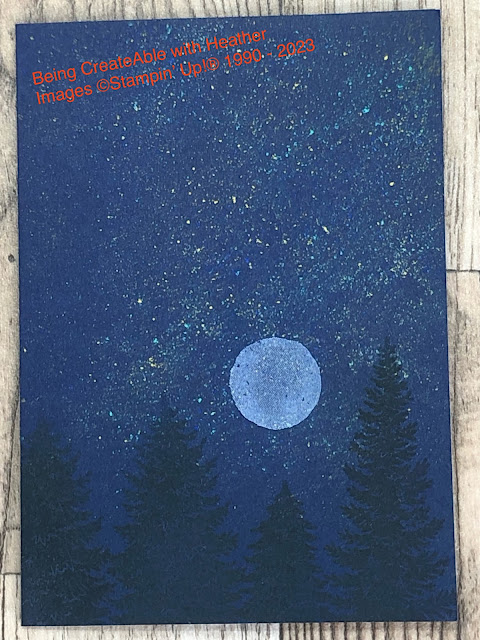
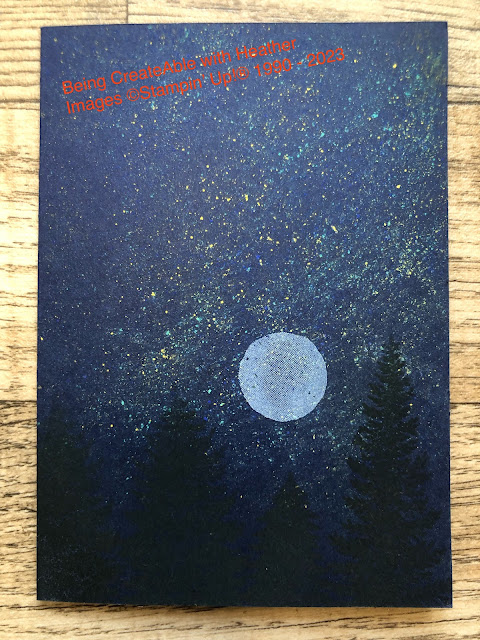
  Hi there Creators, Continuing on our Pastels journey, I have "night sky" pastels to show you this week, I was amazed at how well the pastels show up on dark cardstock. Here are the cards I made up.... this first one I made up with a black background, and really wanted it to be looking out of a window (this is when I wish I had Window Flower Box dies )  however I used the exceedingly useful Stitched Rectangle dies instead😃, as I wanted it to look like the inside of a shed I've "hung" a few tools off the window sill (courtesy of the Home & Garden bundle ) and used the Brick & Mortar 3D embossing folder for the wall. then this is the card I made up in the video (couple of photos as I couldn't make up my mind which was better 🤣), Here is the link to the products I used in this one: What Heather Used So, down to the nitty gritty, how do you do this? Take a dark coloured cardstock (I used Night of Navy in the video), then lightly grate pastels onto ...

Something Saturday - Pastel Pulling

Image
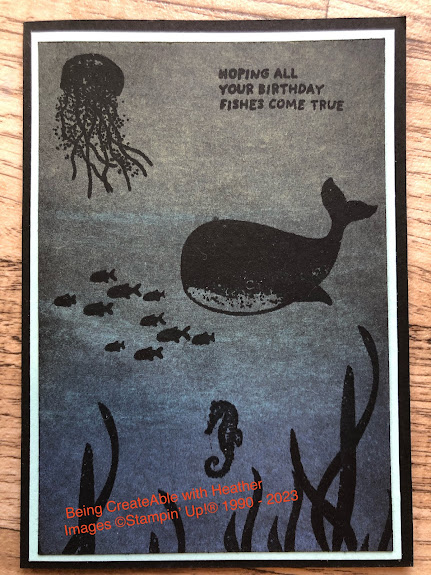
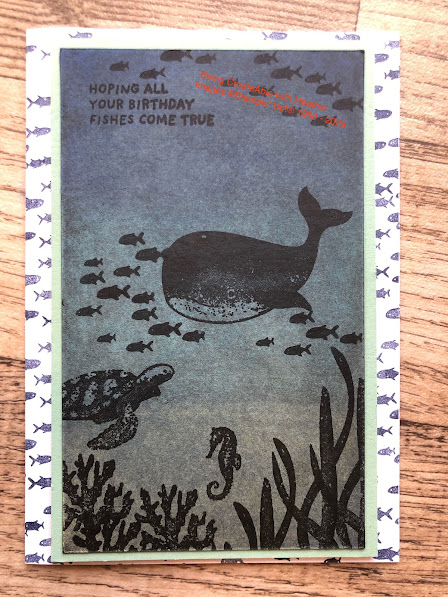
 Hi There Creators, I got asked in my last Pastels video to do more on pastels, so this week I'm showing off another technique that uses Pastels and Versamark. The thing with pastels is it really needs something to "set" the pastels into the card, or they will rub off, I always used to use hairspray to set it.  Anyway onto the cards and technique:  I've used the Whale Done stamp set as the pastel gets rubbed onto black cardstock so it feels quite dark and like the depths of the ocean to me.  Anyway the way to do the technique is... Colour the black cardstock with pastels, then take a tissue and rub it into the cardstock, so it colours the card all over, make sure there's no loose pastel left on the card. Next take your stamps, ink with Versamark, and stamp, you'll find it pulls off the pastel, and reveals the black cardstock (so fascinating when you do it!) And that's it let me know if you have a go.  check out the products I used here:  What Heather Used ...

Something Saturday Windmill Fields dies

Image
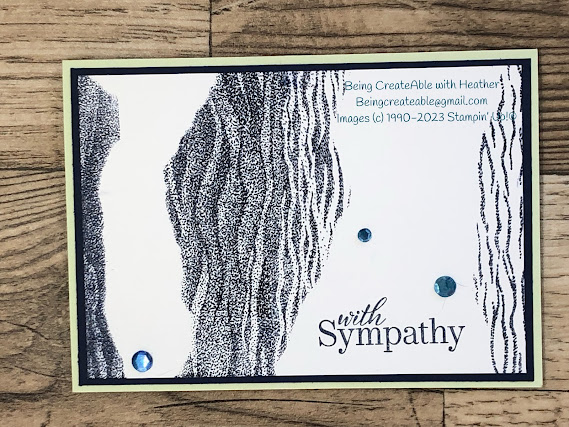
 Hi there Creators well as I mentioned last week I thought I'd have a go with the dies this week!  I love the way you can get the windmill vanes to spin - took a little bit of playing with but I got there in the end. Here is the finished article... How cool eh? I'm also quite partial to the cute little bike lol.  as the windmill vanes are quite delicate, I've doubled up the cardstock layer for it, and also strengthened the middle with some window sheeting. As I picked Balmy Blue card for the base, it meant I could add fluffy white clouds on top, using the cloud dies as stencils and using the White Craft Ink, then using some scrap paper to create a line I've added granny apple green below for some grass. To see what I've used, click this link:  What Heather Used And here is the video:  I hope this inspires you to create God Bless love Heather xox

Something Saturday - Tulip Fields

Image
 Hi there Creators, well finally the Tulip Fields came off the ship and into stock.... and then out to me! Today in my video I showed the Tulip Fields Bundle, and then only used the stamp set to create a quick and easy card.  However I did figure I could use the dies next Saturday, so come back again to find out what I do with the dies! However today's video, in one of our Stampin' Up! events one of the demos used this set, and showed us how to line up the perspective Tulip fields Here is the card I created: I have to admit if I was making again, I think I'd stamp the windmill first, as I stamped it after the tulips and it kind of "floated" above them, hence the line of blue border flowers! Anyway lining up the triangles is quite easy, stamp the long double one first, to create the "horizon", then the middle one, then 2 more either side - lets face it how many times do you see flowers really precise?, so I reckon we can get away with it being "close...

Something Saturday - Popping Pastels

Image
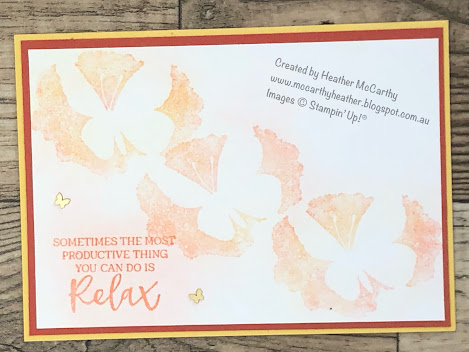
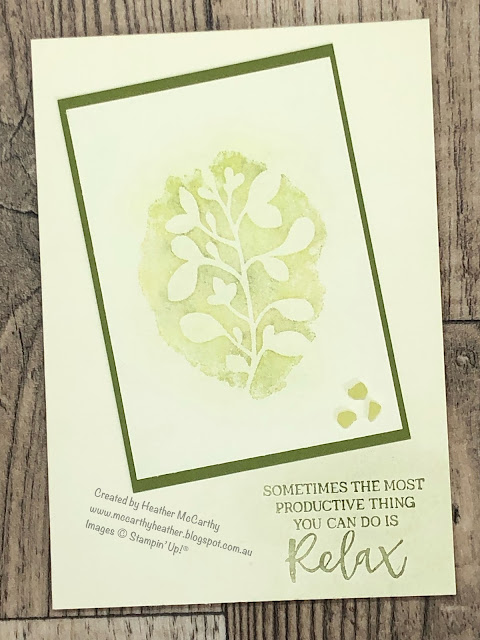
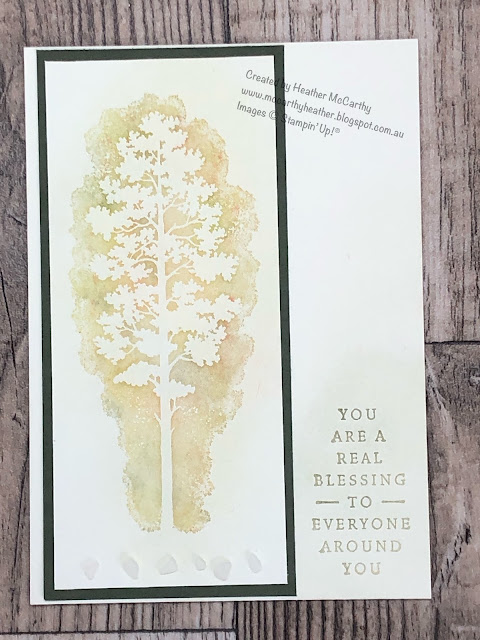
 HI There Creators, Today I felt like using my new Soft Pastels (which haven't had much of a work out yet despite owning them for a couple of months now) We got given this "Amazing Silhouettes" stamp set at a recent conference and initially I wondered what the heck I would do with it 🤣  but I always used to love this technique and I figured it would work well with this set (I'm happy to say I think it does!) On to the photos then a description for you.....       The technique is called Popping Pastels, as you can see it creates a beautiful light delicate image. You'll need Versamark (and versamark refill if your pad is a bit dry - best if it's a bit juicy), Pastels , and cotton wool balls (and obviously a stamp set🤣) What you do is ink up your stamp with versamark, stamp it (you won't be able to see it) Then puff pastels onto it - I scribble my pastels onto a scrap bit of paper first to get "dust", and pick up the dust from that.  As you puf...

February Class Cards

Image
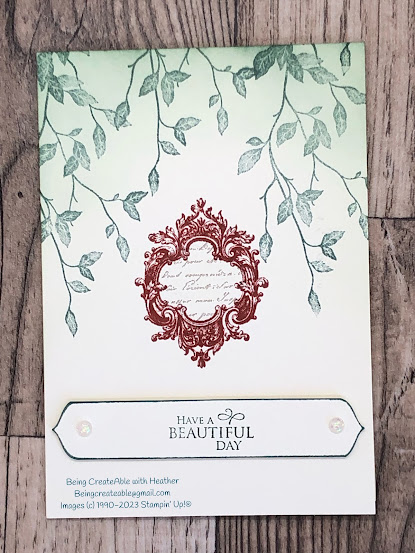
 Hi there Creators, Feels like ages since I've done a regular class!  however not quite back to normal yet, February's class is on Wednesday 9th Feb 10.30am or 7pm, it'll be a $20 class for the 4 cards, with written instructions and envelopes.  Then March we'll get back to the first Wednesday of the month. So I'm guessing you want to see the cards? First up, you'll get to pick which card you make but essentially it uses the same stamp sets (Amazing Silhouettes and In the Moment) and the Soft Pastels Assortment.  Check out what I used here:  What Heather used Then this next card I've used the gorgeous Very Versailles, such a pretty stamp set!  Check out the products I used here:  What Heather Used Third Card uses this lovely spread of flowers from Blessings of Home Stamp set.  Check out the products I used for this card here:  What Heather Used And lastly I've used the Gentle Waves Stamp set, to create (what I think looks waterfall-like) howe...

Something Saturday - One Sheet Wonder

Image
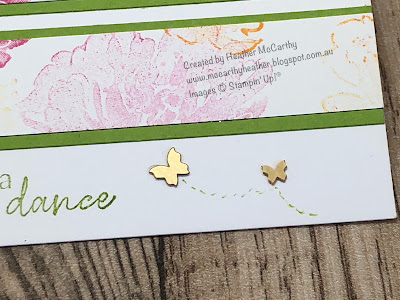
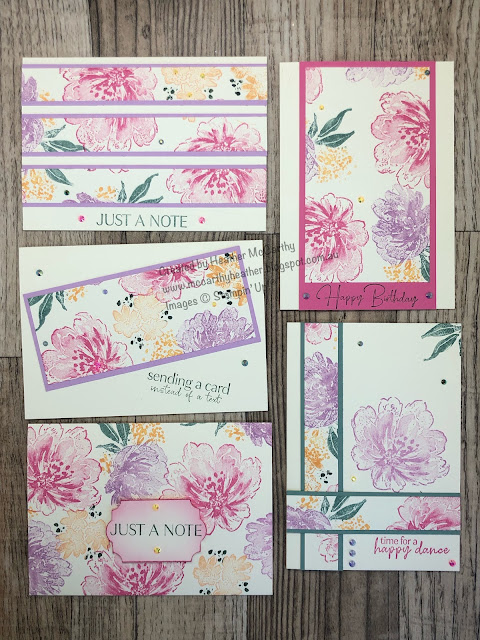
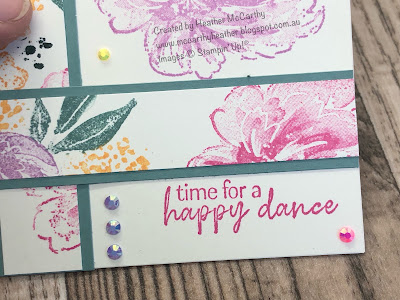
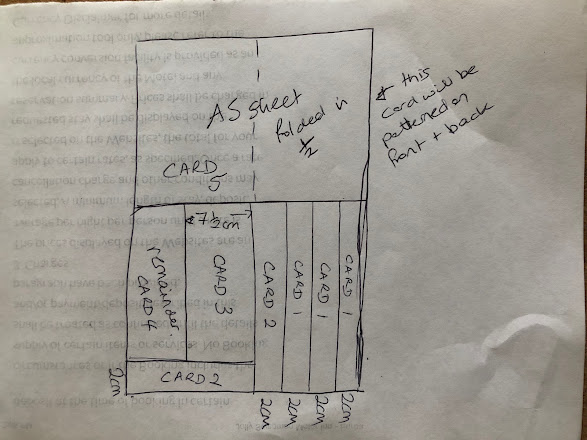
 Hi there Creators, Well today I was showing how to make a One Sheet Wonder (for those uninitiated) it's where you stamp up a sheet of paper or take a piece of Designer Paper, cut it several ways and make a heap of cards up from it. I've used an A4 Sheet of paper and stamped the gorgeous new Flowing Flowers 157880 $44 , using my 2021-2023 In Colour Stampin' Write Markers . (you can get all 5 of them for $26.25) Anyway onto the photos..... Here are the first set of cards I made before the video I've used some of the Brights colours with a white background for these ones:    In the video I mention that I plan to dress up the cards a bit more, I've used the cute Brushed Brass Butterflies 158136 $ 17.50 for these cards:   The cards I made in the video have use the In Colours on a Vanilla Background:   And I've used the 2021 - 2023 In Colour Jewels (they're so pretty) and of course go beautifully with the ink colours! Instructions..... First up take your piece o...