Something I made for some friends

Hi Everyone,
thought I'd share something that I made up for some friends of mine who have got engaged and moved house, they had their housewarming today, so I can now post this (as they've now got their pressie, and I didn't want to spoil the surprise (just in case!)

Anyway this couple are into something called Steam Punk (which I had to google to make sure I got it right - lol)
Here is the card I made them: the large heart is cut from Copper foil cardstock, then heat embossed with Copper, Gold and Silver, I love the effect it gives!
have to admit feeling very gratified when Trish opened the card and said Oh cool, Steam Punk!, boded well for the presie - lol
And here is the pressie, (very hard to get a good photo of I have to say!)  it's a framed piece using vanilla cardstock, an embossing folder that I had, had all the cogs and wheels on it, then heat embossed with copper, gold and silver, then the hearts cut out with the Sweet and Sassy framelits.
bit of a close up of the saying a the bottom of the piece
this photo shines a bit better :)
They both seemed to like it so that was a relief! 
I hope it inspires you to create too.
God Bless love
Heather xox

Carols of Christmas

Hi Everyone,
Well excitingly Stampin' Up! have released a new stamp set from the upcoming Holiday Catalogue ahead of time, and it's called Carols of Christmas, Demonstrators can purchase it immediately or anyone who decides to join, will get the stamp set for FREE with some extra free goodies too (on top of the normal joining deal, $235 worth of your choice of goodies for only $169!) check out more info above on the "Join my Team" tab.

Anyway on to the stamp set and matching framelits, and what I finally had the chance to create today!
this is the first card I created, I just had to try out the framing thinlits, and the flower thinlits, then the saying wouldn't fit in lol, so I then had to cut that up to fit it in!
Next up:
These trees are cut out of the card, and I've layered Pear Pizzazz cardstock under it with Clear Wink of Stella painted on top to give a sparkly effect (oh and here's the saying stamp all together!)
Then I moved onto this card:
but I wasn't 100% happy with it, and realised that it needed........
Another die, to cut moon and stars out of the top of it! (and while I was at it I figured the trees that were cut out of the 2nd card could be attached to this one) what do you think?
I love the sayings in this set!  there are also dies to cut out the ornaments, flower, and leaves! Come 1st August this will be available to everyone, so if you're interested in the set, let me know!

So, tell me, what's your favourite out of these cards?
I hope it inspires you to create,
God Bless love
Heather xox


What did I take on holiday?

Hi Everyone,
thought I'd share with you what I took on holiday, as I really HAD to have my craft in some way with me - lol!
I was excited to fit it into a Coles freezer bag....
Unpacking the bag we have all these (plus photos and my 2016 calendar)
Yep that's right a spot of photo organising!  and Yea I finally finished off 2016!  In the bag was my Stampin' Trimmer (up the back) a few packs of Photo pocket pages, some of the (old) Project Life cards, and stickers (now Stampin' Up! offers Memories and More packs that have cards and stickers all in)  there's my album (6x8" size) I find this size manageable! and my "essentials" pack (paper snips, journaling pens, snail adhesive, tombow adhesive, and Tear and tape adhesive)

So here are some of the pages I made up.......


Once I'd made it all up,  I discovered that actually it didn't all fit in the album, so then I had to order another album for just our holiday to Hervey Bay, which I finished off decorating today, here it is :)


Ok, next to start on printing out 2017 photos!  If you want to have a go at photo organising let me know, and we could get together, I'd love to start up a photo organising club if anyone else is interested? 

Well I hope this inspires you to get your photos off your computer/phone/storage, and get it into an album where everyone can see them (my kids love it!)
God Bless love
Heather xox

Interactive Cards Class in July

Hi Everyone,
This month I start a new series of classes, called Interactive Cards,  We are kicking off on Tuesday 18th July at 10.30am in Maiden Gully at the scout hall on the corner of Beckhams Road and Calder Highway.  And also that evening at my classroom in Laanecoorie at 7.30pm.  If you plan to come you will need to let me know, as I will be making up kits, so will need a few days notice!
Anyway.... We are starting off with Box cards, we'll be making up the 2 below:
this first one uses the cute No Bones About It Stamp set it's a bit tongue in cheek with the "look who's turning 21 again" lol but I couldn't resist putting the dinosaur into it.
 This second one uses some of my new goodies :)
some of the embossing paste to create light fluffy clouds, the gorgeous Floral Statements Stamp set and the flowers on the front are from the Awesomely Artistic Stamp set.
To book give me a ring or email I will be needing a deposit for these classes,
  • the Maiden Gully class is a deposit of $10, and a $15 fee on the day, redeemable against a $50+ purchase. Minimum class size 4, maximum 8
  • The Laanecoorie class is a deposit of $5, with a $15 fee on the day, redeemable against a $50+ purchase. (as I don't have to pay for the room)  Maximum class size 6
I hope to see you at one of my classes, however if you can't make it to the classes but would love to learn how to make box cards, and would like a kit, I am happy to mail out kits with instructions for $10 plus postage. (bear in mind that Stampin' Up! has a policy that we can't pre-stamp images for you).

I hope these inspire you to create!
God Bless love
Heather xox

Cute box with cards

Hi Everyone,
I did a party just recently and thought I'd use the new Wood Crate Framelits, but then of course I thought umm what to put in it!
Here's the crate:
isn't it cute?, we stamped it up using the Hardwood stamp, then daubed extra colour all over to make it look more "woody", and added one of the cute cockerels, the hello Friend, and a "for you" tag, all these are in the matching "Wood Words Stamp set" that comes as a bundle with the Wood Crate framelits.
Having made that, we then made 4 cute little cards to sit inside the crate (these cards are A6 folded in 1/2) ie 1/4 size of A4, (10.5cm x 14.8cm) then score in the middle at 7.4cm.

these first 2 use the same stamp set (Wood Words), nice and simple.
then the next 2:

these 2 use Ribbon of Courage, which is rapidly becoming one of my favourite sets, I love the colouring in aspect of it! and the sayings are lovely :)
As the cards were so small I chopped envelopes in 1/2 for them, and we sealed them with one of the  Classic Label punch pieces the back sealed down and the front, had a small piece of tear and tape ready for when it needed to be sealed up.
So then I thought you might like to see how they all looked in their little crate:
TaDa......!
What do you think?  the ladies seemed to like it on Friday evening, and I know my hostess liked it:)
 
I hope it inspires you to create too.
God Bless love
Heather xox


Bendigo Craft Alive Show

Hi Everyone,
Well I'm checkin in here after our busy weekend at Bendigo Craft Alive! I hope those of you who made it enjoyed it as much as we did!  We had a door prize on our stand which was won by a lady called AnneMarie, from Maiden Gully, I hope you have fun with it!  I also had a special prize for those attending my classes over the weekend, this was won by a lady called Julie from Junortoun.
here is the stand looking pristine after we'd set it up on Thursday (never looks quite that pristine after the show starts lol)
Then the proof that yes I was there! (enjoying myself!) somewhat cold though hence the rugged up look!
 And not just me (not sure how Nay managed to avoid being in the photo though!) so starting at the left, we have Renee, Michelle and Me😊  Rosalie also came and helped Nay and I out on Friday, which was fabulous!
We all had fun, and by the end of the weekend I had succumbed to some of the icing flexi-mold things that were on the stand opposite us (Dinosaurs for Samuel - mr 6 year old) and some other boy ones (what else when you have 3 boys lol)? and I may have succumbed to some of the fudge, press on button things for my neclace, bottle of Muscat (shhh don't tell anyone.....LOL) and the list continues.......  It's all good, things that I'll use (or eat/drink the evidence away)

Well worth the trip to Bendigo if you're umming and ahhhing about it next year!

Ok well that's it from me for now, the next post will have some inspiration pieces for you all :)
God Bless love
Heather

What has Heather been playing with?

Hi Everyone,
I thought I'd show you what I've been playing with today.
One of my "jobs" for today was to create a card that is quick & easy to duplicate to go in some special boxes.  The guys and girls at Biker Charity Support Group (BCSG) of which Tom and I are members, decided to fund raise to purchase a "Cuddle Cot" for one of the local hospitals, we managed to raise the $5300 for the cot itself and also raised enough for 6 memory boxes on top.  I thought it would be an idea to add some cards into the memory boxes, as I remember one of my friends when she lost her son, needed to write some cards to people to thank them for their support.  This was my first draft:

there are boxes for boys and ones for girls hence the different colours, Oh I should probably also explain that we have had fundraising pins produced for the cause, this is what they look like 1/2 blue 1/2 pink
Anyway I wasn't 100% convinced on this card, so back to the craft room and came up with this one, which I'm happier with and the members have voted they prefer too
I have used the new Ribbon of Courage stamp set with matching Support Ribbon Framelit dies and Yea they come as a Bundle! 
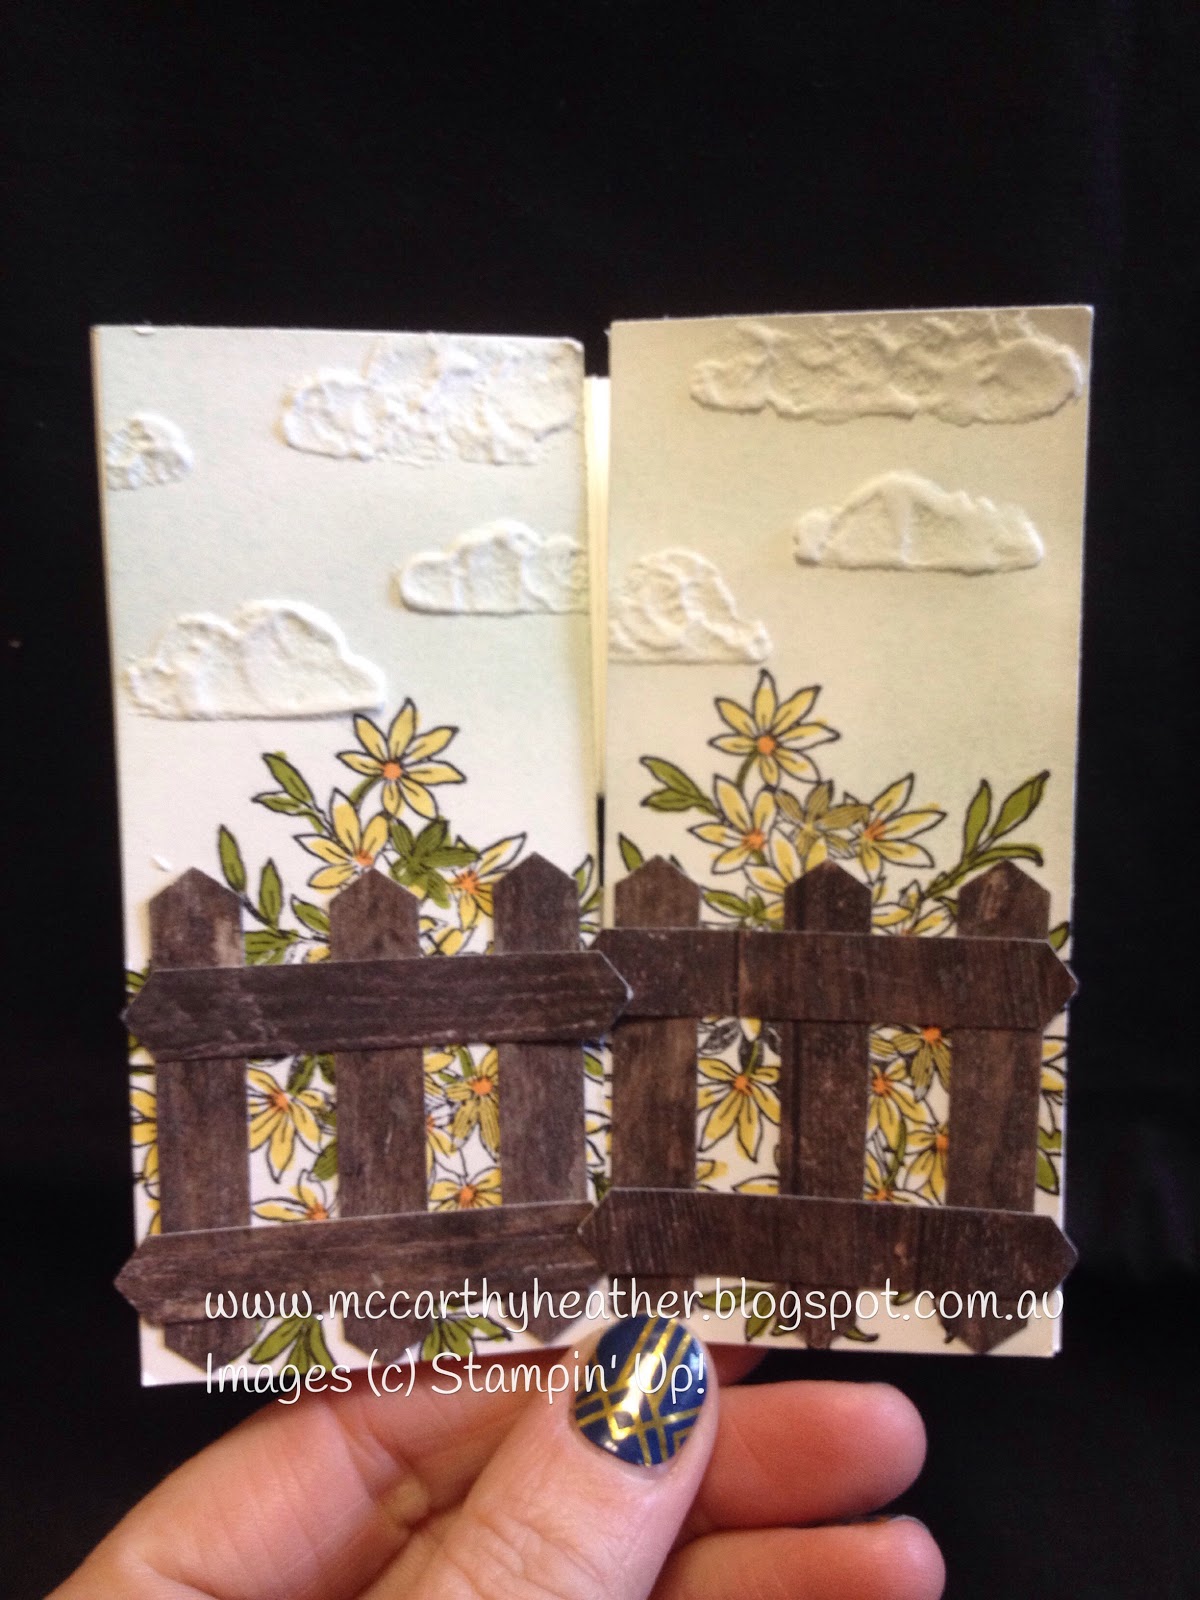
So having worked that out I thought I should also see what else I could come up with 😊  Thinking ahead to Craft Alive next weekend, and the Make'n'take that we offer on our stand, I came up with this little bookmark:
Oh my goodness I do love this set!!  Oh and this also uses one of the new punches 
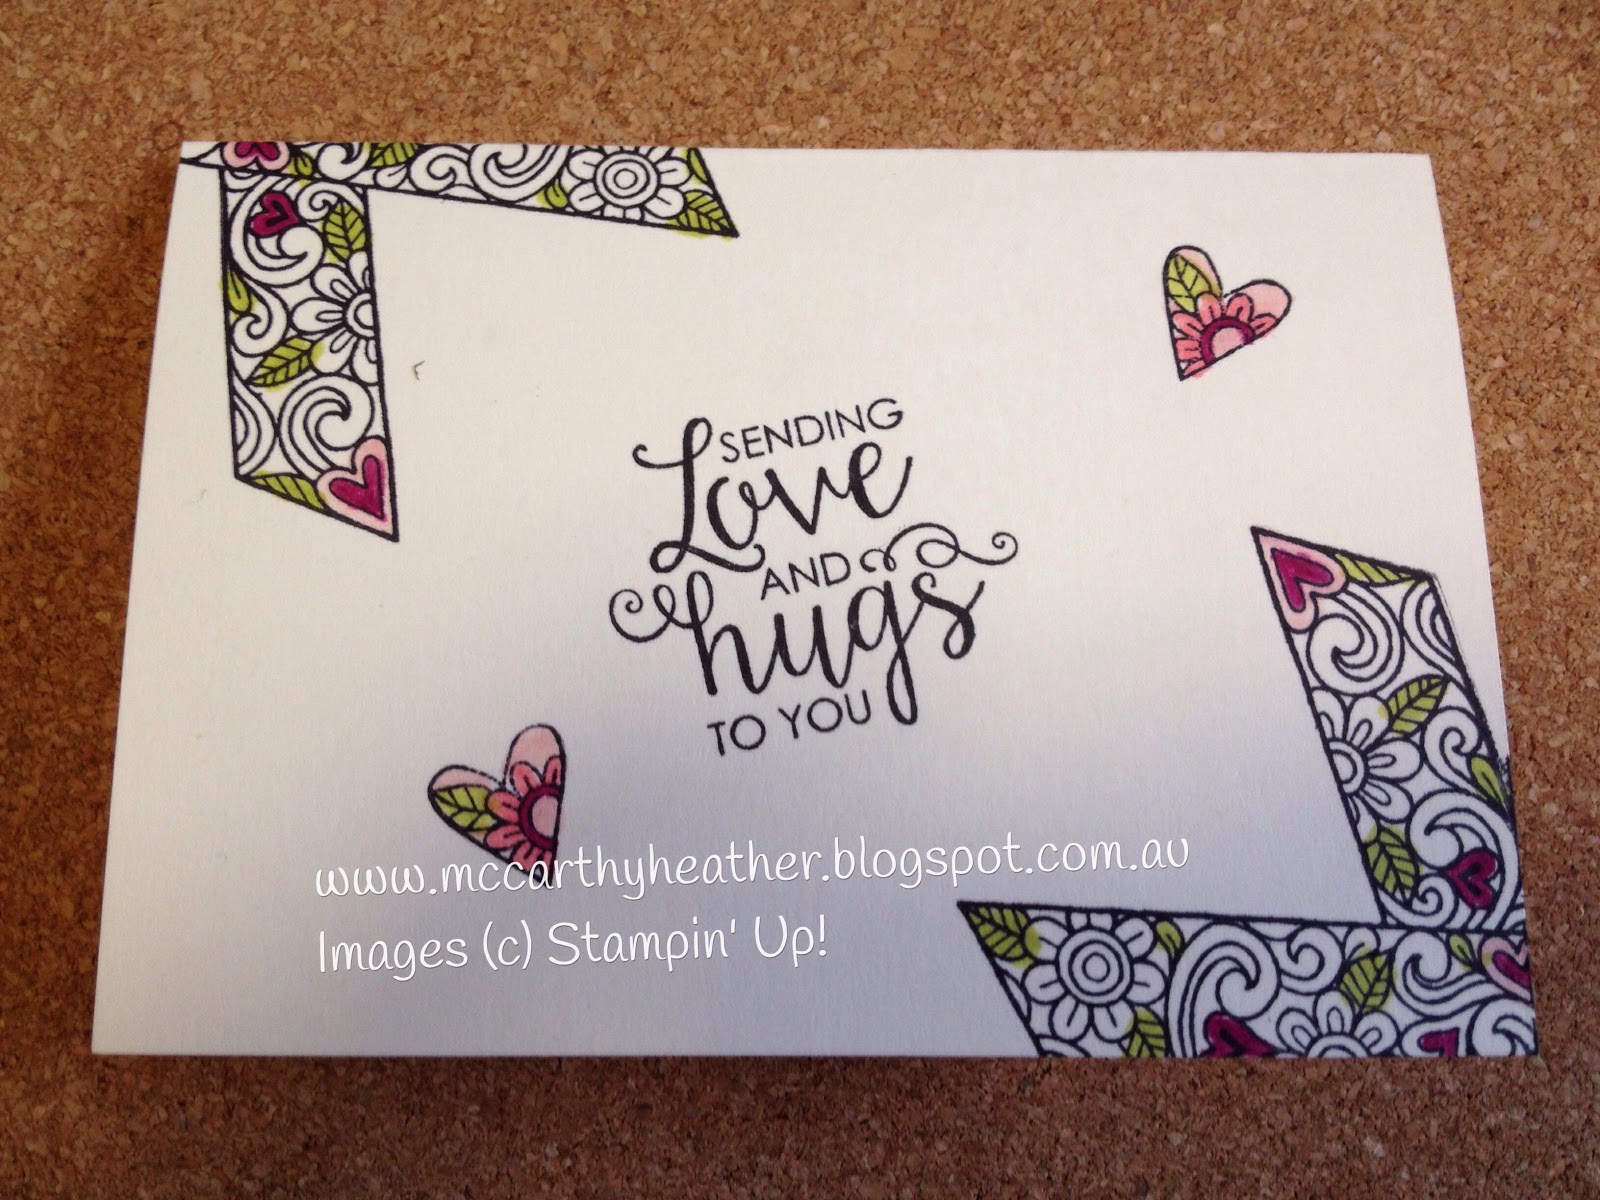
Circle Tab Punch, me think's you'll be seeing more of this on my blog.......lol  in fact in the next card ha ha....

might look a bit similar, however I figured that the bookmark should be shown on a card too!  plus another new punch that I bought Decorative Ribbon Border Punch (Oh I just love new catalogue time!)  Anyway in case you didn't notice the punch creates the pretty textured ribbon down the side of the card.
And my last offering for today I figured the ribbon doesn't just have to be a ribbon (plus I saw someone else had done this at one of the Stampin' Up! OnStage presentations)
Da da.... yes it can also be a vase! (the flowers and leaves are in with the framelits, and I've just coloured them in with Stampin' write markers.)

So there you go now you know what I have been playing with lol!
I hope this inspires you to create
God Bless love
Heather xox

Something Saturday - Last Chance List plus a simple card

 Hi There Creators, Today I went through some of my goodies that are on the Last Chance List (click the link to see the list). There's a...