Hi There Creators
Today I thought we'd check out a new Bundle - Stippled Roses (it's so pretty) I love the smell of roses, and will often "stop to smell the roses" literally if I'm going past some 🤣 they have such a calming scent.
Did you know that Sale-a-Bration is now on? If you are purchasing and you're order is near $90 (or multiples of $90) up it a bit, so that you qualify for FREE Sale-a-Bration item/s. Or if you are popping in a big order (over $500) you'll get extra money to spend, having said that if your order is big, then why not think of joining? When you join you pay $169 and pick out $235 of goodies! at the moment you'll get either the fabulous glass mat studio for free or an extra $50 of goodies in your order for free, then you get an ongoing discount, (and I would love to have you as part of my CreateAbles team 😁
So, in the video I show a few ways to colour the roses in and direct you to this blog post so you can see what I did with my coloured in samples (as I wasn't sure what to make with them to begin with!)
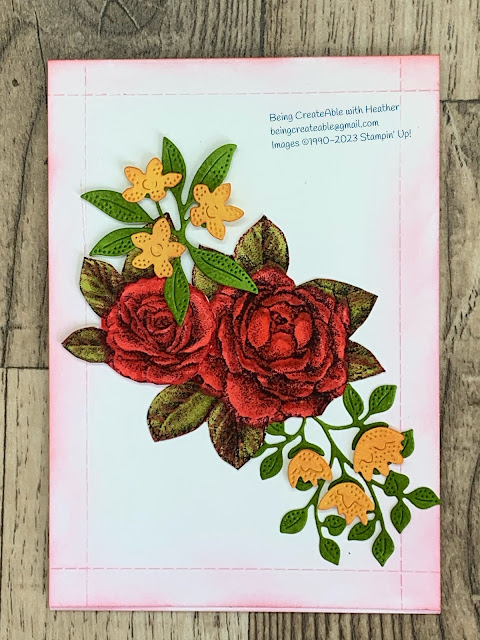
Here we go...... first up I had 2 mini card bases sitting on my desk, as the mini rose fitted nicely I figured that would do, I've used the "take your pick crafter tips" specifically the rotary perforating tip to create a kind of cool line around the edges of these cards, adds a bit of interest without taking away from the focal point
The card above is treated in the same way with the rotary perforating tip, and I've used some of the extra stand alone dies from the set too, and trimmed the roses out of the big rose congolerate stamp
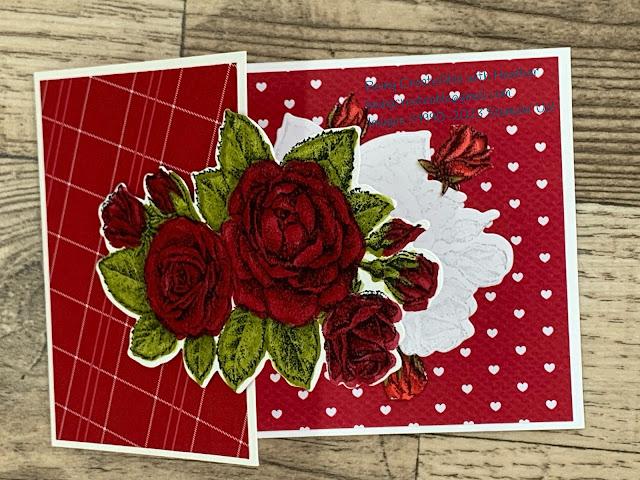
The card below I've left the whole thing together and cut it out with the big die, then added some of the gorgeous Softly Stippled Sale-a-Bration paper behind it (you can choose a pack of this for free when you spend $90 on other goodies till end of Feb)
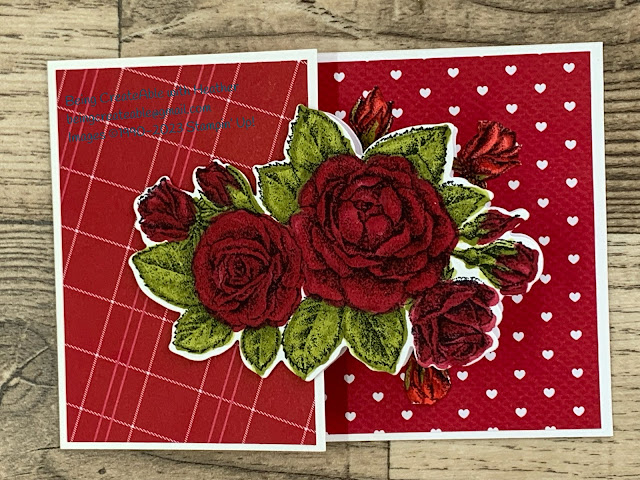
This next one, again I had this random 1/2 card on my desk, so in an effort to use it I figured I'd have the roses on top and a white cut out of them underneath to write on, I've very lightly stamped the roses onto it too. Then again, I've used some of the elements of the stamp fussy cut out and stuck behind the white piece. The gorgeous papers are another one of the Sale-a-bration sets, this time Most Adored Designer Series Paper (again you can pick this set for free when you place an order of $90+)
If you missed the video, here it is......
I hope this inspires you to create in your space too
God Bless love
Heather xox


.JPG)

No comments:
Post a Comment