Posts

Showing posts from April, 2022

Something Saturday - Click Clack Concertina Card

Image
 Hi there Creators Well I was sitting last night wondering what to do for my Something Saturday, and playing around with a bit of paper, ended up designing this card, I've made similar cards before like the cascade cards, this is probably a bit more basic, but I'm happy with it and it's way simpler to create, but still packs a cool Woah factor🤣  I've used Sentimental Christmas Designer Series Paper which is on the last chance list. I decided it needed a sentiment so picked out this one from Sweetest Star Stamp set (last chance list again), because it has 6 words (1 for each panel!😃) and these Adhesive backed Snowflake Assortment are also on the last chance list and happen to be reduced to 1/2 price (woo hoo!) Ok, onto measurements.... You'll need a sheet of A4 for the base card, score it at 9.9cm either end, then cut in 1/2 at 10.5cm, fold so each piece is concertina'd into 1/3rd's then each folded piece needs a cut that goes 1/2 way up the card (in the...

Something Saturday - Oooo New Stuff!

Image
Hi there Creators In the video this time I show off some of my latest goodies I was allowed to pre-order from the upcoming Annual Catalogue (so exciting - even after almost 14 years!)  The catalogue actually goes live on 3rd May, so you don't have to wait long before you can start ordering 😃 Anyway my main stache was the new In Colours: A4 Papers/ Glimmer Paper (ooooo)/ Special Glittery ribbon, (Oh I'm such a goldfish! lol)/ obviously the ink pads and matching Stampin' Write Markers. I also have a couple of new stamp sets/ dies/ and embellishments, however I couldn't resist playing with my new 3D embossing folder "Fern", and here is what I ended up making up with the embossed piece I showed in the video:  I've used the new Parakeet Party ink colour along with the Evening Evergreen to give the "mottled" effect.  I've also used the new Fabulous Frames dies (2 of them) for the saying and the frame.   Then I also thought the new Rustic Metallic ...

Cards for May

Image
 Hi there Creators Well thought I'd better share the cards we'll be making in May at my classes, which incidentally the class dates are:  Wednesday 4th at 10.30am, Thursday 5th at 7pm (both in Laanecoorie) and the Maryborough class is on Saturday 7th at 10.30am. I'm hoping we can gather a few more people for the Maryborough class, so do tell your friends!   We'll be making 4 cards, (with envelopes) for $20 Let's kick off the "show & tell"..... this first one uses the brand new Wisteria Wishes (oh this set is rapidly becoming one of my favourites!)  Also some a couple of the new In Colours (can you spy which ones?) Next up, I can't resist the pull of the ocean..... with Waves of Inspiration (and another new In Colour) Number 3 (if you know me you'll know I love all things gold🤣)  This uses the gilded leafing, along with the quite cool Beautiful Shapes dies, and Biggest Wish Stamps Last but not least I've dug out the Celebrate Sunflowers Sta...

Something Saturday - Rainbow shaker glitter card

Image
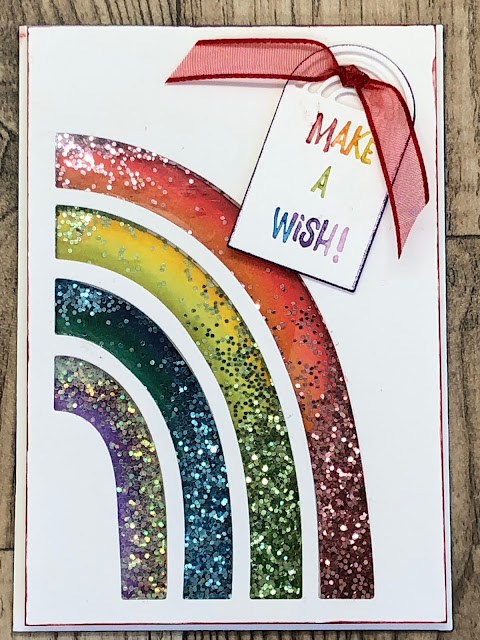
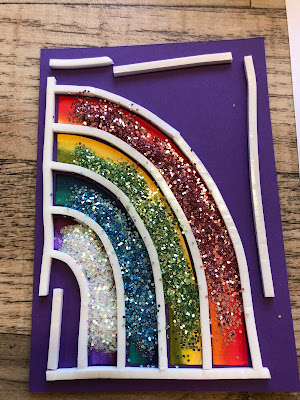
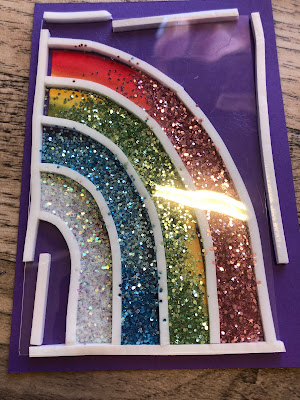
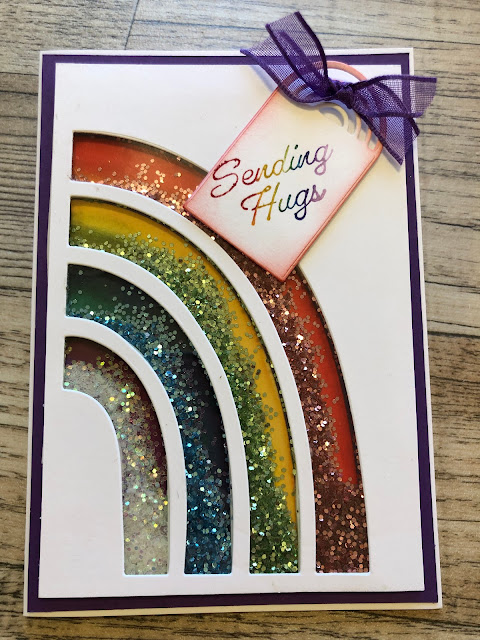
 Hi There Creators, If you watched the video you'll know I'm so chuffed with this card!  The glitter shakes freely, and I think it's amazing 😍  Sadly the glitter is a throwback from several years ago, but everything else is still current Brilliant Rainbow Dies / Stampin' Blends (various)/ Party Puffins (for the saying)/ with Stampin' Write Markers (to colour the stamp), and the most useful bits the Foam Adhesive Strips and Window Sheeting Ok, well I guess you want to see what all the fuss is about.....      I did put an overlay on the video at one part to say that I've worked out another way of adding the glitter, and I'd add it to this post, so here goes.... First up cut the big rainbow out of white cardstock (I used 10cm x 14.5cm) colour the cut pieces (I used my Stampin' Blends - alcohol markers to get a even graded look) lay (don't stick) the die cut white piece over your base card and slot in the coloured pieces, gluing them in place then rem...

Something Saturday - Stamping with water!

Image
 Hi there Creators, Yep stamping with water!  I was messing around with my water painters trying to do something different with them (which didn't work out), when I discovered that if I stamp an image in ink on some of our Thick White Cardstock, then stamp another one on top using water, it does something rather cool! So here's the card I made before the video... Aren't the images in the middle of the flowers and leaves cool?  In order to get this overlay image I "inked" it up with water, then stamped and held the stamp down for 10 - 15 seconds. So here is the one all made up that I did in the video: As you can see I've also used the Loose Flower Flourishes, which I thought went nicely with it (not sure I've actually used them before!).     Then I discovered that the small diamantes will fit nicely in the middle of the big Flower Flourishes (bonus!!)  I also discovered that once you stamp you can draw on water with the small water painter, see the leaf wi...

Something Saturday - Rolling Waves Card

Image
 Hi there Creators, So, today I was showing how to make the most of the Stamparatus and create a Rolling Waves card, using the main waves image in the Waves of Inspiration stamp set , and repeating it to create that look of a wave a surfer might go through. Here are the 2 cards I made top one is the one I created with what I made in the video, bottom one was my initial go at it.  I mentioned at the end of the video I might add another colour with it, which is what I did and I love the blend of colours, even though they're on top of each other Anyway how did I do it?, I took a couple of photos for you in case you didn't see the video I lined up the stamp onto the stamparatus as far right as I could, inked it up, then used a dauber to blurr the edges, so they wouldn't be so "sharp" once stamped, then stamped my strip of cardstock, once. Next I moved the plate to the next position along the top rung, and repeated the process all along till I had a whole line  If you...

Something Saturday - Clear Blocks are more than just for Stamps!

Image
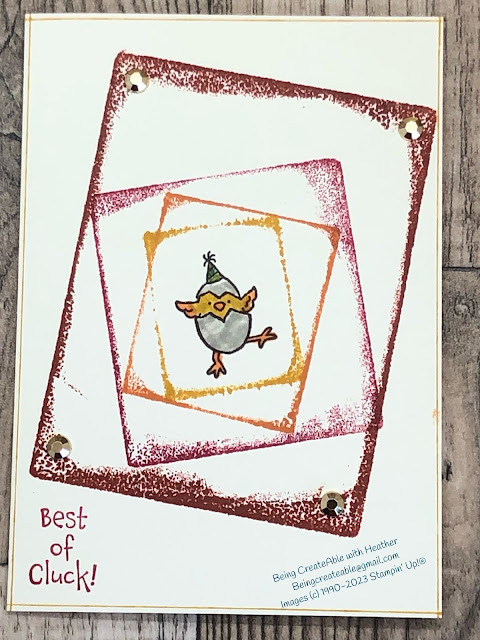
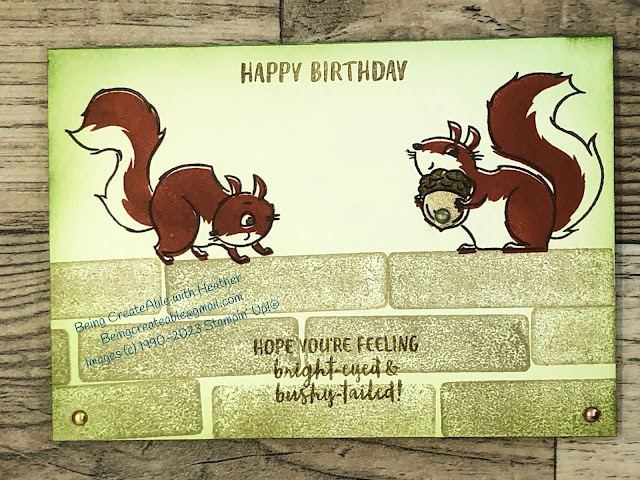
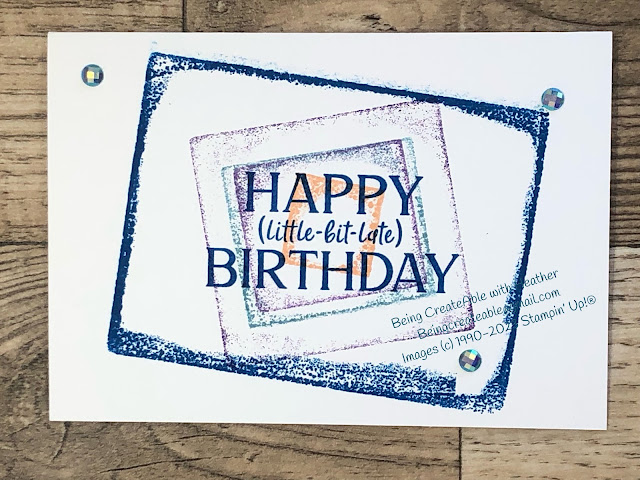
 Hi There Creators join me today as I show you how to make the most of your clear blocks! Before the video I had actually managed to create a couple of cards - yay go me!! Which were these ones; To find out what I used on this first card click here:  What Heather Used   To find out what I used for this Chick Card, click here: What Heather Used  Then in the video I showed how to create this wall using clear blocks, to see what I used click here: What Heather used   In the video I mention when one of us at work gets distracted one of the other girls has a catch phrase for it "Oh look a squirrel!"  After having mentioned that, I thought, Oh squirrels would look good on top of the wall! 🤣 (good job I have squirrel stamps!) and for this card I show how to create these frames, to see what I used clear here:  What Heather used  It's actually easy to use your clear block to create cool backgrounds or as in the squirrel card, bricks.  All you do is f...