ClassCards@Home September 2020

 Hi Creators, 

Well the in person classes were very short lived!  So we're back to @Home classes again.  For each of these cards you can use your own sayings that you have at home.  I'll be providing all the cardstock cut/scored/punched etc and the extra elements and instructions, so you only need glue, ink and saying stamps.

Anyway onto the cards:

If you follow my blog, you'll have seen this one the other day,

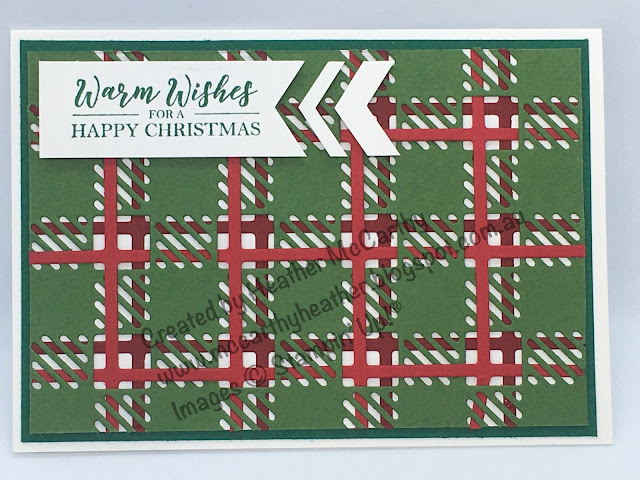
Best Plaid dies, Stampin Up

We're using the Best Plaid Builder dies for this card, and the Story Label Punch.

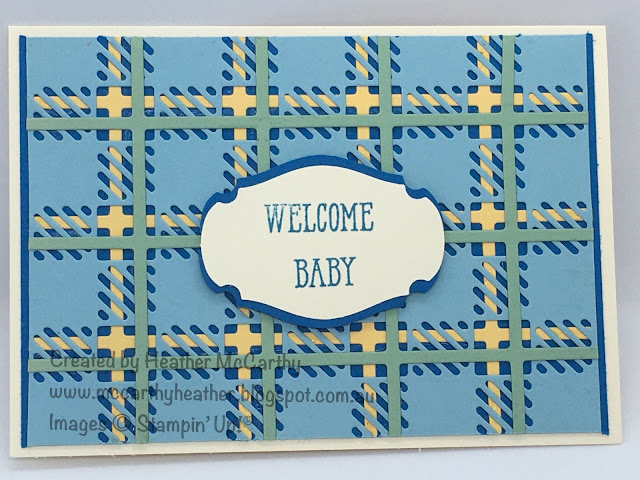
The other 3 cards I feel I got a bit carried away with Vellum lol....

Card #2:  This card does use a vellum background (but you probably wouldn't know from this photo!)  I've used the beautiful Poinsettia Dies

Poinsettia Dies, Subtle 3D embossing folder, Stampin' Up

you can see the Subtle embossing folder in this close up photo, I love the "subtle" effect it has for the background, really softens it, which is what I wanted for this delicate card.

Poinsettia Dies, Stampin' Up!

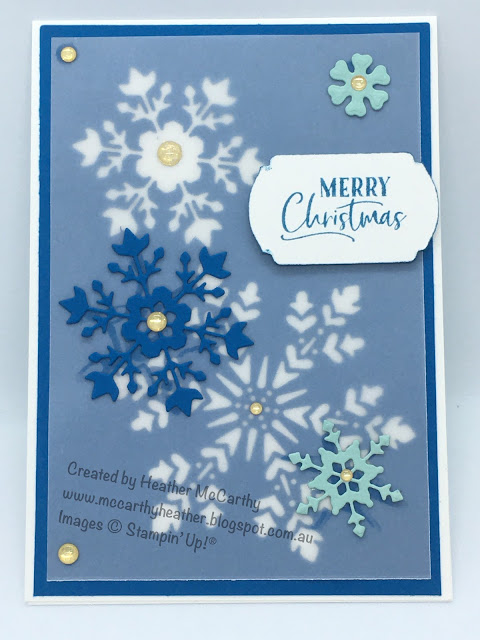
Card #3 again uses Vellum, this time I've gone for Christmas, with the So Many Snowflakes dies, my goodness they're so pretty!

So Many Snowflake Dies, Stampin Up

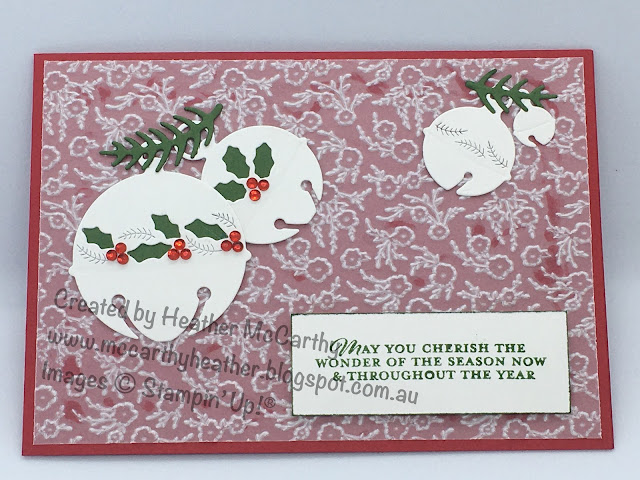
And the last card, again a Christmas Card, I've used the Sounds of the Season dies, love the way they cut out the little holly and berry in the dies!, I've teamed it up with the Ornate Floral 3D embossing folder, which I used to emboss vellum

Sounds of The Season Dies, Stampin Up

And that's it!  

If you would like to order this set of cards to create let me know!  Fee is the usual $20 plus postage of $2.20 if I need to mail it you to (otherwise I'll drop off the kit to you next time I'm in your area!)  Please place your orders by Friday 18th September and I'll be getting the kits done that weekend.  

If you're not able to join us with this I hope it inspires you to create in your space!

God Bless , Love

Heather xox


Best Plaid Builder Dies

Hi there Creators, 

Well home schooling is currently taking precedence on my days off, but I did manage to squeeze in a little creating (keeps me sane!)  so I thought I'd share with you!

As a demonstrator we get to order some things earlier than our customers, and the new Stampin' Cut & Emboss machine (Stampin' Up!'s own bigshot version) is one of them, it'll be available for customers from next month, finally after stalking the postie for a couple of weeks (the mail is extremely slow currently) it's arrived, and also the new bundle I ordered at the same time:

 Da, da, the Best Plaid Builder Dies and Best Year stamp set (Best Year Bundle)  it's one I've been umming and ahhing about for a while, so I figured I'd christen my new Stampin' Cut&Emboss machine with it, I'm so glad I did get it!  Anyway onto the photos (that's my favourite bit...)

So.... here set up is my new (oh so bright and shiny) Stampin' Cut&Emboss Machine, so cool! the sides clip up  (like they do with the cuttlebug), it's just so neat and tidy looking.  As you can see the dies are ready to go!

Best Plaid Builder Dies, Stampin' Up!

The first card I made is this Christmas card, my ideas were green and red when I initially bought this set, so for this card, I wove the Real Red die into the green die, by cutting it strategically, and using my pin tool to coax the card in the right direction, then attached the Cherry Cobbler piece behind, added the whole thing onto a white piece of card then mounted onto a slightly larger piece of Shaded Spruce.  I will say if you're having a go at this, don't put your glue into the middle of the crosses!  the saying is from the stamp set that comes in the bundle: Best Year stamp set.

 
Next I moved onto this one, I wanted to see how it would look if I didn't weave the dies into each other, I'm still pretty pleased with the result, this one I've just layered them up, So saffron underneath, Balmy Blue for the thicker die with  Mint Macaron on top and a base of Pacific Point.  I really like the way it's produced the rug effect I was looking for!  This stamp set wasn't from the bundle it's from Well Said stamp set.
Best Plaid Builder Dies, Stampin' Up!


And lastly I figured I'd get a bit more complex with the weaving, I was planning on using ribbon, but in the end I'd cut the Purple Posy piece so decided to use it!  With this one if you look carefully you'll see I've gone over and under in both directions (which was a challenge!! especially when the whole thing started falling apart lol), however with small pieces of tear and tape adhesive to hold the pieces back together again once they were threaded I made it work, and I'm pretty chuffed with the result, what do you think? Oh again the saying is from the stamp set that comes in the bundle: Best Year stamp set.

 What do you think, which is your favourite? 
I hope this inspires you to get crafty!
God Bless love
Heather xox


ClassCards@Home for August

 Hi there Creators, 

Well, having made up cards to be done with me, we've been locked down again! hence I've made up 4 more cards that you can use your own stamp wording with.  This way you can order the kit and do them at home (and dream of getting together for a class again.....) Kit cost $20 plus $2.20 for postage (if I need to mail them to you) please order by 14th, I'll make up the kits that weekend, and either mail them on the Monday or wait till I'm in your area and deliver them off as soon as I can after that.

Ok, so the cards are:

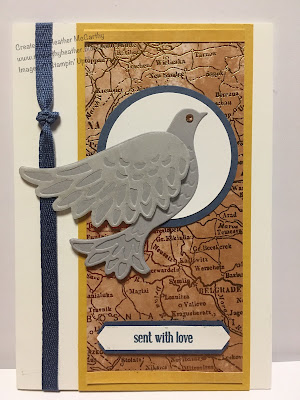
First Up, it's been Wintery and raining, so I had a need for some sunshine lol, I chose to utilize the Friendly Silhouette dies!  I made this card up, then decided it would actually make quite a cool retirement card, and it's the first time I've used this saying from Itty Bitty Greetings such a handy set! Friendlly silhouette Dies, Itty Bitty Greetings, Stampin' Up! After this card, I couldn't resist using some of the new goodies I have from the August to December Mini catalogue!  The Detailed Dove dies in this card plus the World of Good Specialty Designer Series Paper, it has Brass foil accents in it, and the Misty Moonlight In colour ribbon. (by the way the dove dies can be bundled with matching stamp set) Dove of Hope Bundle.Detailed Dove dies, World of Good Paper, Stampin Up

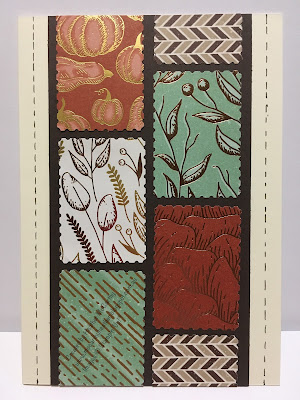
Oooo this new Gilded Autumn Specialty Designer Series Paper is so nice! with copper foil accents ummmm lol, I've used the Rectangular Postage stamp punch with it, and left the card sentiment free, sometimes you don't need a sentiment on a card!
Gilded Autumn Specialty Designer Series Paper, Stampin Up
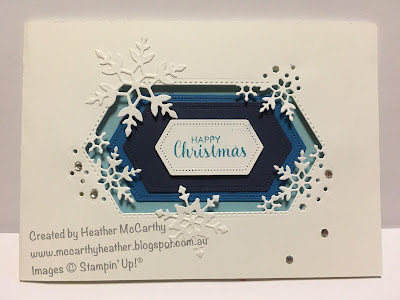
And the last card, I wanted to give the feeling of a diorama, this So Many Snowflakes dies was one I saw and fell in love with! (and not disappointed!) You can actually get it as a bundle with stamp set too: Snowflake Wishes bundle. As you can see this die pairs up nicely with the Stitched Nested Dies.
Snowflake Wishes Dies, Stitched Nested Dies, Stampin Up

I hope that if you don't order the kit these cards inspire you to create in your own space!  If you would like the kit, let me know by Friday 14th!

God Bless love

Heather xox

Cards for August Classes

Hi there Creators,
Well I've made the decision to re-commence classes in August in my classroom, with a max of 3 participants, (unless we get locked down further between now and the dates!)

With that in mind, these are the cards we'll be creating:
A couple of male'ish cards: 
This Camouflage Background Stamp is such a fabulous background!  and the saying is from Happiest of Birthdays, which again is a fabulous stamp set, I like the way the sayings are so big, and clear.
Camouflage Stamp, Happiest of Birthdays Stamps
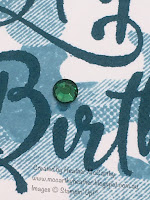
I've used one of the Holiday Rhinestone Basic jewels in the i of birthday, such lovely colours in these jewels!
Camouflage Stamp, Happiest of Birthdays Stamps
Card #2 this is the first time I've got round to using this "Whiskey Business" stamp set, and I really wanted to convey looking in through a window at the aftermath of a party scene, with the balloons (Balloon Bouquet Punch) bumping up against the ceiling and 1/2 a drink left. (hoping I achieved it!)
Whiskey Business stamps, Balloon Bouquet punch
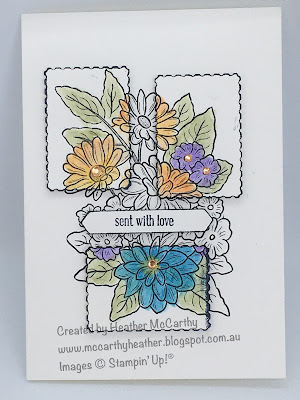
Card #3 I've not used this stamp much either, from Ornate Style stamp set.  I really didn't want people to have to colour the whole thing in, as I know not everyone is keen on colouring in!  So I decided to use the new Rectangular Postage Stamp Punch, and colour in the bits on those.  Then I figured people can choose their saying from the Itty Bitty Greetings,  add a couple of the Champagne Rhinestone Jewels, and it lifts the card!
Ornate Style Stamps, Rectangular Postage Stamp punch
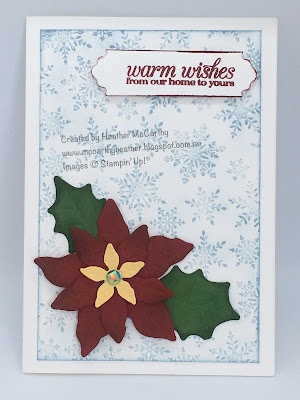
Last but not least, I've started on my Christmas Card countdown (it was too tempting not to use some of my new Christmassy stuff from the August to December Mini Catalogue!)   This one uses the Winter Snow embossing folder, the Pointsettia Dies, and from the annual catalogue the Lovely Labels Pick a Punch.  Oh and not to mention the beautiful Blue Adhesive Backed Gem (mini catalogue).
Winter Snow Embossing folder, Pointsettia Dies
So I am looking at Tuesday evenings (7.15pm) or Wednesdays and Thursdays, (10am or 2pm) and Saturdays as my days to offer this class, let me know which day in August suits you, and we'll book it in😊  I will only be offering it in my classroom at this stage the cost for the class is $20.  You'll receive the usual written instructions and envelopes to go with your card.

I'd love to get together with you, but if you can't make it I hope that these cards inspire you to create in your space.

Stay well, God Bless love
Heather xox

Perfect Parcel Dies, how to put the box together

Hi there,
Well today I thought as I'm going to be sending out the components to make up the Perfect Parcel box as a little thank you gift to those who order from me, that I should show you how to put it together!
 
Have to admit this one had me stumped for a while and I'd hate you to feel the same way 😀
anyway here is the box in all it's glory....
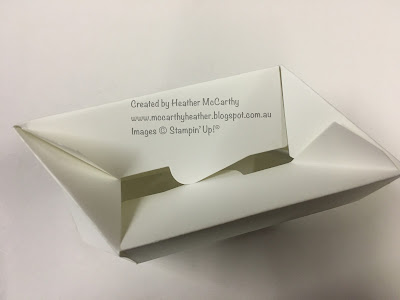
Perfect Parcel Dies Box how to put it together
and the underside (just in case you need to see it)
Perfect Parcel Dies Box how to put it together
I did a short video on it as it's a little hard to see from photos, so check this out:

And just in case it's not 100% clear, I've added a couple more photos below.  You can just about see where I've written "glue".  Remember when you turn the box upside down, push the 2 side flaps in first, then the little triangle flaps fold up, then flatten  the whole box down, and you can carefully open it to add glue to the triangle flaps.
Perfect Parcel Dies Box how to put it together

Hope this all made sense and you have fun creating your boxes!  any questions let me know!
God bless love
Heather xox

Punch Art Giraffe

Hi there Creators

I was asked recently to make up a Giraffe Card, so I turned to Punch Art, and wondered if I could possibly do it with our current Stampin' Up! Punches, I almost achieved it 😄

So this is the card I'm pretty pleased with how it turned out!  I'll show you what I used after it:
Punch Art Giraffe card
this was the photo I was using to get by 'bearings" on the giraffe face:
punch art giraffe card

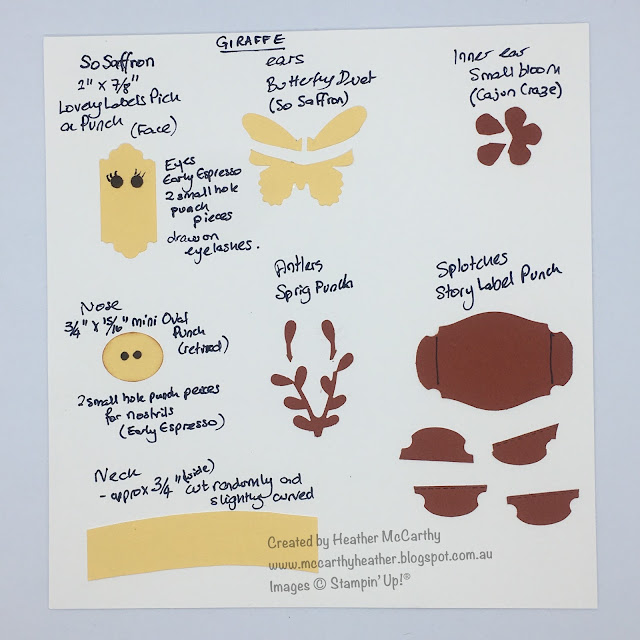
And here's what I used:
Punch Art Giraffe card
The face is made from Lovely Labels Pick a Punch, it's punched on both ends for the face (I found I had to add an extra length of card to the back of it, so I could get it into the punch properly).  I've then punched 2 small hole punches for the nose and another 2 slightly larger ones for the eyes.
The nose is the only main punch that's not still current, which is a small fat oval punch.
Ears are made from the top part of the large butterfly in the Butterfly duet punch, with 2 petals cut from the Small Bloom Punch for the inner ear pieces
The Antlers are the end pieces of the Sprig Punch (I've turned them inwards)
The Neck is a bit random, I've just cut a slightly curved piece, and kept it around 3/4" wide.
then the last part is the splotches on the neck, I've used the end pieces cut off the Story Label Punch, stuck them on and trimmed it.
Oh I've also daubed round the edge of the pieces to make them stand out on the card.

For the card I've used the stitched rectangle dies, then I couldn't resist using my new Happiest of Birthdays saying stamp, I love that the stamps are a great size in this set.

I hope this has inspired you to see what you can make with your punches!
let me know if you have a go at the giraffe, or if you have any questions about it :)

God Bless love
Heather xox

Something Saturday - Shepherds Care meets Snowy Delights Masks

Hi there Creators,  Today I thought I'd play around with a couple of my latest goodies, Shepherds Care Stamp set and Snowy Delights Mas...