Hi there Creators,
Well home schooling is currently taking precedence on my days off, but I did manage to squeeze in a little creating (keeps me sane!) so I thought I'd share with you!
As a demonstrator we get to order some things earlier than our customers, and the new Stampin' Cut & Emboss machine (Stampin' Up!'s own bigshot version) is one of them, it'll be available for customers from next month, finally after stalking the postie for a couple of weeks (the mail is extremely slow currently) it's arrived, and also the new bundle I ordered at the same time:
Da, da, the Best Plaid Builder Dies and Best Year stamp set (Best Year Bundle) it's one I've been umming and ahhing about for a while, so I figured I'd christen my new Stampin' Cut&Emboss machine with it, I'm so glad I did get it! Anyway onto the photos (that's my favourite bit...)
So.... here set up is my new (oh so bright and shiny) Stampin' Cut&Emboss Machine, so cool! the sides clip up (like they do with the cuttlebug), it's just so neat and tidy looking. As you can see the dies are ready to go!
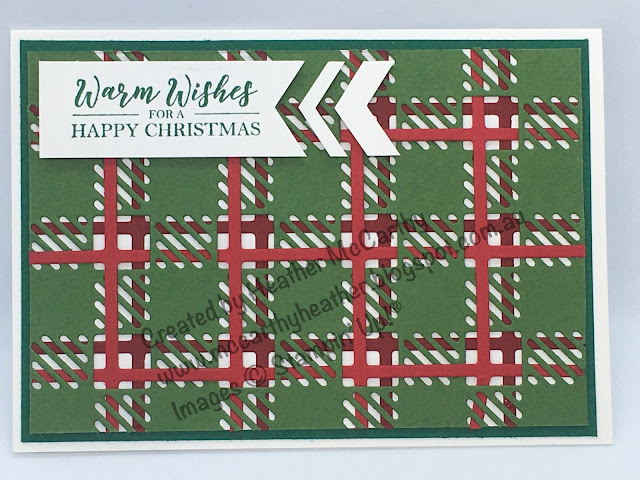
The first card I made is this Christmas card, my ideas were green and red when I initially bought this set, so for this card, I wove the Real Red die into the green die, by cutting it strategically, and using my pin tool to coax the card in the right direction, then attached the Cherry Cobbler piece behind, added the whole thing onto a white piece of card then mounted onto a slightly larger piece of Shaded Spruce. I will say if you're having a go at this, don't put your glue into the middle of the crosses! the saying is from the stamp set that comes in the bundle: Best Year stamp set.

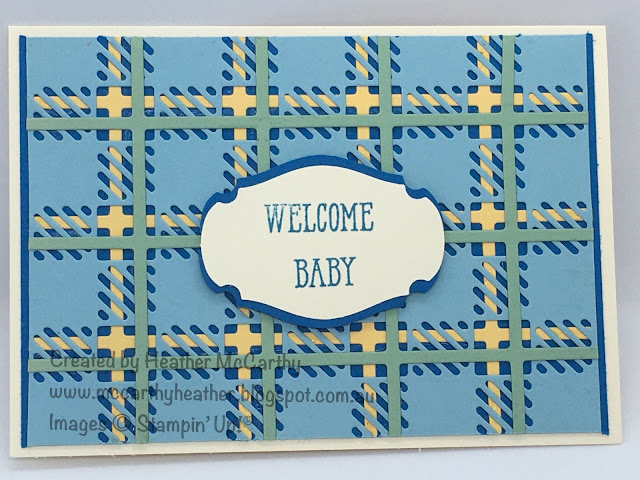
And lastly I figured I'd get a bit more complex with the weaving, I was planning on using ribbon, but in the end I'd cut the Purple Posy piece so decided to use it! With this one if you look carefully you'll see I've gone over and under in both directions (which was a challenge!! especially when the whole thing started falling apart lol), however with small pieces of tear and tape adhesive to hold the pieces back together again once they were threaded I made it work, and I'm pretty chuffed with the result, what do you think? Oh again the saying is from the stamp set that comes in the bundle: Best Year stamp set.


.JPG)

No comments:
Post a Comment