Hi there Creators,
Well I've made the decision to re-commence classes in August in my classroom, with a max of 3 participants, (unless we get locked down further between now and the dates!)
With that in mind, these are the cards we'll be creating:
A couple of male'ish cards:
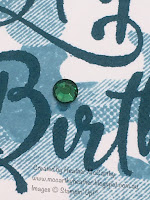
This Camouflage Background Stamp is such a fabulous background! and the saying is from Happiest of Birthdays, which again is a fabulous stamp set, I like the way the sayings are so big, and clear.
I've used one of the Holiday Rhinestone Basic jewels in the i of birthday, such lovely colours in these jewels!Card #2 this is the first time I've got round to using this "Whiskey Business" stamp set, and I really wanted to convey looking in through a window at the aftermath of a party scene, with the balloons (Balloon Bouquet Punch) bumping up against the ceiling and 1/2 a drink left. (hoping I achieved it!)
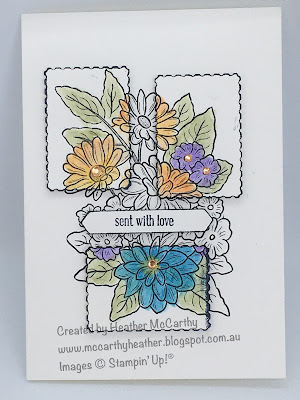
Card #3 I've not used this stamp much either, from Ornate Style stamp set. I really didn't want people to have to colour the whole thing in, as I know not everyone is keen on colouring in! So I decided to use the new Rectangular Postage Stamp Punch, and colour in the bits on those. Then I figured people can choose their saying from the Itty Bitty Greetings, add a couple of the Champagne Rhinestone Jewels, and it lifts the card!
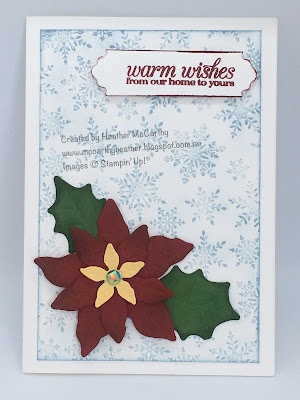
Last but not least, I've started on my Christmas Card countdown (it was too tempting not to use some of my new Christmassy stuff from the August to December Mini Catalogue!) This one uses the Winter Snow embossing folder, the Pointsettia Dies, and from the annual catalogue the Lovely Labels Pick a Punch. Oh and not to mention the beautiful Blue Adhesive Backed Gem (mini catalogue).
So I am looking at Tuesday evenings (7.15pm) or Wednesdays and Thursdays, (10am or 2pm) and Saturdays as my days to offer this class, let me know which day in August suits you, and we'll book it in😊 I will only be offering it in my classroom at this stage the cost for the class is $20. You'll receive the usual written instructions and envelopes to go with your card.
I'd love to get together with you, but if you can't make it I hope that these cards inspire you to create in your space.
Stay well, God Bless love
Heather xox







.JPG)
