Hi There Creators
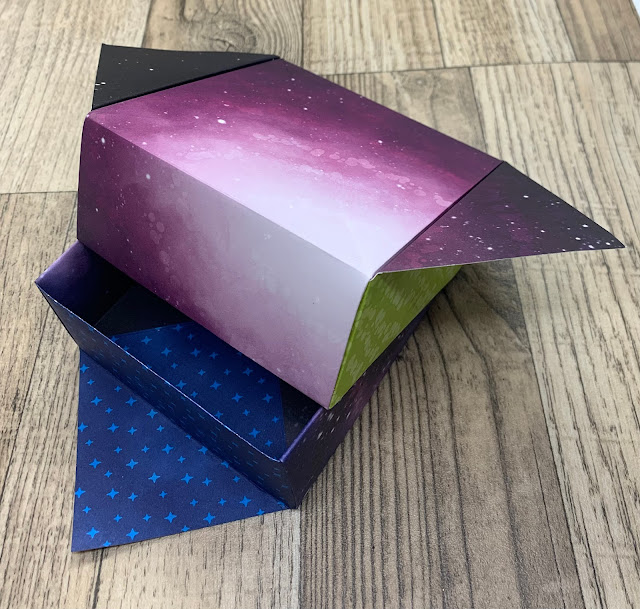
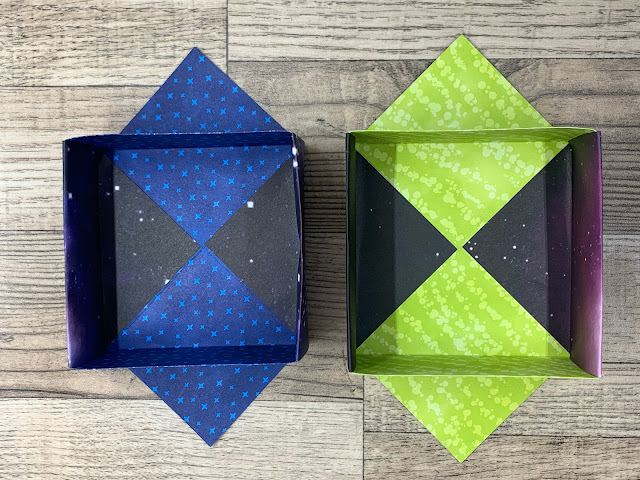
well today we're doing a spot of folding - Go the Origami boxes! I used to make an origami box like this (with origami, it doesn't require glue) I wondered how I could make it so it displayed both sides of the Designer Paper, and now I've worked it out (kind of by accident!, and mine requires glue!) 🤣
Currently until the end of June there is a Designer Paper sale on - woo hoo hopefully you'll find the papers here: Patterned Papers The one I'm using today is called Stargazing it's quite gorgeous (as are most of the Stampin' Up! Papers)!
Anyway here are the photos then I'll attempt to explain how to make them, ummmm!
Ok here goes, you will need a square of Designer Paper (that is patterned on both sides)
- Fold the square in 1/2 so you have a rectangle, then open and fold in 1/2 the other way and open it up again (you'll now have a + in the square)
- now fold the corners in to the centre
- Then turn the whole thing over and fold the sides to the centre
- open up those 2 and repeat with the other 2 sides
- then open up like this:
- fold the 2 long sides down and you'll find the ends will fold in and round so the little triangle tucks nicely inside the box (stick the triangle down)
- then repeat with the other side. lastly decide what you want to do with the flaps underneath.
- If you want to do a box with a lid, make the difference between the starting squares 1/4" (smaller box for the base)
God Bless love
Heather xox


.JPG)

No comments:
Post a Comment