Hi there Creators
Well I don't know about you, but around this time of year I end up with some chocolate box tins or biscuit tins that are decidedly empty. Chocolates/biscuits have all "flown the coop", and it seems a shame to just dump the tins. I'm sure there are heaps of things you can do with them if you check out Pinterest, but equally you can decorate them and use them as "gift wrap" solutions (who doesn't like a pretty tin?)🤣
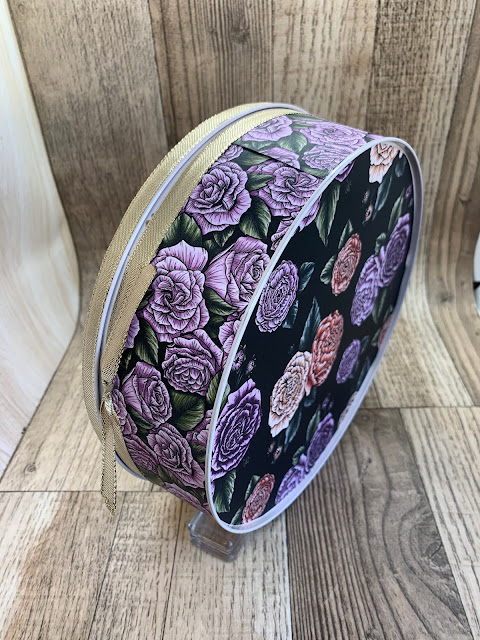
So here is my big Roses Box of Chocolates altered tin: I've used the gorgeous Favored Flowers Designer Papers that are free when you purchase $90+ of goodies until the end of Feb, but you could use any lovely papers that you have lying around (most of us if you've been paper crafting a while seem to have heaps!)
In the video I show you how to get measurements so the paper will fit onto your tin (even if the sides of the tin aren't quite 90 degrees to the base - as I discovered when doing this 🤣) Oh and don't forget to check the inside of the box to see if anything needs covering (I did discover a list of chocolates printed onto the inside of the lid - after I thought I'd finished)
I like to add ribbon to hide the rough edges (bit of embellishments hide a multitude of sins)
Anyway if you missed the video, here it is.....
I hope this inspires you to have a go too!
God Bless love
Heather xox


.JPG)

No comments:
Post a Comment