Hi there Creators,
I've added a new video to my collection that I thought I'd share here with you too, (and the "still" photos)
In the August to December "mini" catalogue there is this gorgeous flocked Vellum called Plush Poinsettia Specialty Paper. It's so pretty on it's own, but I really wanted to work out ways to colour it in too, so I've devised 3 ways you can do this, as I mention in the video I don't recommend using Stampin' Blends on the flocking itself as if you overdo it it'll rub it right off.
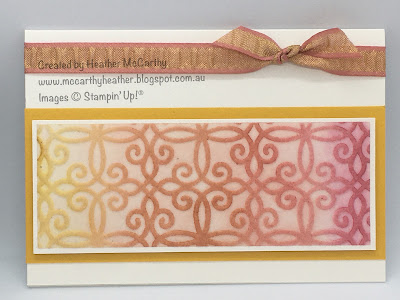
Hence my first method is using the normal ink pads and daubers, where you rub the colour into the flocking, Here's how it turns out:
The second technique is where you turn the vellum over, putting it onto a dark surface and colour on the back using Stampin Blends (alcohol markers), this is how this technique turns out:
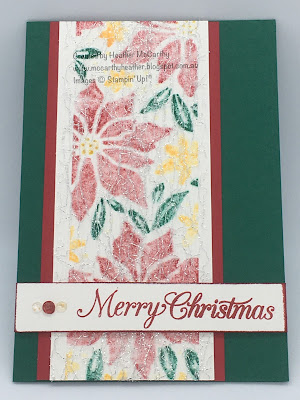
And the last technique is to colour directly onto the flocking with Stampin' Write Markers, (very carefully!) and this is how this one turns out:With this technique you have the added bonus of squishing out the excess ink onto spare card stock (I run mine through my Cut & Emboss machine) and making up more cards/projects with it, like this one:
Well I hope this inspires you to dig out your flocked vellum if you have any and have a play with it, if not, I thoroughly recommend getting some!😀
God Bless love
Heather xox


.JPG)

No comments:
Post a Comment