No it's not Monty Python lol, but I thought I'd show you something that I'd been planning to create for a while, then necessity got the best of me!
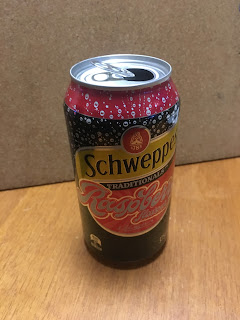
So my family seem to get through quite a few soft drink cans, and it's always seemed a bit of a waste for them all go to off to the recycling bin, and whilst I was trolling through Pinterest I discovered a few things that you can do with them, hence we started washing and saving them up.
So how do you take this:
and turn it into this?
What happened was that one of my husbands friends came over for the weekend and all of a sudden my recliner chair was commandeered lol (which I didn't begrudge) however I do like to put my feet up, so having been saving up the cans I figured I might have enough to have a go at the footstool.Out with the hot glue gun, I'm sorry I don't have any photos of the in between stages, however this is how it goes....
- Collect enough cans
- hot glue them together
- hot glue ribbon/strapping round them to keep them together
- then glue a second layer of cans to the top of the first layer, strap them too I found it best to add the glue to the bottom of the individual cans then kind of drizzle it into the gaps.
- add strapping round to tie together both layers
- Add a layer of foam round the side, and one on top
- create a cover for it!
- Voila all done :)
And that folks is what I got up to this last weekend (because you've got to have a craft project on the go and every so often actually finish it! lol)
I hope this inspires you to look at your recycling in a fresh new way lol
God Bless love
Heahter


.JPG)

No comments:
Post a Comment