Well if you know me, you'll know that I'm not terribly good at remembering to take photos of everyday life (sometimes I remember the important stuff - lol)
Anyway my poor mother, keeps requesting photos from me, and I keep forgetting to send any!, so eventually around Christmas time last year I said, how about I make you up an album with photos (as I was having a half hearted go at doing one for myself I figured I could potentially do 2! Yay today I finally got Mum's album in the mail to her!
I thought I'd share with you a few of the pages (of my album, as I'd already sent hers by the time I thought about taking photos of the pages - lol), and the front cover of my Mums' album.
Here is the front of my Mums album, really pleased with the way it turned out
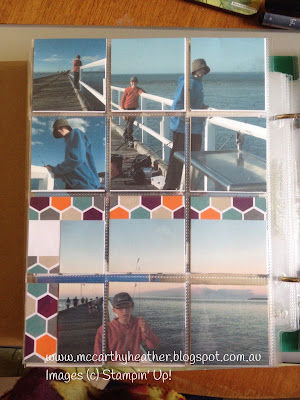
So that's it for Mum's album - lol now you get to see some selected pages from our album! these first two show how to use the small 2" square boxes, you can either put reduced size photos into them, or you can use a full photo and cut it up to pop in, I think your eye just sort of fills in the gaps, and sees the whole photo!
Next up when we went up to Hervey Bay in Queensland we saw this Go Kart track, and just HAD to go back and give it a go! I love some of the photos I got from this (with Tom's camera), again you can see that I've taken a couple of photos and cut them in 1/2 to fit them in.
Love this photo of Samuel, he was SOOO excited! got to go on the tandem with Tom (apparently both sides had working controls (made for an interesting ride - lol)
And lastly my favourite spread of my album, Josh's Birthday party they had frozen drinks, and I found the perfect card to go with it - Smile Laugh Repeat!
If you're after some of the Project Life Cards or Albums, check them out here: Project Life there are a few reduced items (Yay!) Now to finish our 2016 Album and start on this year!
Can't wait to see what the new catalogue reveals with Photo Organising!
Alrighty well that's it from me for now, hope it inspires you to dig out your photos and start organising them :)
God Bless love
Heather xox


.JPG)

No comments:
Post a Comment